- "So you think this room is to help people keep from going out of their minds with boredom?"
- — Alice, discussing the Rec Room
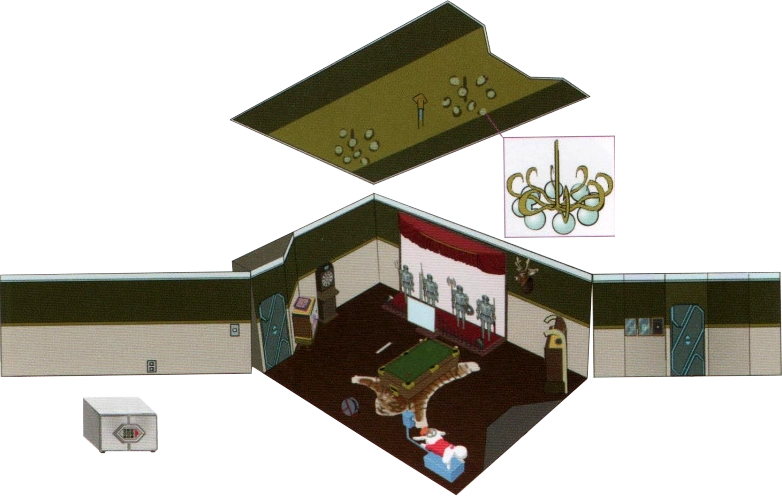
The Rec Room, short for "Recreation Room", is an escape room behind the blue Chromatic Door on Floor B. Sigma, Alice, and K visit this room along K's route.
Layout
Concept art.
The Rec Room is a medium sized room that contains a billiards table in the middle of the room. To the left of the billiards table are several of suits of armor that are holding many different weapons. To the left of the exit is an antique record player and to its right is a Zero III ride. To the right of the entrance is three record display cases and to the left of the entrance is a dart board. Finally, to the left of the dart board is a mini fridge containing bottles of luminol.
Story
Sigma accesses the Rec Room on K's route when asked by Luna which door he wants to go through after choosing Ally against Luna in the AB Game. Sigma goes through the blue door with K and Alice, while Tenmyouji takes Quark through the red door with Luna, and Dio and Phi head through the green door with Clover. After pulling a lever at the end of a hallway, they find themselves in the Rec Room. Alice points out the suits of armor and the Zero III ride. K states his opinion of how the room must keep people from being bored and that the whole facility might be used for people who are being kept there for an extended period of time. The trio decide to search the room for the moon cards.
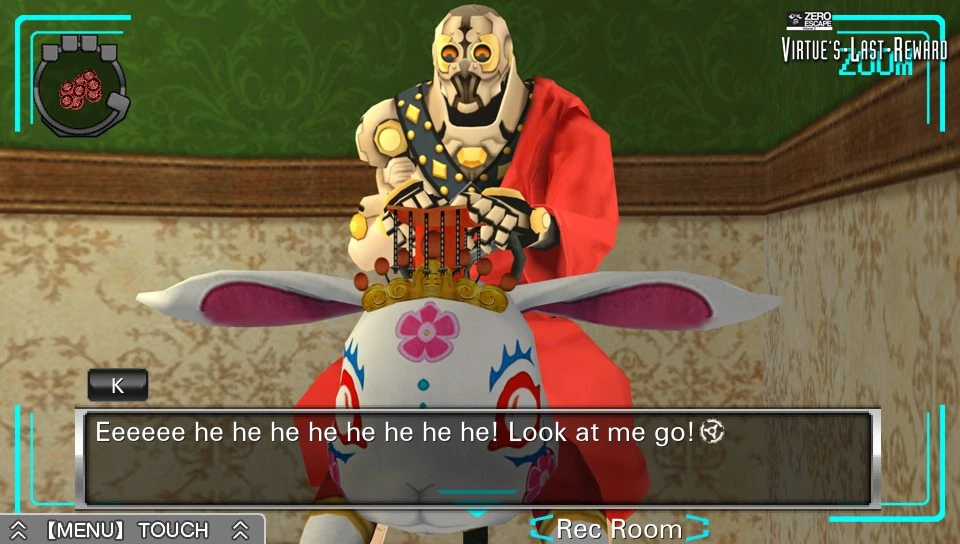
K rides the Zero Jr. ride.
While searching the room, K rides the Zero III ride, which freaks out Sigma and Alice. After opening the safe, they find a map to floor B, two moon cards, and a key. Sigma and Alice take one card while giving K the other card. On their way out, K states that he had a lot of fun in the room, while Alice says she wants to forget the whole experience.
Later in K END, after Sigma and K search the old woman's body again, and notice a gap of blood where her bracelet was. They realise that the killer would have traces of blood on their bracelet even if wiped off. Using this, they realise they can use the luminol and the light switch to expose the killer. Using this, they take Phi and Dio to the Rec Room, and, with the exception of K due to his armor making it impossible for him to be the killer. After Sigma sprays himself, Phi and Dio, Sigma's and Phi's bracelets are clean, but Dio refuses to reveal his. He tries to escape but is restrained by K, who reveals his bracelet, reacting to the luminol. Here they realised Dio killed the old woman, and they lock him in a treatment pod.
Items
Found Items
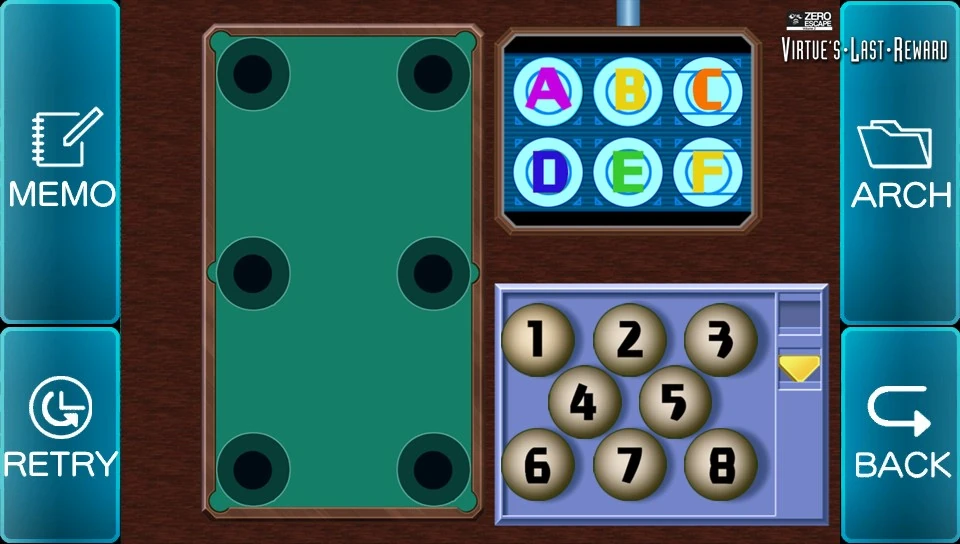
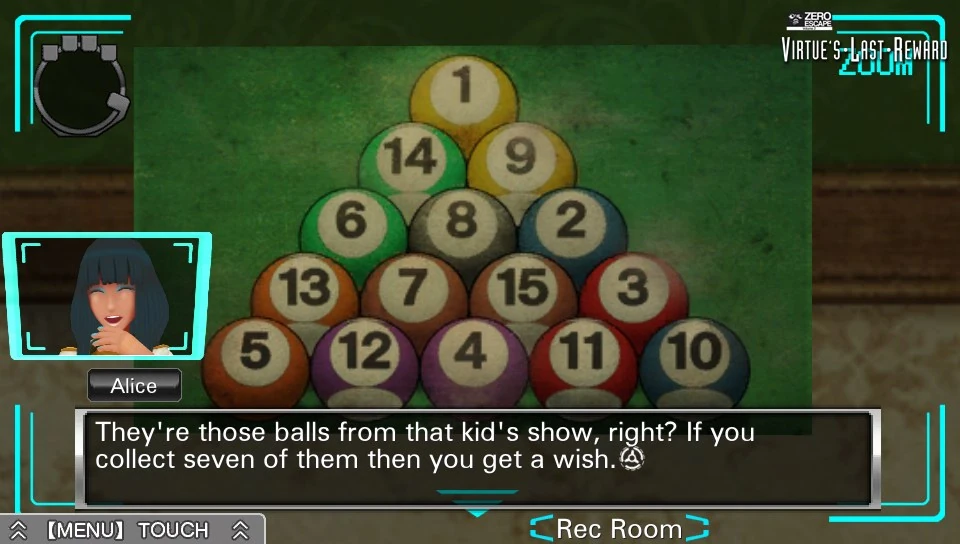
Billiard Balls
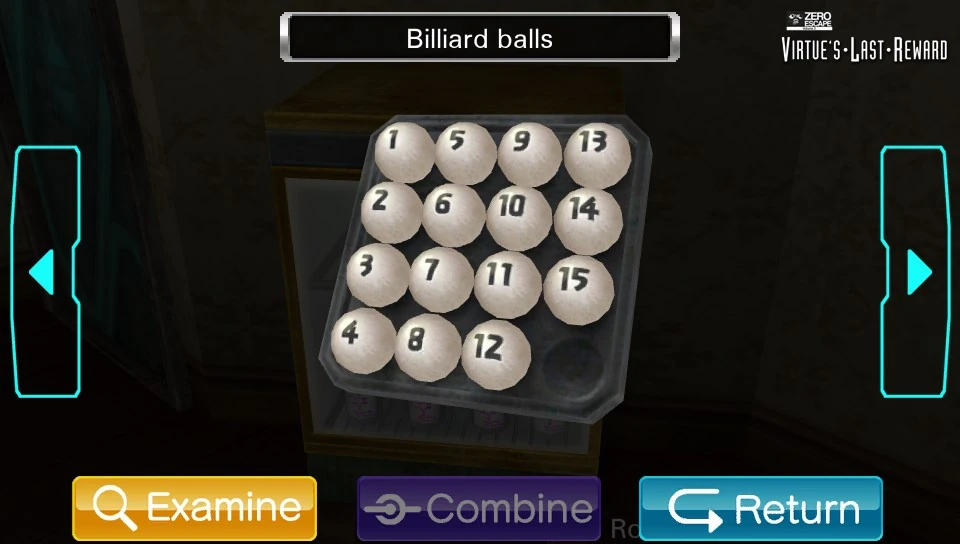
Pool balls.
The Billiard balls are found on top of the mini fridge near the exit. Some of the Billiard balls have to be placed in the 6 holes on the pool table. The Billiards poster and the letters on the pool table (seen by using the Luminol and Scrap of felt) show the correct locations. Once the correct balls have been placed, a capsule containing the Dart tips will be released to the ball retrieval slot on the table.
Scrap Of Felt
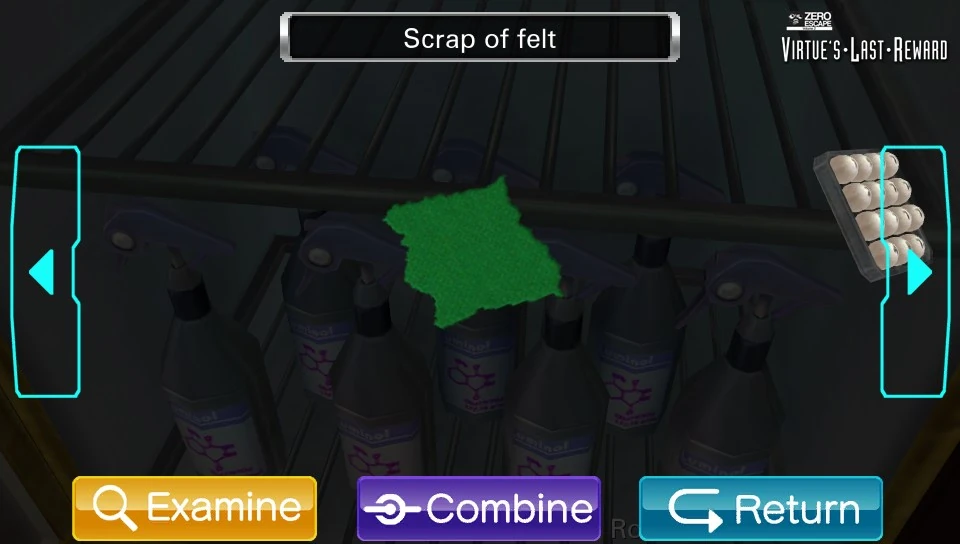
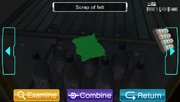
Someone ripped off this felt.
The Scrap of felt is found on the top shelf of the mini fridge, which is located near the exit. The felt is to be placed on the bare spot on the pool table. Once the table has been sprayed with Luminol and the lights are turned off, the letter 'E' will be revealed.
Luminol
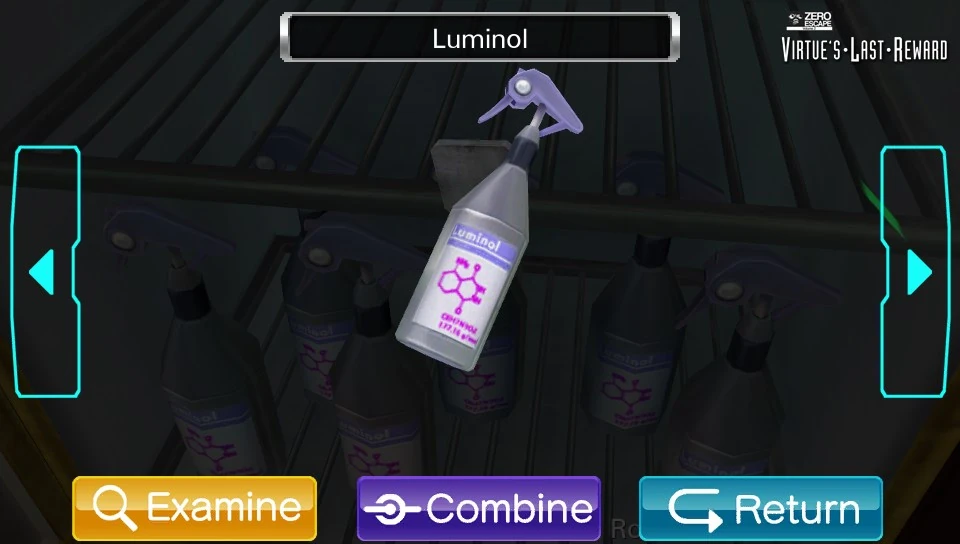

Makes its humble return from 999.
The bottle of Luminol is found, among others like it, on the bottom shelf of the mini fridge near the exit. The Luminol should be sprayed on the pool table. Once the lights are turned off (by hitting the light switch near the exit), the letters 'A' through 'F' will be displayed. The Scrap of felt needs to be placed first, however, to see all 6 letters.
To see the full article on Luminol, click here.
Pool Cue
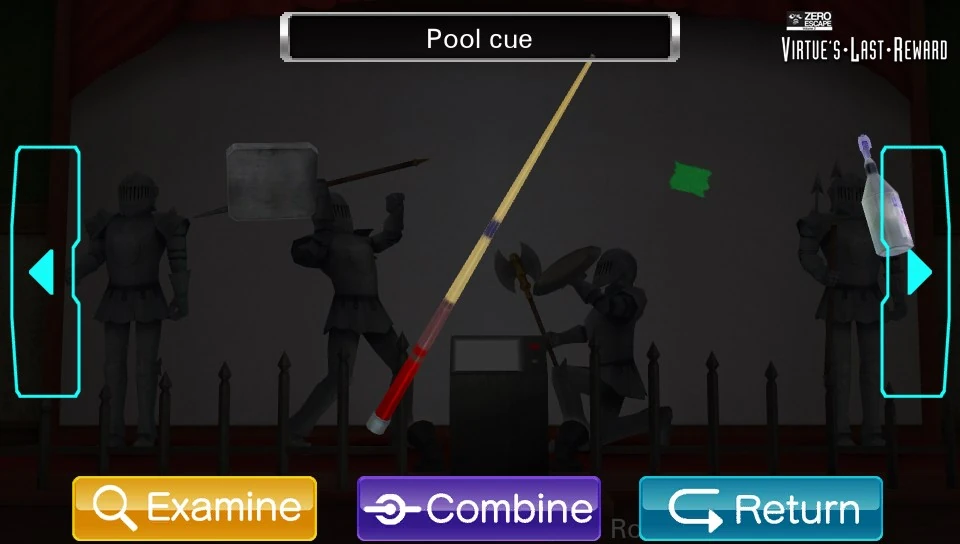
A pool stick.
The Pool cue is found being held by the leftmost suit of armor on the stage.
Combines with Allen wrench to form Key with circular tip.
Lance
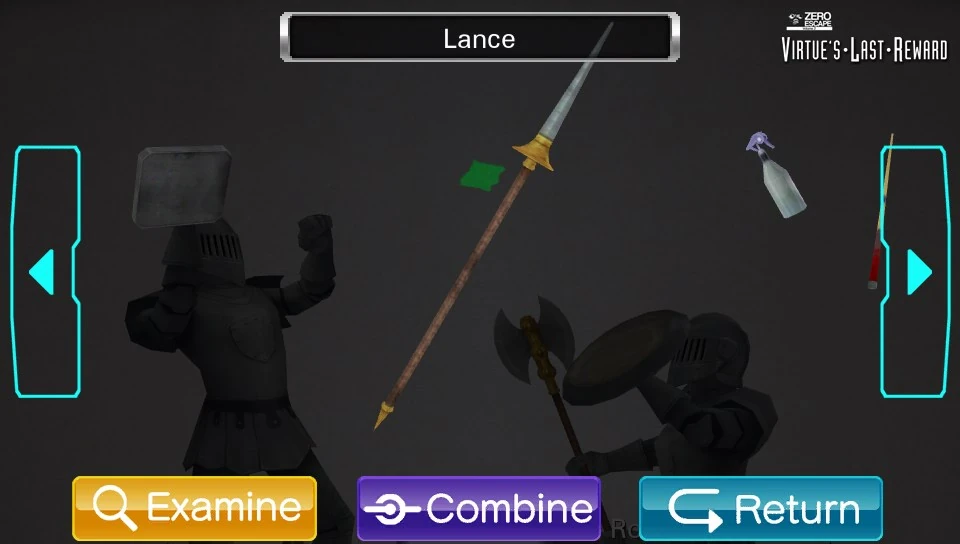
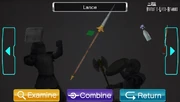
A lance.
The Lance is found being held by the suit of armor second from the left on the stage.
The Lance serves no purpose, but it must be taken in order for the Double-bladed axe to be given to the suit of armor.
Double-Bladed Axe


Two sides=Double the pain.
The Double-bladed axe is found being held by the suit of armor second from the right on the stage, the same suit of armor holding the shield. The Double-bladed axe should be given to the suit of armor second from the left on the stage (the one that was originally holding the Lance). The stage lights show that this is the correct placement. Once the circular button with the triangle on the stage control panel is pressed, the suit will break the glass shield of the other suit of armor. This allows the Allen wrench to be obtained.
Trident

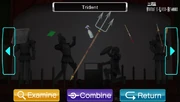
Neptune's well-known possession.
The Trident is found being held by the rightmost suit of armor on the stage. The Trident serves no purpose, only to confuse the correct placement of the weapons.
Extension Cord
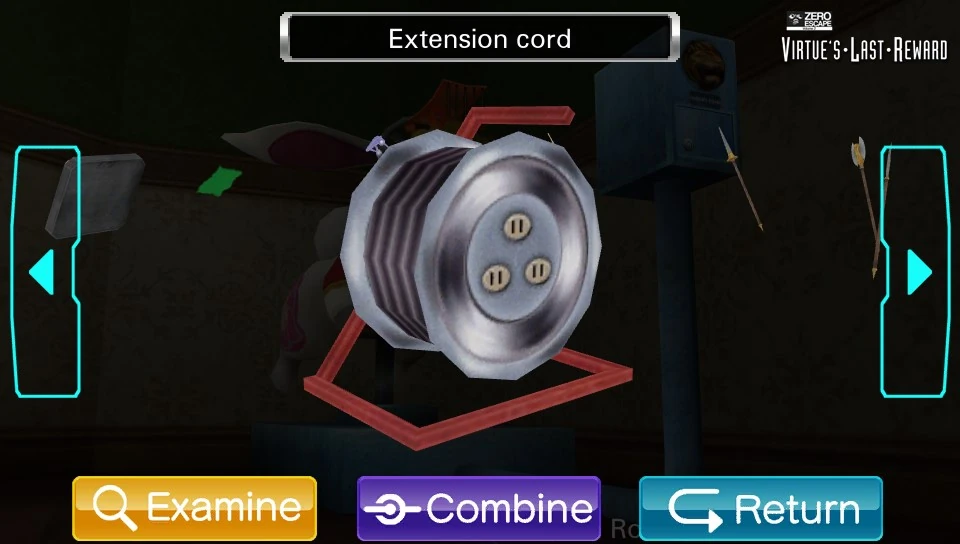

An extension cord.
The Extension cord is found plugged into the Zero Jr. ride on the ground.
The Extension cord can be used to connect the jukebox's cord to the wall socket. Once the jukebox has power, records can be selected from it.
Dart Tips
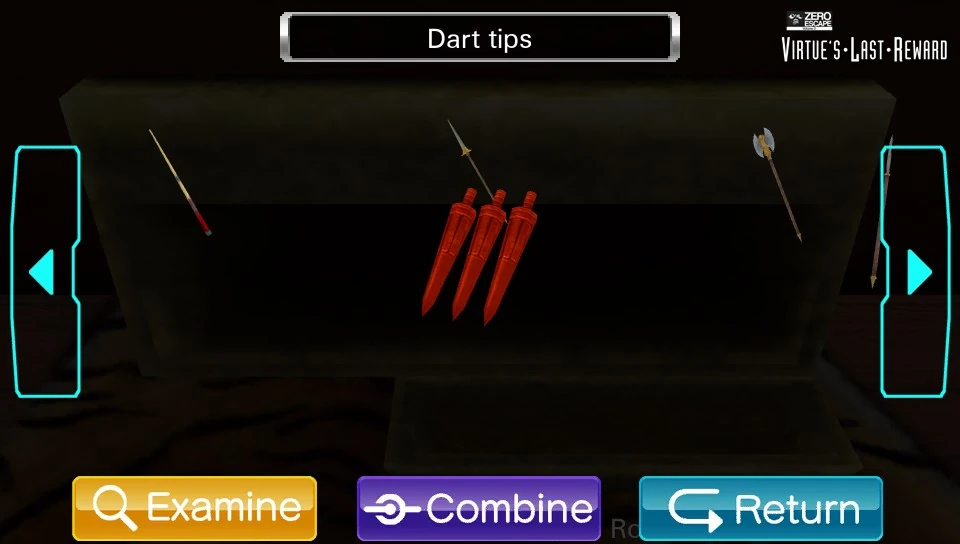

Why only the tips?
The Dart tips are found after the Billiard balls are correctly place in the pool table's holes. They are released to the ball retrieval slot.
Combines with Dart case to form Darts.
Allen Wrench
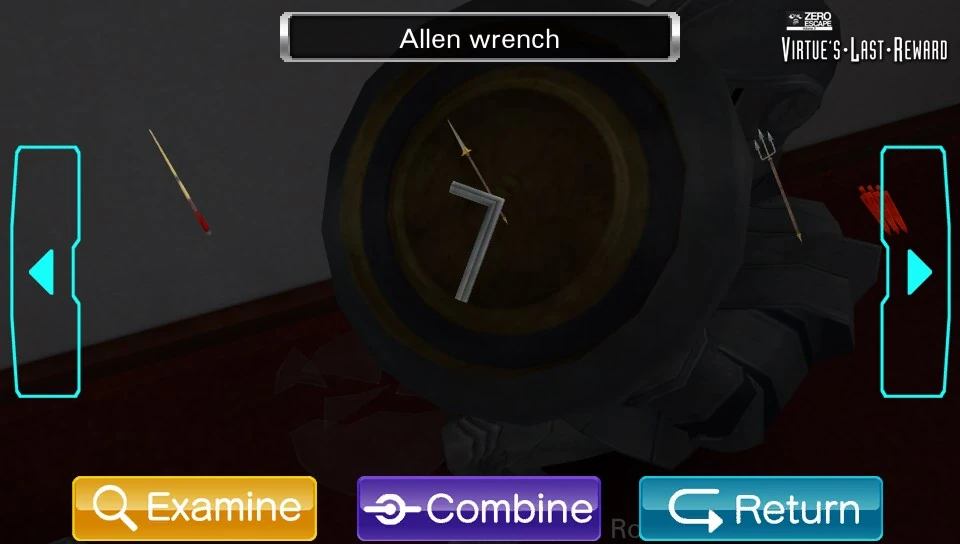

An "Allen" wrench.
The Allen wrench is obtained after the suit of armor with the Double-bladed axe smashes the glass shield.
Combines with Pool cue to form Key with circular tip.
Coins
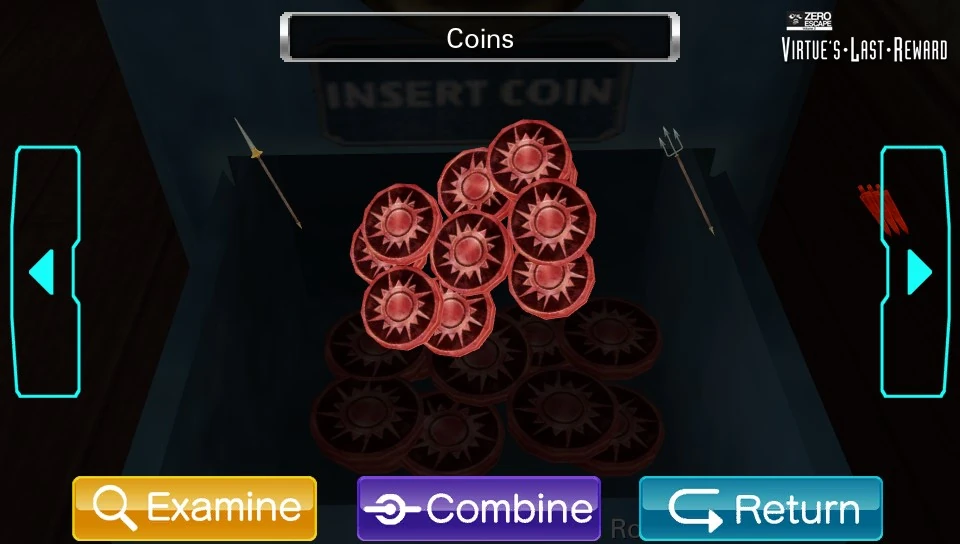
Fake (?) money.
The Coins are found after the Key with circular tip unlocks the coin box of the Zero Jr. ride. The Coins are used to activate the Zero Jr. ride. After K goes for a ride, a picture of him will be printed out of the coin box. The Coins must also be used to turn on the jukebox to select a disc.
Photo of K
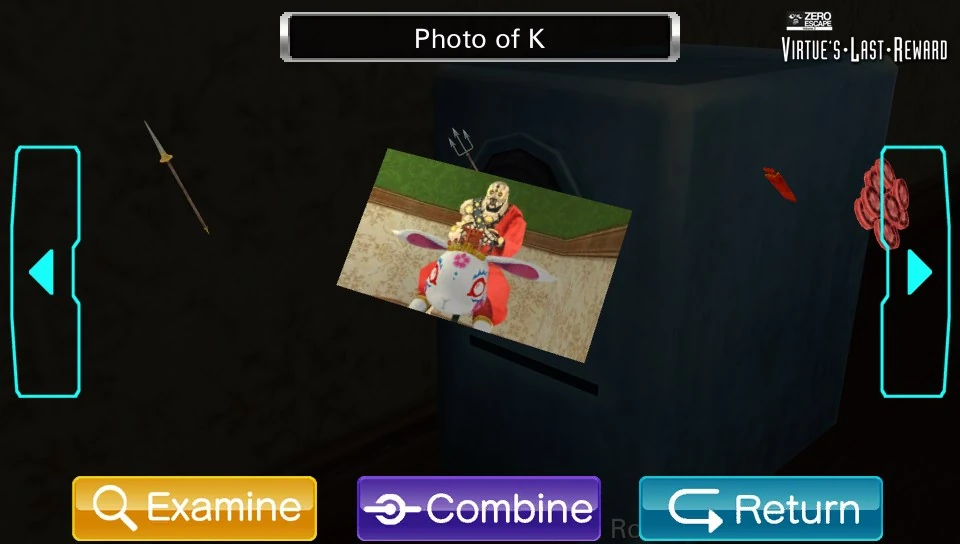
Men just wanna have fun...
The Photo of K is found after one of the Coins is used to activate the Zero Jr. ride. The picture is taken while K is riding it, and he gives it to Sigma after it comes out of the coin box. On the back of the note, 'Z9' and 'D1' are printed. These are the two combinations that need to be entered in the jukebox to obtain the gold records.
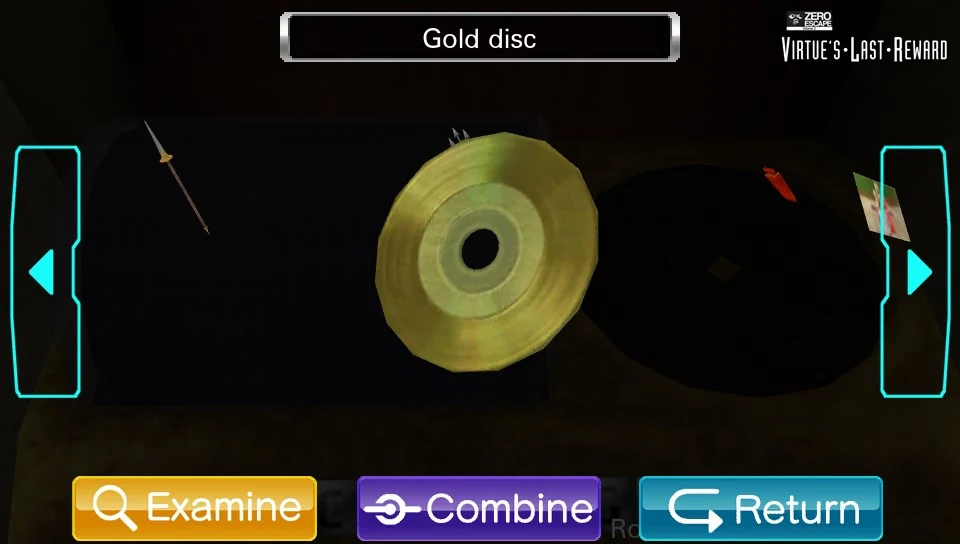
Gold Disc (x2)
Retro gold records.
The two gold discs are obtained from the jukebox after the correct combinations, 'Z9' and 'D1', are punched in. These combinations come from the Photo of K. The discs are to be placed in the left and right record display cases near the jukebox. Once they are both placed and the doors are shut, the middle case containing the Dart case is unlocked.
Dart Case


The Dart case is found after the two gold discs are placed in the adjacent display frames near the jukebox. After the darts have been completed, the markings on the inside of the case can be examined. A red, blue, and green dartboard are ordered from left to right, and 'SCORE 91' is printed on the bottom. These are hints to be used in the Dartboard Puzzle.
Combines with Dart tips to form Darts.
Combined Items
Key With Circular Tip


The key with circular tip is found when the Pool cue and the Allen wrench are combined. This key is used to unlock the coin box of the Zero Jr. ride. This allows the Coins to be collected.
Darts


The Darts are found when the Dart tips and the Dart case are combined. The Darts are used to play the Dartboard Puzzle on the dartboard near the mini fridge.
Minigames
Pool Ball Drop

Close-up of pool table.
This minigame is accessed after collecting the pool balls from the fridge. In order to complete this minigame you will need the poster of billards balls as well as the piece of felt and sprayed the table with luminol. The goal of this minigame is to drop the correct pool balls into the correct pockets using the letters the luminol revealed on the pool table. The diagram on the right of the screen shows which kind of ball to place in the pockets.
Using the clues, here is the following order:
- 4 ball in top right pocket
- 1 ball in bottom left pocket
- 13 ball in top left pocket
- 2 ball in middle right pocket
- 6 ball in bottom right pocket
- 9 ball in middle left pocket
Dartboard Puzzle
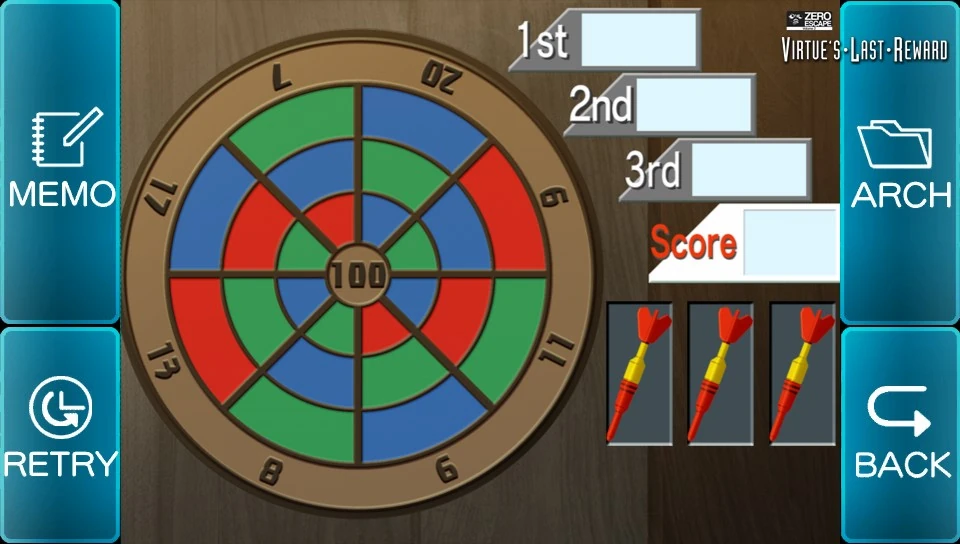
The dartboard.
This minigame is accessed after completing the darts. The player must place three darts on the dartboard. However, they have to put one on a red, blue, and green piece. The goal is to get a score of 91 with these conditions. There are two solutions and each of them will give you either the escape or file password.
The escape solution is the red 6, the blue 11, and the green 20.
The file solution is the red 17, the blue 11, and the green inner 8.
Trivia
Alice's Dragon Ball reference.
- After K rides the Zero III ride, if the ride is investigated again, Alice will comment on how she will remember that moment until she dies, foreshadowing her death in this ending.
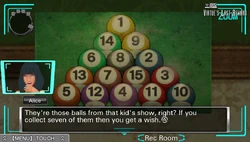
- When touching the poster of the pool balls, Alice states that this poster reminds her of a kids show where if seven balls are collected, you get a wish. This is a reference to Dragon Ball.
- A more difficult version of the Dartboard Puzzle is played in Q.
- The coins with sun designs and the ride with a lion slot continue the game's "lion eating the sun" motif.
- This is the only room in which Sigma and K are paired up.
Humorous Quotes
- Examine the mounted deer.
 K: My God! This deer must have phased halfway through the wall and then gotten stuck! How horrific! Sigma: That's just a mounted head! It's a decoration. K: Ah. I did think it had extraordinarily long legs.
- Place a coin in the ride slot.
- K: Oh? Were you planning to put a coin in there? Sigma: Yeah. I figure if I put a coin in here, then maybe it'll start up. right? K: Hm... Sigma: Okay, so I'll just drop a coin in and-
(K GETS ON RIDE) Sigma: K?! Why the hell are you riding it?! K: Eeeeee he he he he he he he he! Look at me go! K: Ahahahahahahahahahaha! Alice: I...I can't watch this... Sigma: There is no god... K: Heeeey! Sigma! Alice! Sigma: H-He's waving at us now... Alice, what's going on? I'm scared... Alice: I'm not watching. This isn't happening. Everything is fine.
(FLASH) Sigma: Huh? What was that? K: It seems to have taken a picture! K: Hooray! K: Ahahahahaha!
(RIDE STOPS) K: Aaah, that was delightful. K: Now, where is that photograph... K: Ah, there we are! K: Excellent. K: I give this to you as a memento of our time together, Sigma. Sigma: U-Uh, I...I don't really... Sigma: Just holding it makes me feel...wrong... K: Now now, that's hardly necessary.
- Examine the coin box after K's ride.
- Sigma: Never thought I'd see that... Alice: It will stay with me until I die.
- Examine the dart tips.
- K: Are these chili peppers? Yes, I believe these are the variety known as the Hawk's Claw. K: Alice, please, try some. Alice: I'm not eating that! Alice: I don't care what kind of claw it is! Alice: Are you even looking at them? These are obviously dart tips! Sigma: I donno, I'm just not seeing it. They look like peppers to me. Alice: Do you know what soft darts are? Alice: They use plastic tips instead of metal ones.
- Examine the lance.
- A lance. Apparently people sat on horses and used them to pierce things. The lances pierced things, I mean. Not the horses.
- Press a button on the jukebox.
- Sigma: Nothing happens when I push the button... K: Why don't you hit it? A little damage might make it more flexible. Sigma: What the hell kind of logic is that? K: If being locked means it's working correctly, then if it's not working correctly it won't be locked! Sigma: Nope. If we break it completely then we're boned. K: What an astute observation.