SPOILER WARNING
Every escape room article is spoiler-free to assist first-time players, but do not click any links on the article if you wish to avoid spoilers. Spoilers are also hidden in optional toggles.
- "This elevator you're in... It's gonna fall in a few minutes. Waaaaaay down."
- — Zero III, warning Sigma and Phi
The Elevator is the first escape room in Virtue's Last Reward. It is one of six elevators in Warehouse A, which actually serve as Ambidex Rooms as a part of Ambidex Game. Sigma and Phi wake up here at the beginning of the game. The other players wake up in different elevators with identical setups.
Layout[]
The elevator is a small, cramped room. It has several notable features, including a touch screen machine that Sigma calls an ATM, a small, gray safe with a keypad on it, and three sets of elevator buttons. The left and right walls have one set each and the third set is the main elevator panel. Above the left panel is a picture of a baby and above the right panel is a picture of an old man. The main elevator panel has a picture of a rabbit above it. Above the main elevator panel is a button behind a key lock. There is a screen above the button. Below the panel there is a grate with four differently-colored and differently-shaped bolts. Removing these bolts reveals a sliding block puzzle. There is a poster with babies and seniors on it above a fire extinguisher to the left of the ATM-like machine. To the right of the machine is a small red locker. There is a railing on each of the side walls below the set of elevator buttons. Both ends of each railing have a colored handle. Each of these handles is a different color. Finally, there is a hatch on the ceiling.
When the players play the AB Game, the "ATM" is used to select and register votes of "Ally" or "Betray" from each of the pairs and solos.
Story[]
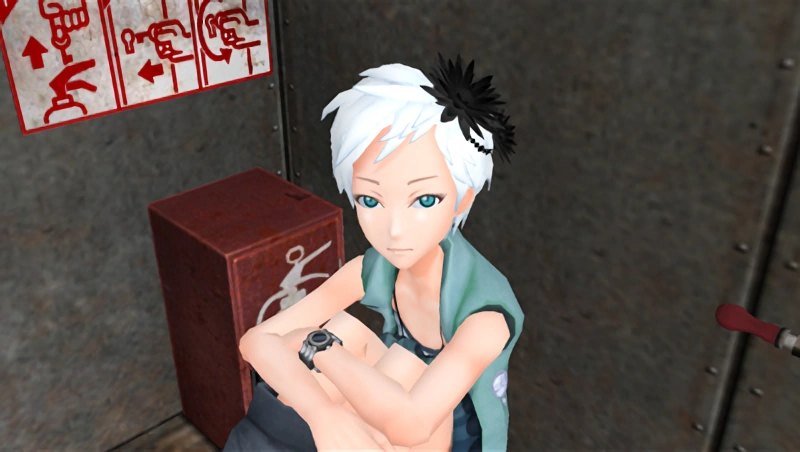
Phi, sitting in the corner of the elevator.
Sigma wakes up on the elevator floor in pain, as memories flood his brain. Sigma shakes it off and looks around the room, coming to the conclusion that he is inside of an elevator. A girl in the opposite corner that he didn't notice earlier suddenly points out that that is an obvious fact. He tries questioning her about where they were and why they were there, but she doesn't seem interested in disclosing information. She gets up and he asks her for her name. She replies "Sigma" and he is shocked at how she knows his name, as they have never met before. She tells him that "she just knows it". They then look down on their wrists and see a digital watch, its display showing "3" and "Pair" in the color red. It seems to be electronically locked, and there is no way to get it off. The girl also says that she pressed the buttons on the side of the bracelet, but nothing happened.
A Talk with a Rabbit[]
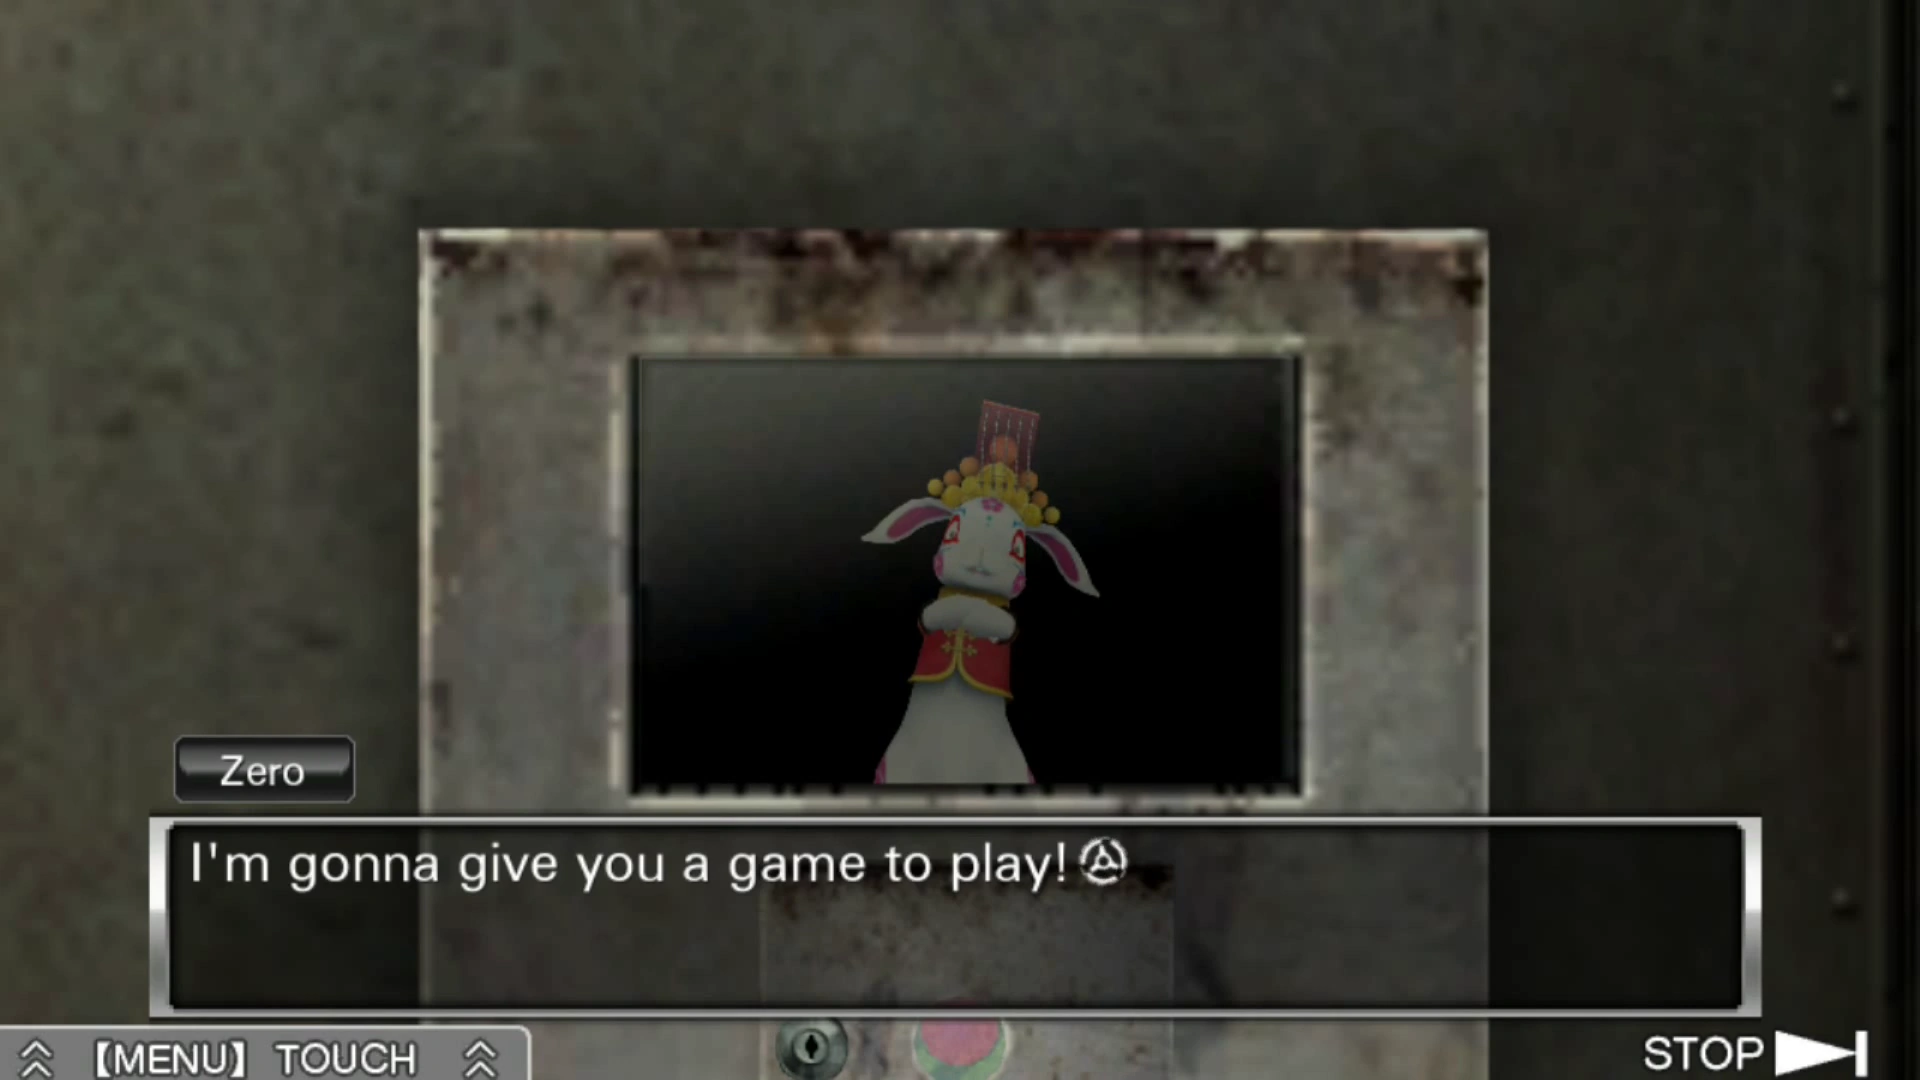
Zero III introducing himself.
As Sigma and the mysterious girl are talking, a rabbit calls out to them from a monitor embedded in the elevator button panel. The rabbit, an AI calling himself Zero III, tells the two that they were brought there for a game called the Nonary Game: Ambidex Edition. He refuses to elaborate on that and leaves, telling them that the elevator is going to drop in a few minutes, killing them if they don't escape. Realizing that they are in danger, Sigma and the girl begin looking for a way out. They eventually find a key in the safe and use it to open the hatch in the ceiling.
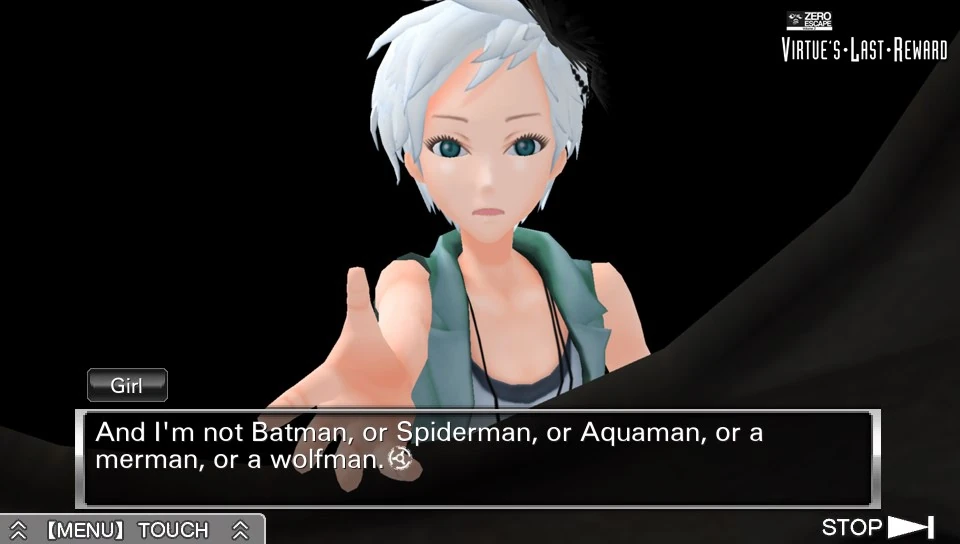
The Mysterious Girl[]
Phi helping Sigma up.
After Sigma and the girl manage to solve all of the puzzles and open the hatch in the ceiling, they find it is too high for them to reach. Sigma suggests she climbs on his shoulders, but after telling her that he wants to get his face sandwiched between her thighs, she's disgusted and rejects the idea. She comes up with another plan and forces him to kneel. To Sigma's surprise, she steps up on his back and jumps all the way up to the opening in the ceiling. She reaches out her hand to pull Sigma up and reveals her name as Phi. They get up on the top of the elevator and discover that the elevator was never going to fall in the first place and that they are inside of a warehouse. They soon find Alice, Tenmyouji, Quark, Luna, and Dio by the Number 9 door. They then run towards them and introduce themselves.
AB Room: Past[]
| SPOILER WARNING - DON'T READ UNTIL YOU COMPLETE ENTIRE GAME | |
 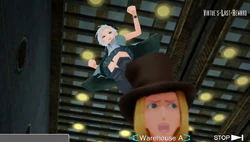 Phi kicks Dio. Sigma and Phi time jump back to the elevator on the route to Phi END after Akane Kurashiki asks them to save her from Dio in the hologram found in Q. Their consciousnesses jump back to their bodies at the beginning of the game, and they find that they are there several hours before the Nonary Game begins and that they could prevent Akane's death. Sigma, confused at first, regains his memories and quickly escapes from the elevator with Phi. They get on top of the elevator and see Dio closing in on Akane, about to kill her. While Sigma is wondering how they could stop Dio, Phi quickly dashes across the top of the elevators and lands a powerful jump kick on Dio's head, knocking him out. 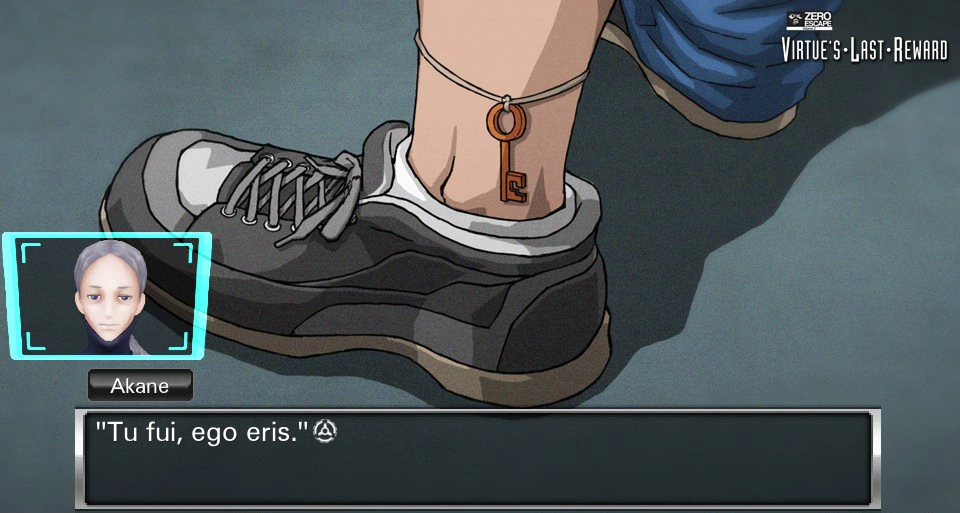  Akane ties a key around Sigma's ankle. Akane thanks her and tells them why she allowed Dio kill her. She explains that death was necessary to get them to time jump. Phi asks her if she is an esper as well, and she says yes. She also tells them that they were forced to play the AB Game to increase their ability to retain memories with each time jump. She then orders Zero III to unlock her bracelet and she puts it on Dio's wrist. This was to recreate the same history that they remember. With time running out before they jump back, Akane quickly ties a key around Sigma's left leg, gives him a hint to where the key goes, and promises that they will finish the conversation later. Soon after, the two jump back before they had the chance to ask more questions. Akane puts on K's armor, stashing Kyle in the treatment pod in the B. Garden, returns Sigma and Phi to their AB Room, and drags Dio to Quark's AB Room, in order to prevent a time paradox. | |
Items[]
Found Items[]
Handles (Red/Blue/Green/Yellow)[]


These handles are found on the ends of the railings on the left and right walls of the elevator. They are simple screwdrivers, without a tip. They appear to be part of a wrench.
Yellow: Combines with Triangular tip to form Triangular Socket Wrench
Blue: Combines with Square Tip to form Square Socket Wrench
Green: Combines with Pentagonal Tip to form Pentagonal Socket Wrench
Red: Combines with Hexagonal tip to form Hexagonal Socket Wrench
Fire Extinguisher Pin[]
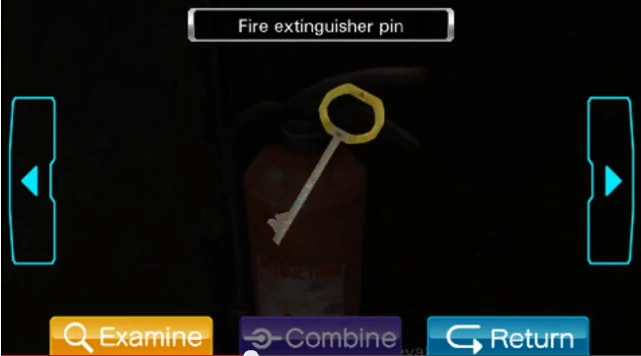

A pin that doubles as a key.
This pin is found on the handle of the fire extinguisher in the corner of the elevator. The top part of it is yellow, while the bottom, metal part is starting to rust. It doubles as a key and opens the fire extinguisher box.
Tips (Triangular/Square/Pentagonal/Hexagonal)[]


These tips are found in the fire extinguisher box in the opposite corner from the fire extinguisher pin. They come in four shapes (Triangle, Square, Pentagonal, and Hexagonal) and attach to the bottom of the corresponding handles listed below.
Triangular:Combines with Yellow handle to form Triangular Socket Wrench
Square:Combines with Blue handle to form Square Socket Wrench
Pentagonal:Combines with Green handle to form Pentagonal Socket Wrench
Hexagonal:Combines with Red handle to form Hexagonal Socket Wrench
Green Memory Card[]
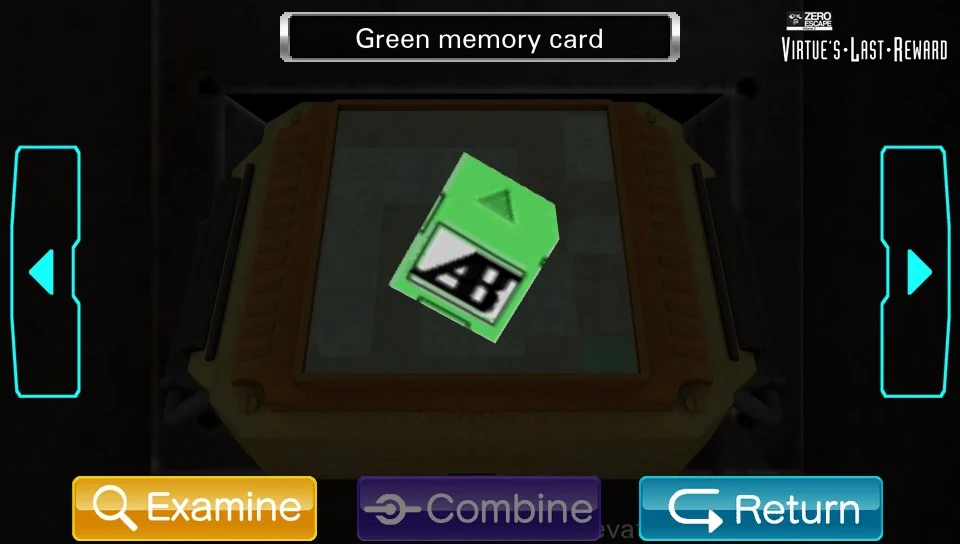

The green memory card.
The Green Memory Card is found in the bottom slot of the box after the Block Maze minigame is completed. It is placed in the green slot in the large machine to turn on the screen.
Blue Memory Card[]
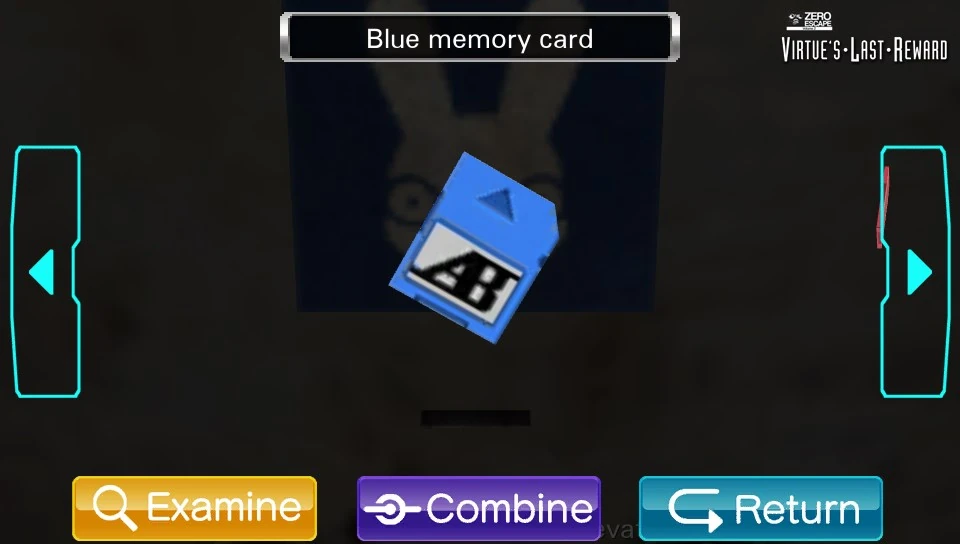

The blue memory card.
The Blue Memory Card appears after the "0" button below the rabbit icon on the elevator control panel is pressed. It is placed in the blue slot in the large machine to display the escape password, provided that the green memory card is already inside.
Red Memory Card[]


The red memory card.
The Red Memory Card appears after the "3" button below the rabbit icon on the elevator control panel is pressed. It is placed in the red slot in the large machine to display the file password, provided that the green memory card is already inside.
Combined Items[]
Socket Wrenches (Triangular/Square/Pentagonal/Hexagonal)[]


These wrenches are used to unscrew the bolts off of the air duct cover. Each color has a different shaped tip that goes with it.
- Triangular Tip = Yellow
- Square Tip = Blue
- Pentagonal Tip = Green
- Hexagonal Tip = Red
Behind the duct cover is the sliding puzzle minigame.
Minigames[]
Elevator Buttons[]
Look at the poster (in the Archive section of the menu) and count the number of old people on the poster. Enter 7 on the control panel marked with an old person icon.
Look at the poster again and count the number of babies on the poster. Enter 4 on the control panel marked with a baby icon.
On the last control panel, marked with a rabbit icon, enter 0 (the rabbit is "Zero") and get the Blue Memory Card. Then enter 3 (he's Zero "the Third") and get the Red Memory Card. The red memory card will give you the file password.
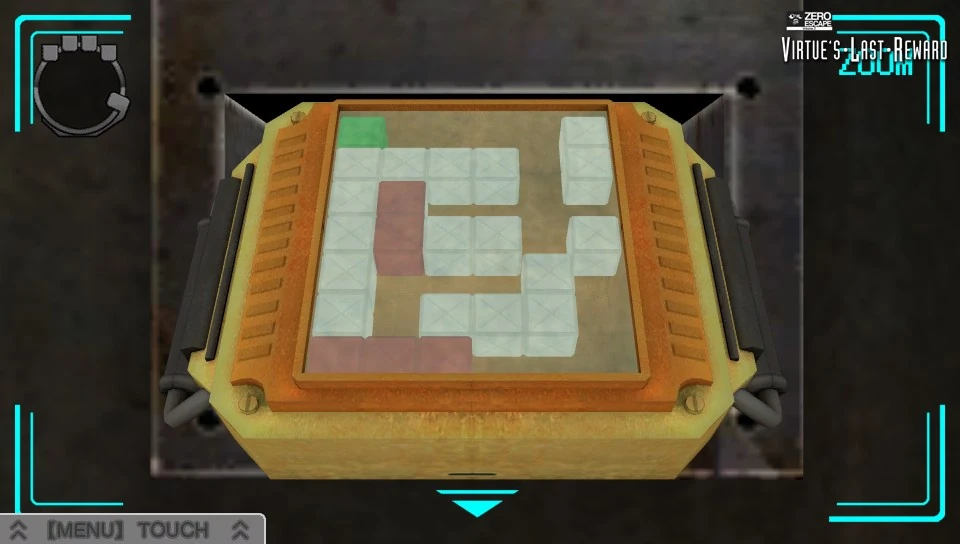
Block Maze[]


The first minigame!
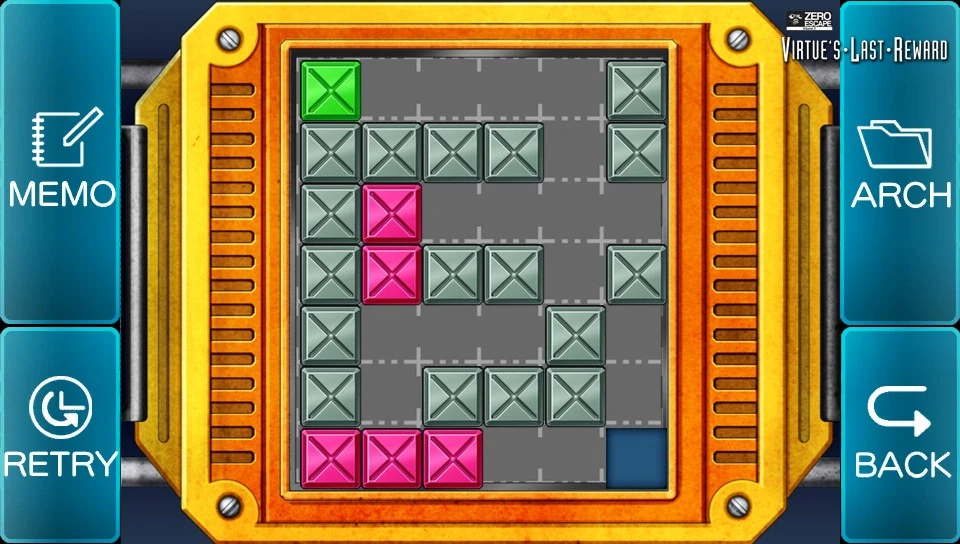
This minigame requires the player to move the green square to the hole in the bottom of the device. The red squares can serve as walls to stop the green square from going into a corner. The trick of this minigame is to use the walls to reach the hole by lining up the green square with the hole. This minigame is more difficult on the 3DS version, because of the gyro controls, which could move the blocks if you move the system in your hand. It is easier to use the d-pad on the system. Completing this minigame awards you with a red memory card.
The directions to complete it are:
- Right, up, right
- Down, left, up
- Right, up, right
- Down, left, down
- Right, up, right
Trivia[]
- This is one of only three escape rooms where only one person helps Sigma solve the puzzles.
- It is the only escape room in the game that is required to be completed twice in order to finish the game. However, the second time it has to be completed only requires the player to open the safe, since they would already have the safe combination from the previous escape.
Humorous Quotes[]
- Examine the "Zero III" picture on the elevator panel.
 Phi: This is some kind of mouse icon. Sigma: It's a rabbit! How many times do I have to tell you?!
- After examining the "Baby" picture on the elevator panel on Easy mode.
- Phi: (sigh) A baby, huh... I wish I had one... Sigma: Wh-whoa, what're you talking about? Phi: It's just... Looking at this thing makes me think about babies. I mean, it is a picture of a baby. Sigma: You like kids? Phi: Yeah, I guess so. Sigma: There some guy you're planning on making some with? Phi: H-Hey! No there is not! Sigma: I see... You wanna make one here, then? Phi: Make one what? Sigma: A baby.
(WHACK) Sigma: O-Ow... Phi: You stay away from me, all right!? Don't even think about doing anything! If any part of you touches me, even by accident, I will break it off! We clear!? Sigma: Y-Yeah, of course. I was just joking...
- Examine the elevator doors a second time on Easy mode.
- Phi: Opeeeeen sesame! Sigma: Pretty sure that's not going to work... was that your "another way"?