SPOILER WARNING
Every escape room article is spoiler-free to assist first-time players, but do not click any links on the article if you wish to avoid spoilers. Spoilers are also hidden in optional toggles.
- "Yeah. Zero's probably manufacturing them... It does say this room is 'Manufacturing' on the map."
- — Phi, referring to the robots
Manufacturing is an escape room that is found within the Outbreak fragment for D-Team. It appears to have been used for the construction of robots and other machinery. It is searched by Diana, Phi, and Sigma Klim.
Layout[]
A variety of machinery and a trio of robots are stored here. This may be where the robots were built. There are also several contraptions that appear to be similar to arcade games, but none of them are functional.
Story[]
Diana, Phi, and Sigma find themselves locked in this room. While Diana and Phi discuss the robots - which seem to be powered down - Sigma is strangely silent.
Items[]
Found Items[]
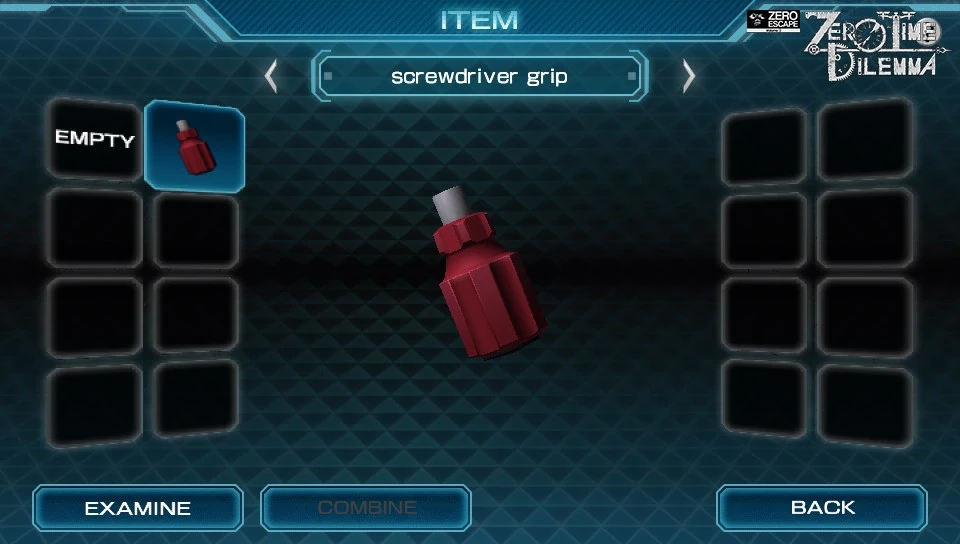
Screwdriver grip[]
Found on the note table, needs to be combined with screwdriver head.
Screwdriver head[]

Found on the strange machine near the table, needs to be combined with the screwdriver grip.
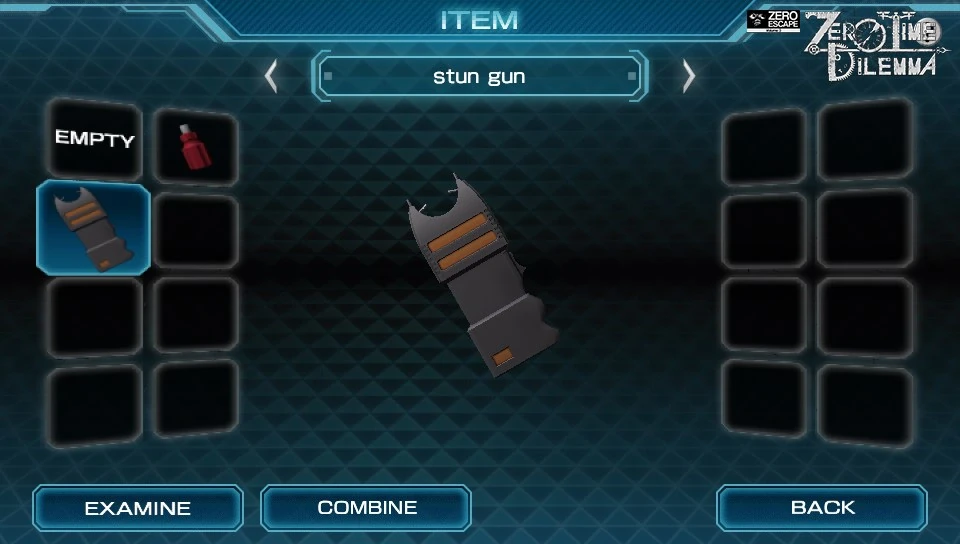
Stun gun[]
Found on the note table, is used in the robot activation minigame.
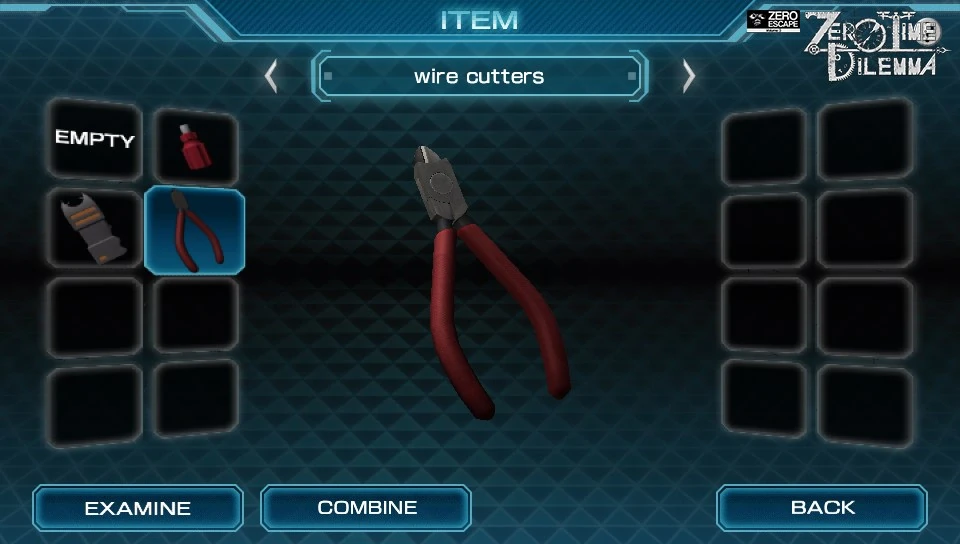
Wire cutters[]
Found on the strange machine near the robots, used to cut the wires for the bomb minigame.
Combined Items[]
Screwdriver[]
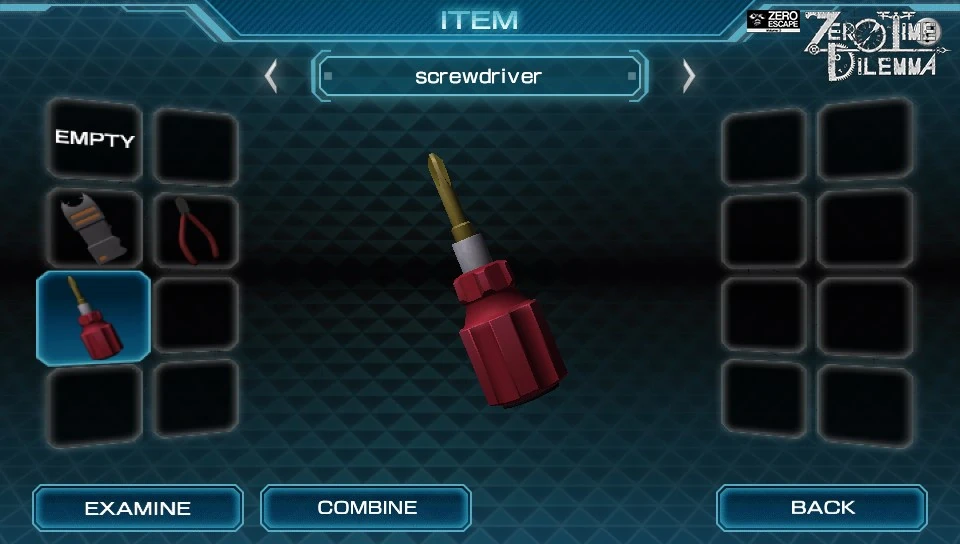
Obtained after combining the two screwdriver parts. This item is used to deactivate the detonator.
Minigames[]
Stun gun[]

The stun gun puzzle in progress.
A note found says:
"From the far left -> 4 right -> 1 left -> 2 left -> 4 right - 3 left -> Boot up!"
"From the far left" is somewhat of an unhelpful hint since it actually means "click the left-most first".
Click them in this order:
| 1 | 4 | 6 | 3 | 2 | 5 |
|---|
If, for some reason, the above solution doesn't work, then you are reading the directions in an alternate way. In this case, it's:
154263
Wire cutting[]
Cut the red wire.
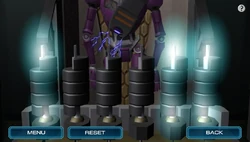
Pendulums[]


The pendulums.
Unscrew them in the order of the image on the right.
Wire cutting[]
Cut the blue wire, unscrew the fuse, then cut the red wire.
Trivia[]
- The music is a remix of the GAULEM Bay music in Virtue's Last Reward.
- You can complete this room without ever playing the red and blue ball minigames if you defuse all the fuses in the box bomb correctly on the first try.
- Failure at the red and blue ball minigame results in an automatic game over. You can choose to restart, which returns you to the device you were working on. If you choose to end, you return to the Team Select screen and will have to replay the room from the beginning.
- If you fail the red and blue ball minigame and choose to restart, various members of the Team will seem confused about what just happened.
Humorous Quotes[]
- Instructions for the red & blue ball minigame:
- Prevent an Explosion. I once heard a story about putting a robot with a red ball together with one with a blue ball. Did they have a baby? No... they were annihilated in an explosion. Sadly, it concludes with a GAME OVER.
- Examine the stun gun in your inventory:
 Diana: I think this is a stun gun...? Phi: Yeah, but we can't tell how much power it has. Diana: ...Maybe we should try it out? Sigma: A-AH! Stop! Don't point that thing at me!
- Examine the stun gun again:
- Sigma: It's a stun gun... Hold on, don't consider it like that! I won't be your guinea pig!
- Solve the stun gun puzzle without the hint:
- Diana: Oh! I think it worked! Sigma: It's mind boggling that it started like that... I don't understand at all...
- Examine Betty for the second time:
- Betty: Set Us Up the Bomb Timer To 0 Seconds! Set, Set! Please! Are You Stupid?
- Examining Betty after removing the first wire panel from the detonator:
- Betty: Aha? Ahahaha! Wibbly Wobbly Timey Wimey!
- Examining a second time:
- Betty: Time. Time! Forward, Back Ah! He He He! What? Nothing To See Here! Go Away!
- After disarming the pendulum fuse:
- Betty: I Love Lamp! I Drink Your Milkshake! I Am Sparticus! Geronimo! He He He?! Wooo!
- Phi: What in the world is wrong with this thing? When did it move there? Sigma: We don't have the time for this right now. We have to disarm the box first. Diana: R-Right!
- After removing the second wire panel (third panel total, immediately after the pendulum fuse):
- Betty:"Nobody puts Baby? In a corner! Corner! Here's Johnny! I'm the Doctor! Who? WHO! HaHa Time!"
- Phi: Uh, h-hey...! That thing moved again! Diana: Um... Doesn't it look like that robot's going to do something...? Sigma: We have to focus! We have more to disarm!