SPOILER WARNING
Every escape room article is spoiler-free to assist first-time players, but do not click any links on the article if you wish to avoid spoilers. Spoilers are also hidden in optional toggles.
- "...Lounge? Does that mean there's somebody living here?"
- — Sigma, speculation of the purpose of the Lounge
The Lounge is an escape room behind the magenta Chromatic Door on Floor A. Sigma is able to investigate this room if he chooses to go with Phi and Luna in the first round of the AB Game.
Layout[]
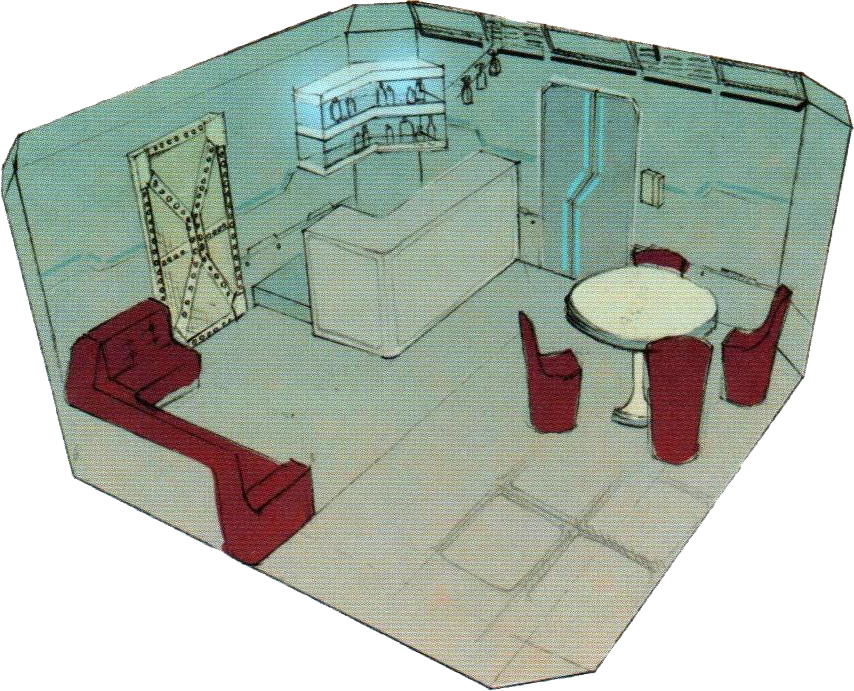
Concept art.
The Lounge is a small room. It has four doors, but two of them are covered with metal plates and are impossible to open. It has a red sofa in a corner with a sun clock above it. In the other corners, there is a rusty table and some chairs, a shelf, and a counter with many bottles of alcohol and some glasses. To the right of the entrance is a gray cabinet.
Story[]
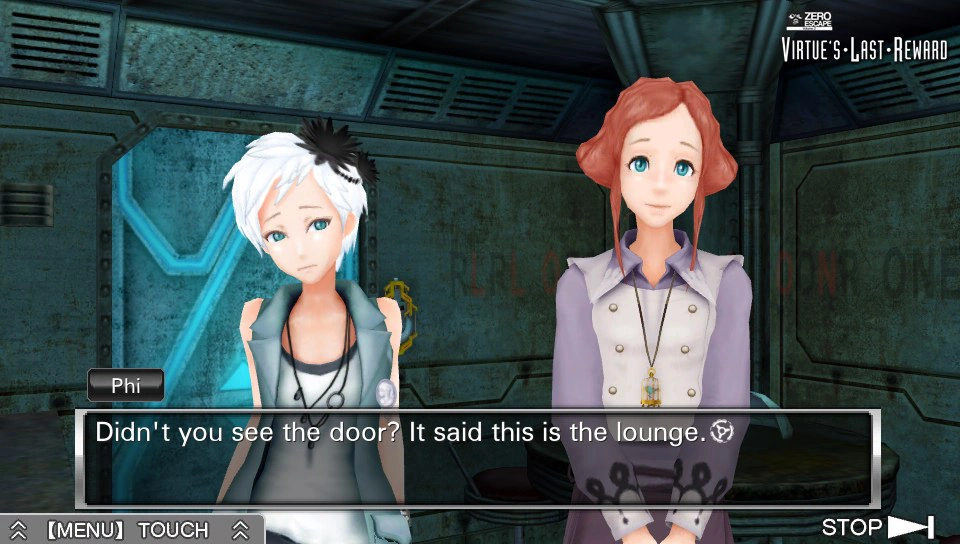
Phi and Luna in the Lounge.
Sigma and Phi decide to join Luna and go through the magenta door, and behind it, they find the Lounge. Finding themselves unable to leave the room, they decide to investigate it.
During their investigation, they find an astronomy magazine, which states that a lunar eclipse is to occur on December 31, 2028.
After finishing the puzzle, they open the safe and find a map of floor A, the supplementary rules, two sun cards and the key for the exit. Sigma, Phi and Luna escape through the door that leads them to the elevator, where they meet the others.
Later in the game, Sigma meets other players in this room and exchanges information with them before returning to Warehouse A.
Items[]
Found Items[]
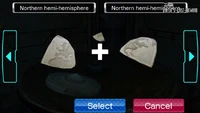
Northern Hemi-Hemisphere (x2)[]
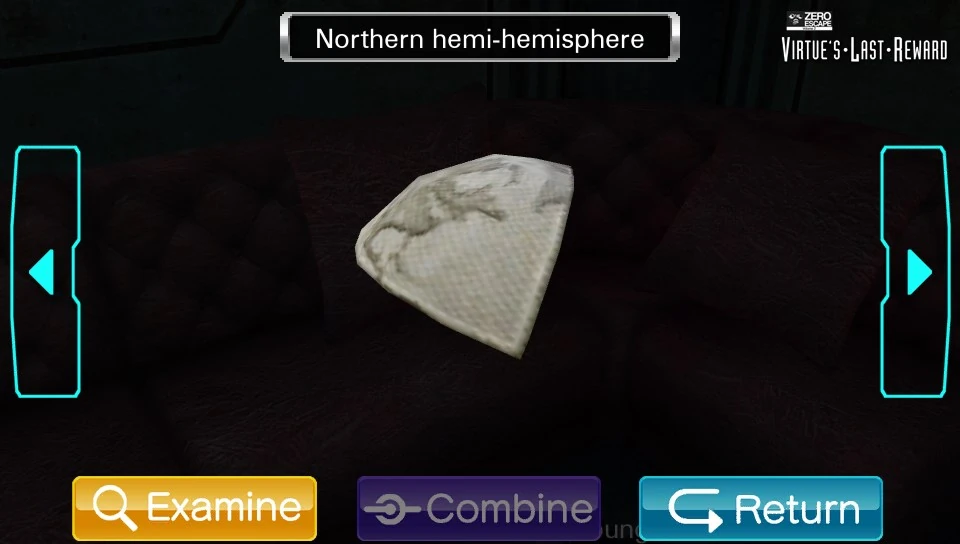
The north hemi-hemi.
One of the Northern hemi-hemispheres is found lying on the ground in front of the sofa. The other hemi-hemisphere is found on the rusty table.
Combine with each other to form Most of the n. hemisphere.
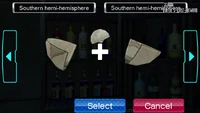
Southern Hemi-Hemisphere (x2)[]

The south hemi-hemi.
One of the Southern hemi-hemispheres is found in the right-hand cabinet on the shelves next to the entrance. The other is found on the right alcohol shelf behind the counter.
Combine with each other to form Most of the s. hemisphere.
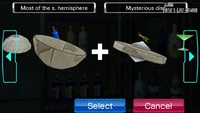
Mysterious Disc[]

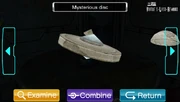
It looks like a giant spinning top.
The Mysterious disc is found on the rusty table.
Combines with Most of the n. hemisphere to form N. hemisphere with disc. OR
Combines with Most of the s. hemisphere to form S. hemisphere with disc.
Two Needles[]
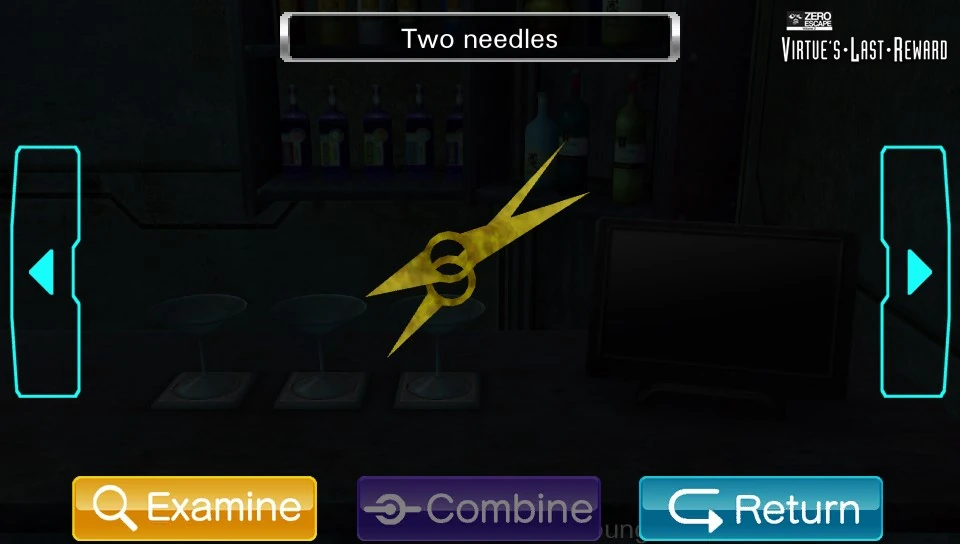
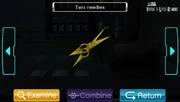
Double needle.
The two needles are found sitting in the rightmost glass on the counter.
The needles are actually clock hands and can be placed on the clock above the sofa.
Empty Glass (x3)[]
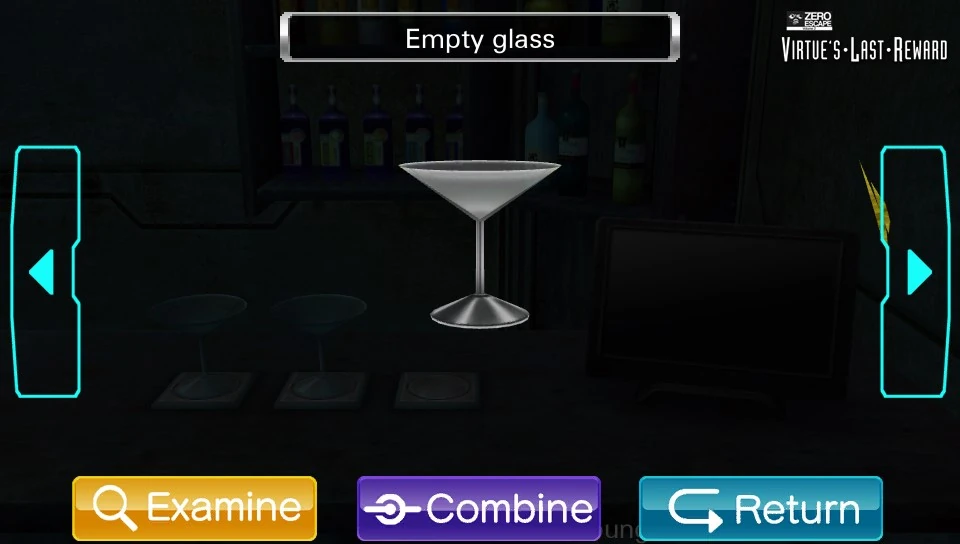
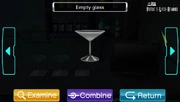
Let's get drinking!
The three empty glasses are found sitting on coasters on the counter.
The glasses can be filled at the cocktail machine and then placed on the coasters again.
Liqueur (Red)[]
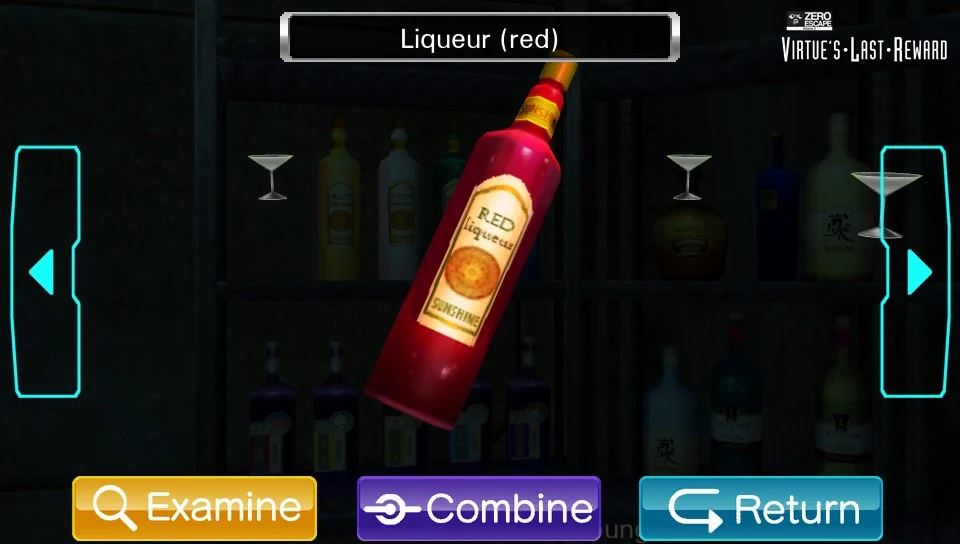

Red liquor.
The red Liqueur is found on the shelf behind the counter.
Placed in the left slot of the cocktail machine to make cocktails.
Liqueur (Yellow)[]
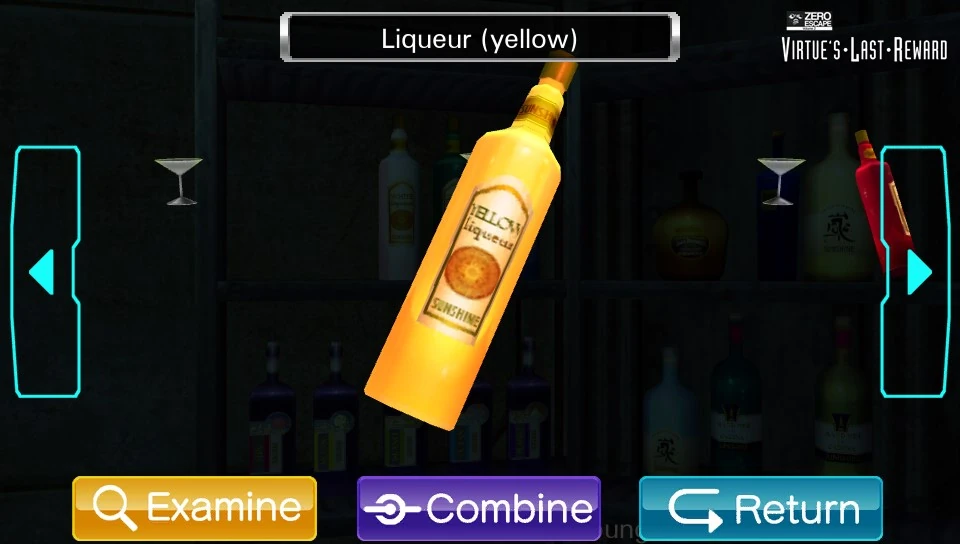

Yellow liquor.
The yellow Liqueur is found on the shelf behind the counter.
Placed in the left slot of the cocktail machine to make cocktails.
Liqueur (White)[]
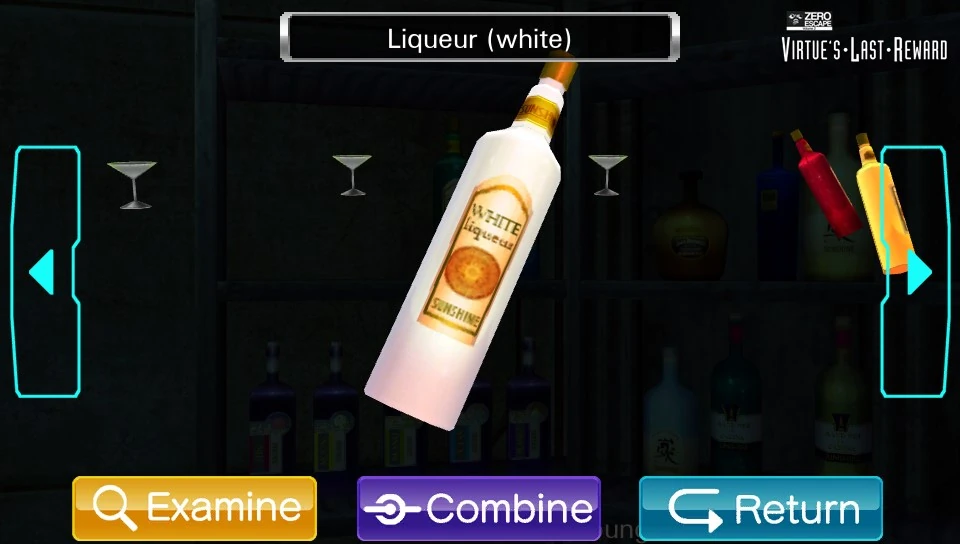

White liquor.
The white Liqueur is found on the shelf behind the counter.
Placed in the left slot of the cocktail machine to make cocktails.
Liqueur (Green)[]

Green liquor.
The green Liqueur is found on the shelf behind the counter.
Placed in the left slot of the cocktail machine to make cocktails.
Liqueur (Blue)[]

Blue liquor.
The blue Liqueur is found on the shelf behind the counter.
Placed in the left slot of the cocktail machine to make cocktails.
Bottle Of Alcohol (Sun)[]

Hot alcohol.
The Sun bottle of alcohol is found on the shelf behind the counter.
Placed in the right slot of the cocktail machine to make cocktails.
Bottle Of Alcohol (Moon)[]
Chunky alcohol.
The Moon bottle of alcohol is found on the shelf behind the counter.
Placed in the right slot of the cocktail machine to make cocktails.
Bottle Of Alcohol (Island)[]
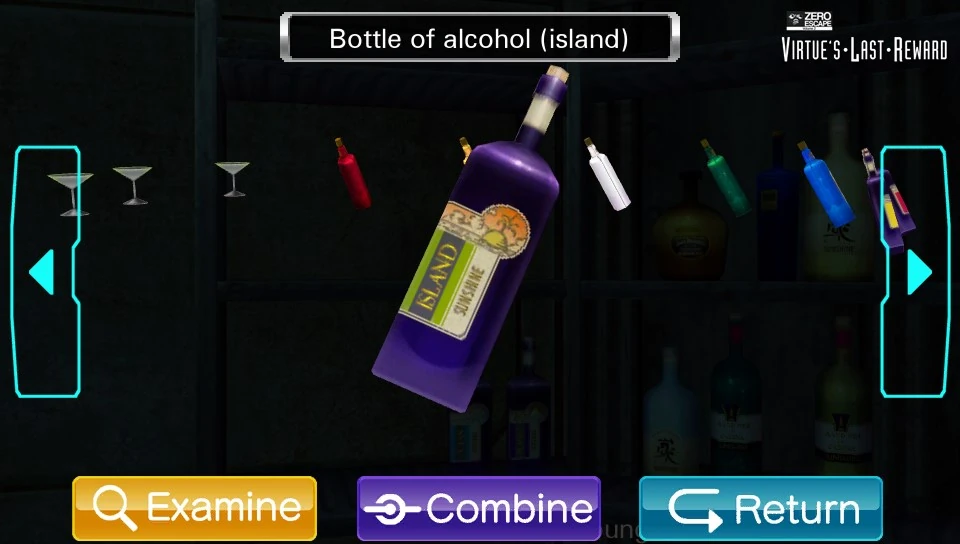
Tropical alcohol.
The Island bottle of alcohol is found on the shelf behind the counter.
Placed in the right slot of the cocktail machine to make cocktails.
Bottle Of Alcohol (Ocean)[]
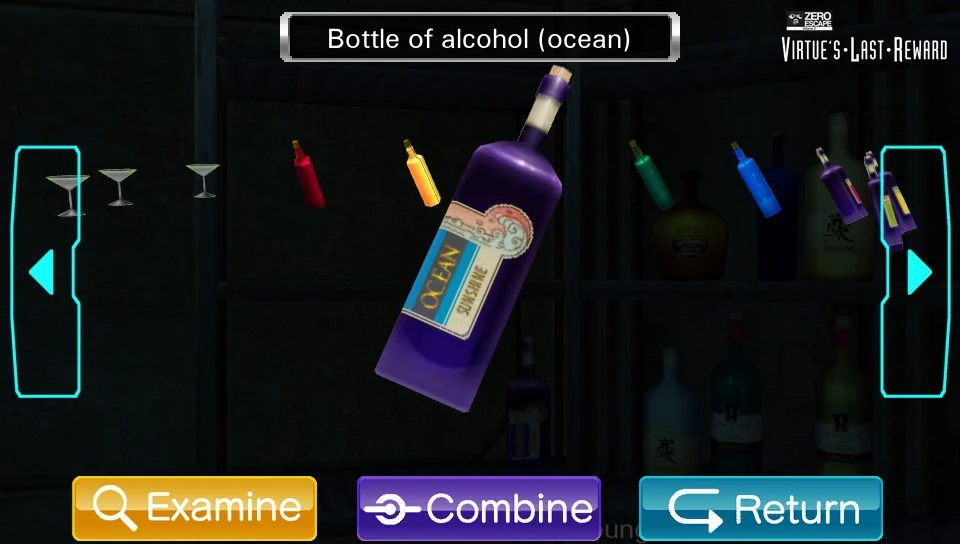
Wet alcohol.
The Ocean bottle of alcohol is found on the shelf behind the counter.
Placed in the right slot of the cocktail machine to make cocktails.
Bottle Of Alcohol (Planet)[]
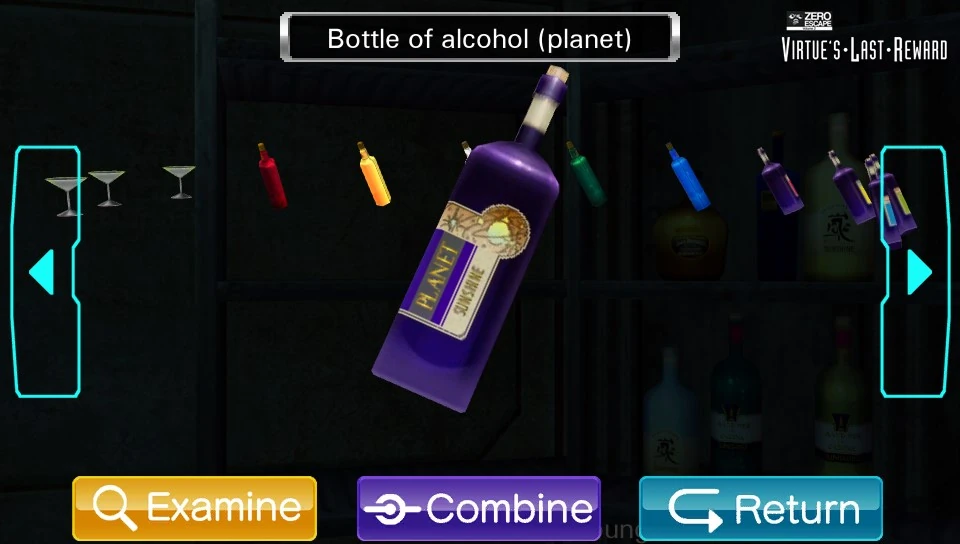
Grassy alcohol.
The Planet bottle of alcohol is found on the shelf behind the counter.
Placed in the right slot of the cocktail machine to make cocktails.
Cocktail[]
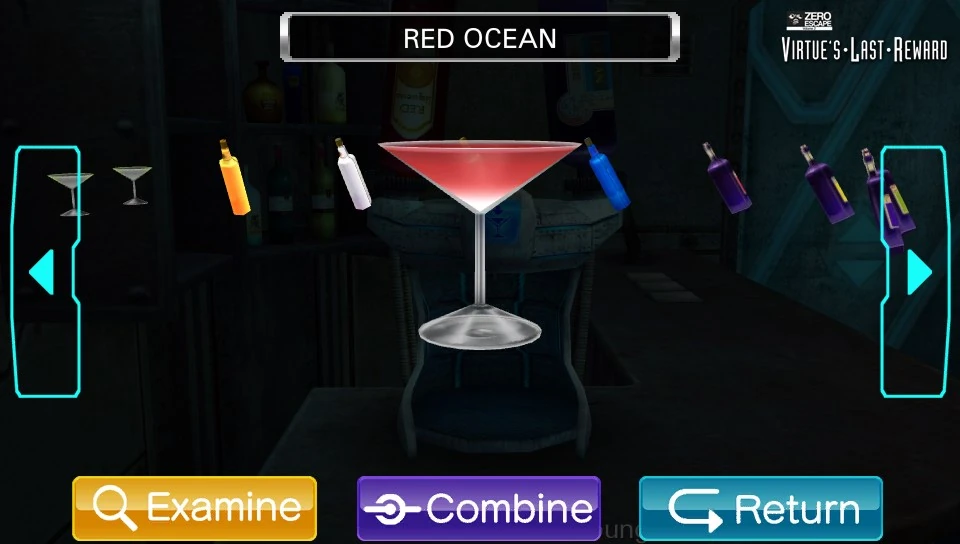
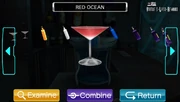
The "Red Ocean" cocktail.
The cocktails can be found when a bottle of alcohol and a bottle of liquor are placed in the cocktail machine. The cocktails are named after the alcohol and liquor, with the first word the color of the alcohol and the second word the type of alcohol (for example, WHITE ISLAND).
Placed on the coasters on the bar to reveal the passwords on the screen.
Combined Items[]
Most Of The N. Hemisphere[]
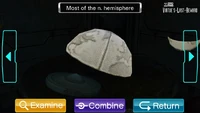
This part of the globe is found when the two Northern hemi-hemispheres are combined.
Combines with Mysterious disc to form N. hemisphere with disc. OR
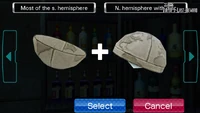
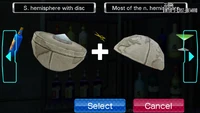
Combines with S. Hemisphere with disc to form Globe.
Most Of The S. Hemisphere[]
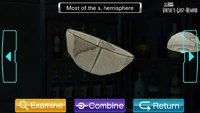
This part of the globe is found when the two Southern hemi-hemispheres are combined.
Combines with Mysterious disc to form S. hemisphere with disc.
Combines with N. Hemisphere with disc to form Globe.
N. Hemisphere With Disc[]
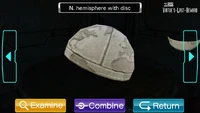

The N. hemisphere with disc is found when most of the n. hemisphere and the mysterious disc are combined.
Combines with Most of the s. hemisphere to form Globe.
S. Hemisphere With Disc[]
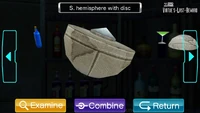
The S. hemisphere with disc is found when most of the s. hemisphere and the mysterious disc are combined.
Combines with Most of the n. hemisphere to form Globe.
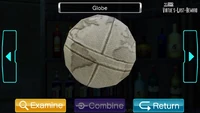
Globe[]
The Globe is found when all four of the hemi-hemispheres and the mysterious disc are combined.
The Globe can be placed in the stand on the rusty table.
Minigames[]
Sun Clock[]
This minigame is activated after placing the clock hands on the sun clock. To complete it, the player must move the hands to the time on the "Astronomy Today" magazine found in the red sofa. The solution is 4:50. As a result, a beam of light is shown from the clock, and words appear on the globe and the wall behind it. The hands point to Green and Sun.
Cocktail Maker[]
The machine on the bar mixes drinks. To mix a drink, use a "color" (red, green, blue, etc) bottle on the machine, then use a "noun" bottle (planet, moon, sun) on it, then use one of the empty glasses on it and push the button.
Using the machine, mix "Green Sun", "Blue Planet", and "Red Moon" cocktails in three separate empty glasses. Put the three cocktails on the coasters on the bar and the escape password will appear on the screen.

Bartender's Journal.
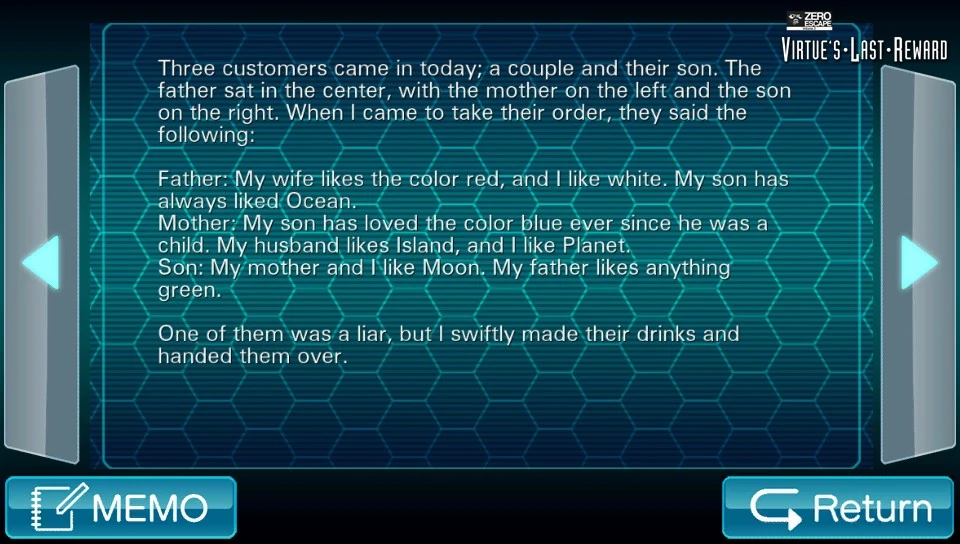
For the file password, open the bottom left cupboard below the safe and get the diary fragment, and read it. It describes three people coming into the bar to order drinks, and giving information about which each of them like, as follows:
- The father sat in the center, and said that the mother likes red, the father likes white, and the son likes Ocean.
- The mother sat on the left, and said that the mother likes Planet, the father likes Island, and the son likes blue.
- The son sat on the right, and said that the mother likes Moon, the father likes green, and the son likes Moon.
- One of the three is a liar.
If the liar were the father, the drink for the mother would be a Planet Moon, which is impossible. If the liar were the mother, the drink for the son would be a Moon Ocean, which is also impossible. So the liar is the son, and the drinks are a Red Planet for the mother, a White Island for the father, and a Blue Ocean for the son.
Pick up the three glasses from the coasters, tip their existing contents down the drain (under the drink mixer) and mix up the Red Planet, White Island, and Blue Ocean. Put these three cocktails on the coasters. They must also be placed in the correct positions.
Remembering that the diary is written from the bartender's point of view, and you are working from the other side of the bar, place the Red Planet on the right, the White Island in the center, and the Blue Ocean on the left. The screen will show the file password.
Trivia[]
- Sigma visits this room on every route in the game.
- Luna makes a reference to the "elevator scene" from Nine Hours, Nine Persons, Nine Doors when she says that the machine is going to get wet "down there".
- This escape room contains one of the "lion eating a red sun" motifs.
- If Sigma chooses the Yellow Door, this room is solved by Dio, Quark, and Alice. If Sigma chooses the Cyan Door, it is solved by K, Clover, and Tenmyouji.
| SPOILER WARNING - DON'T READ UNTIL YOU COMPLETE ENTIRE GAME | |
| |
Humorous Quotes[]
- Push the button on the drink making machine with no glass underneath it on "EASY" mode.
 Phi: Hey! What are you, a child?! Put a glass in there before you push the button! Luna: She's right! If you don't, everything down there is going to get wet. Sigma: ...Huh? Wait, what? Luna: I said everything down there is going to get wet? Sigma: ... Sigma: ... Sigma: ...I approve.
- Examine the alcohol on the right side of the shelf.
- Luna: There are a lot of bottles here. Sigma: How'd you like to have a drink with me? Luna: Huh? O-Oh, um....
(SMACK) Phi: You really think this is a good time to be making a pass at someone? She's getting all nervous now. Luna: Ahahahahaha....
- Examine the table
- Sigma: A table. Kinda rusty, I guess. Luna: Yes, it seems like a perfectly normal table... Luna: Aaaah! Sigma: What's wrong?! Luna: I thought I saw a face in the table and I... I got scared...
- Examine the bar counter.
- Sigma: The bar counter. You know, I was in a bar one time- Phi: What are you, some kind of barconteur? Sigma: Ugh... Phi: Oh come on, that one was genius.