SPOILER WARNING
Every escape room article is spoiler-free to assist first-time players, but do not click any links on the article if you wish to avoid spoilers. Spoilers are also hidden in optional toggles.
- "These are definitely real robots."
- — Alice, referring to the GAULEMs
The GAULEM Bay is an escape room behind the green Chromatic Door on Floor B. It is investigated by Sigma, Alice and Luna on Luna's route.
Layout[]
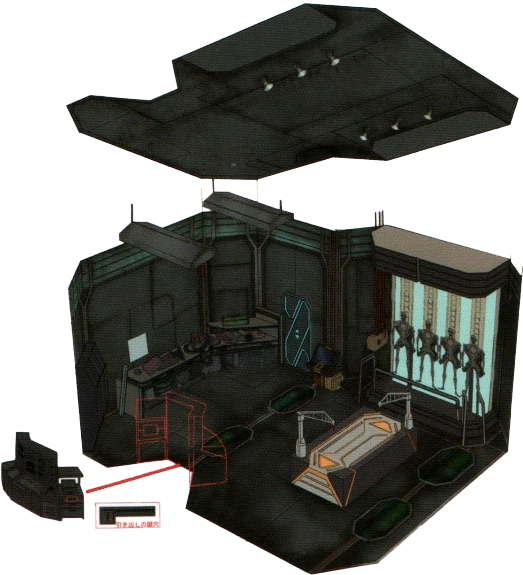
Concept art.
The GAULEM Bay has a servicing table with a safe built into the table, to the left and right of the table there is a stand where the GAULEMs are displayed. The right side of the room has a control panel, a desk with a laptop, and a closet. The left side of the GAULEM display has a frequency machine and a small shelf for storage that has a toolbox on it.
Story[]
Sigma accesses the GAULEM Bay after Quark shows signs of Radical-6 at the Chromatic Doors. After Tenmyouji asks someone to pick a door to go through, Luna begs Sigma to pick a door to go through. At this point, Sigma has a choice to take Alice and go through the blue door with K or the green door with Luna. Sigma chooses to go with Luna and head through the green door, which decides everyone else's teams. Dio and Phi go with K, and Tenmyouji and Quark go with Clover. After walking down the hallway and pulling a lever, Sigma, Alice, and Luna find themselves in the GAULEM Bay.
Alice states that it is probably a workroom and says they need to find the Moon cards. Inside of the safe is the Map to floor B, the Moon cards, the supplementary AB Game rules, the GAULEM Bay plug (K's key), and the exit key. Sigma and Alice take one Moon card while Luna takes the other. However, they are unsure what to do with the GAULEM Bay plug. Alice says that she will hold on to the plug and insists they leave.
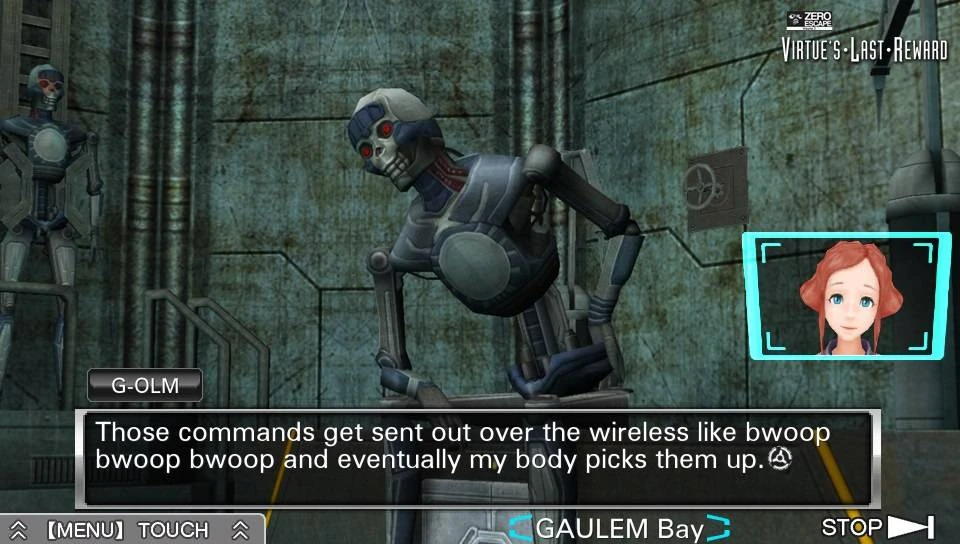
G-OLM speaks to Sigma, Alice, and Luna.
After opening the exit door, G-OLM who was lying on the nearby table, activates and speaks to them about what GAULEMs are and how they are connected to Zero III. He also speaks about the Chinese Room. After he is deactivated by Zero III because he was going to reveal classified information, Sigma, Luna, and Alice leave the GAULEM Bay after an announcement says that one of the AB Rooms has been opened.
Items[]
Found Items[]
Radio[]

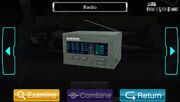
A classic radio.
The Radio is found near the GAULEM's head on the operating table. It can be plugged into the cable next to the computer monitor and tuned thereafter.
Chevron Block (x3)[]
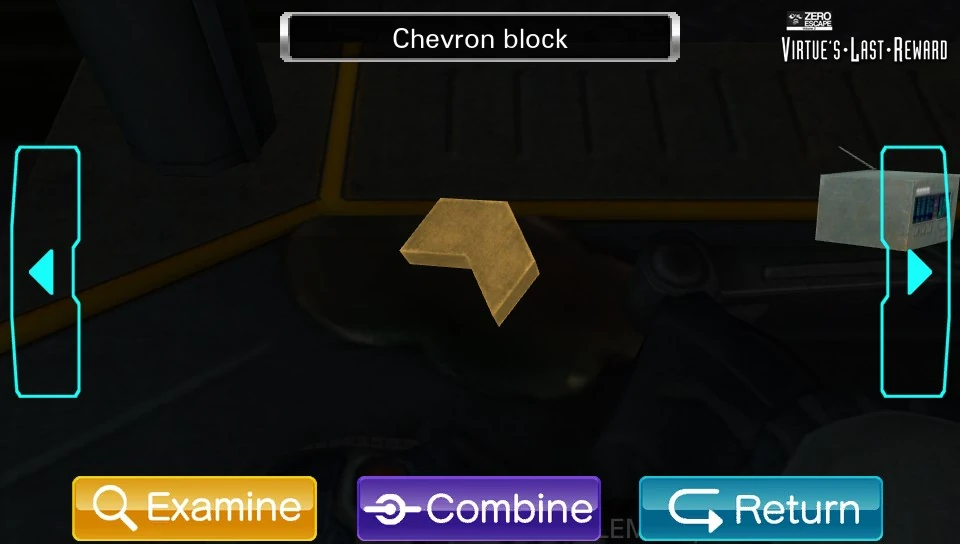
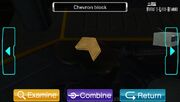
Chevy!
One of the chevron blocks is found near the oil puddle on the operating table. Another block is found in the lab coat hanging inside the middle locker. The third block can be found on the cluttered workbench.
Combines with Chevron block to form Combined blocks. OR
Combines with Combined blocks to form Combined blocks (star).
Name Tag[]
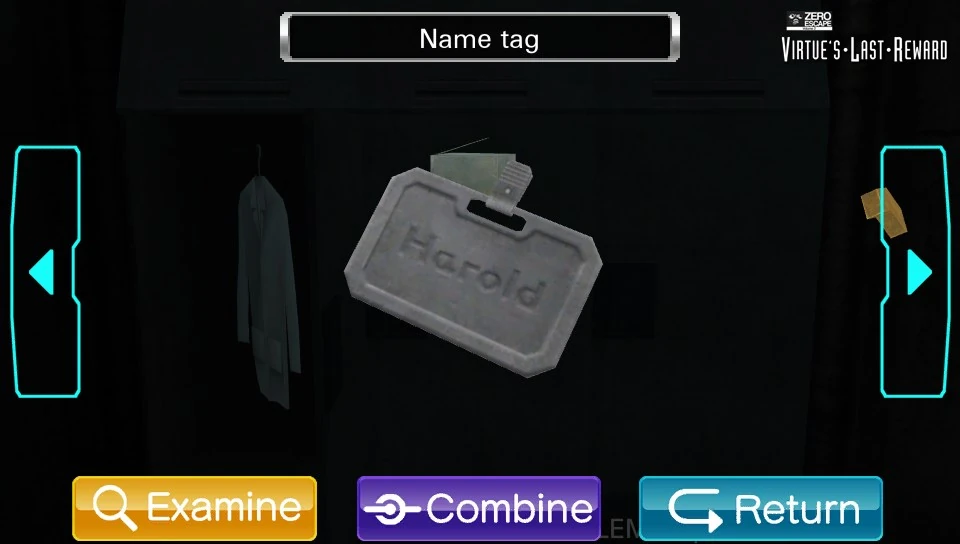

A simple nametag.
The name tag is found on the lab coat hanging inside the leftmost locker. It has the name Harold on it. The ID number on the back of it (11010) serves as a clue for tuning the radio.
Boxers[]
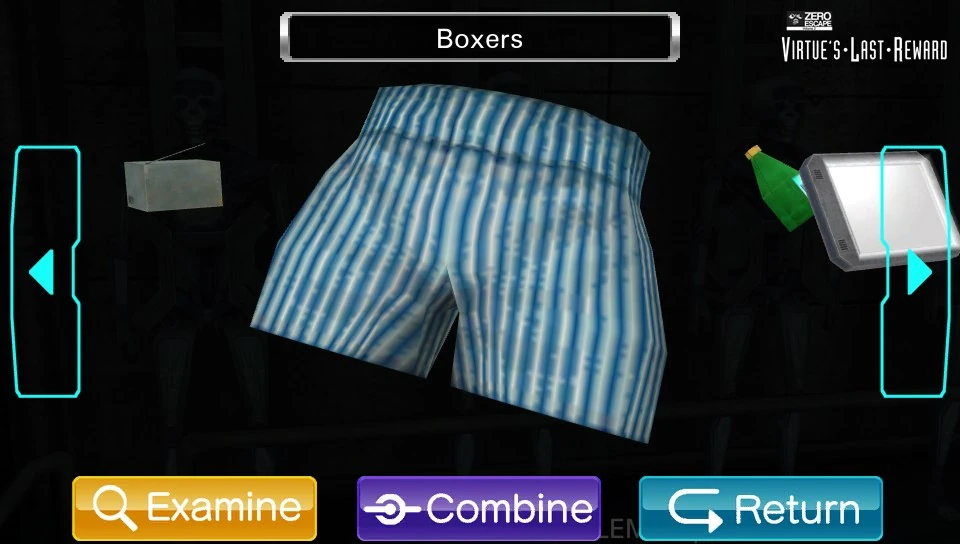

Even robots need some common decency...
The Boxers are found being worn by one of the GAULEMs on the left side of the room.
Combines with Bottle of detergent to form Boxers soaked in detergent.
Bottle Of Detergent[]

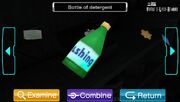
Easily mistaken for a Sprite bottle.
The Bottle of detergent is found inside the toolbox on the cluttered workbench.
Combines with Boxers to form Boxers soaked in detergent.
Blue Battery[]
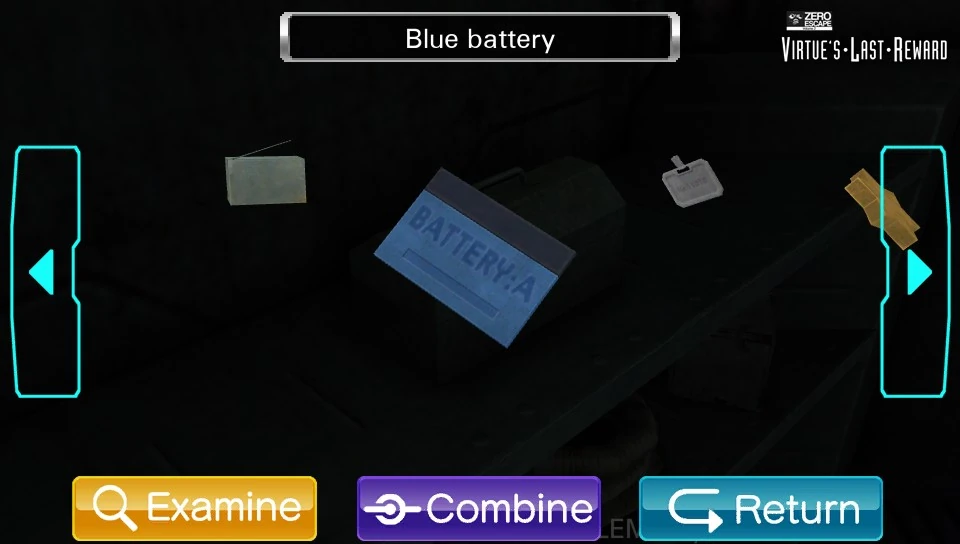
A blue, 9-volt battery.
The blue battery is found on the top shelf of the cluttered workbench.
Combines with Tablet to form Tablet.
Red Battery[]
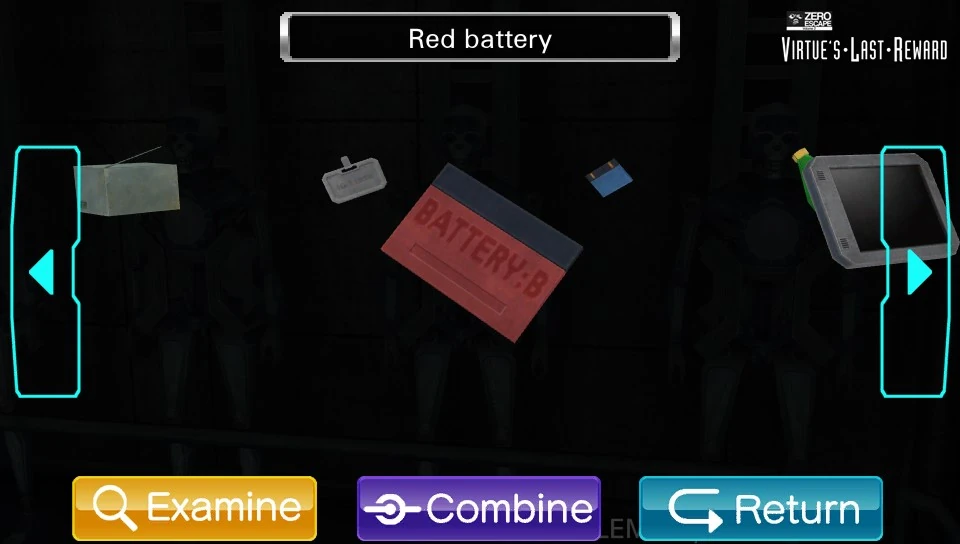
A red, 9-volt battery.
The red battery is found being held by one of the GAULEMs on the right side of the room.
Combines with Tablet to form Tablet.
Screwdriver[]
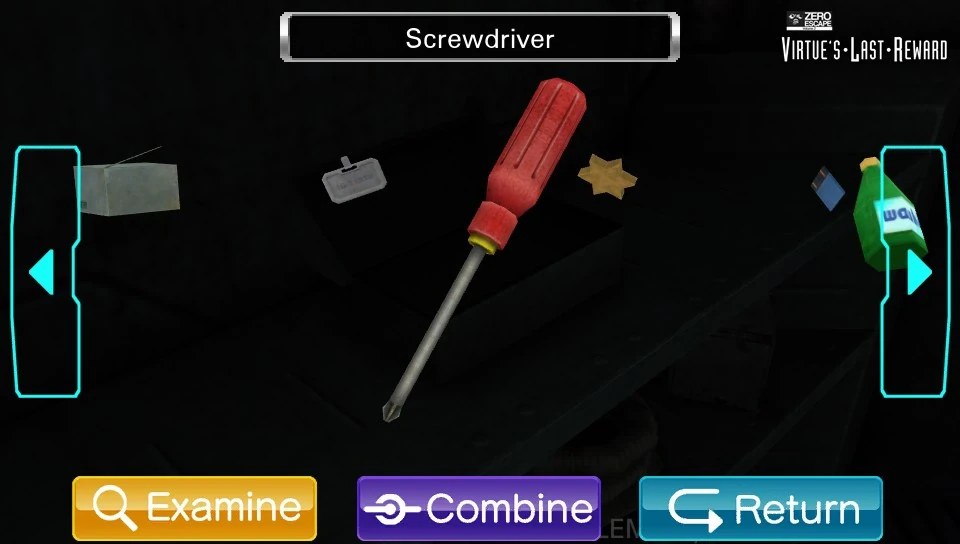
Needed when the screws need to come off.
The Screwdriver is found inside the toolbox on the cluttered workbench.
Combines with Tablet to form Tablet.
Rusty Key[]
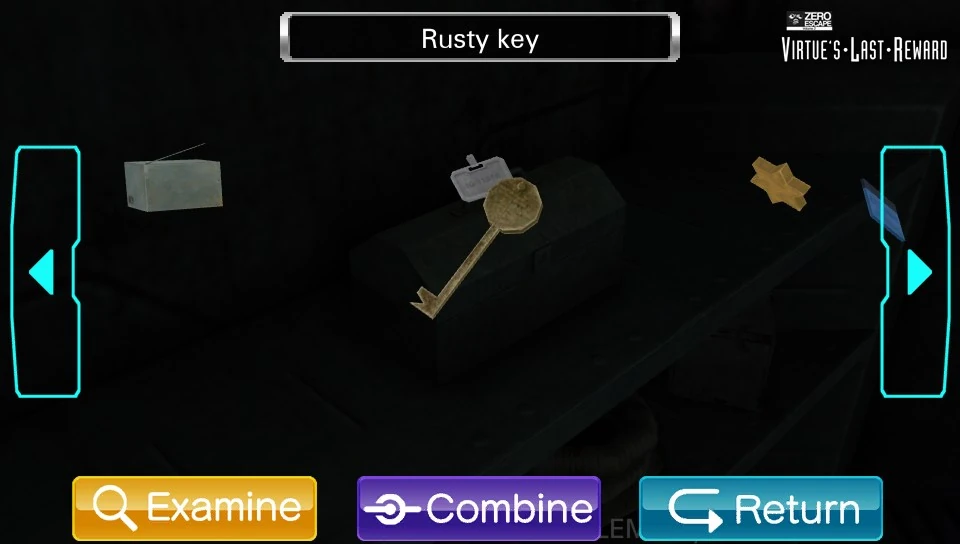
A rusty key.
The rusty key is found placed inside the toolbox keyhole. If it is placed into the oil puddle on the operating table, it becomes the Oil-covered key.
Silver Key[]

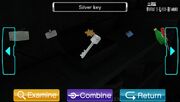
A clean, silver key.
The silver key is found inside the toolbox on the cluttered workbench. It can be used to unlock the top drawer below the computer monitor.
Handle[]
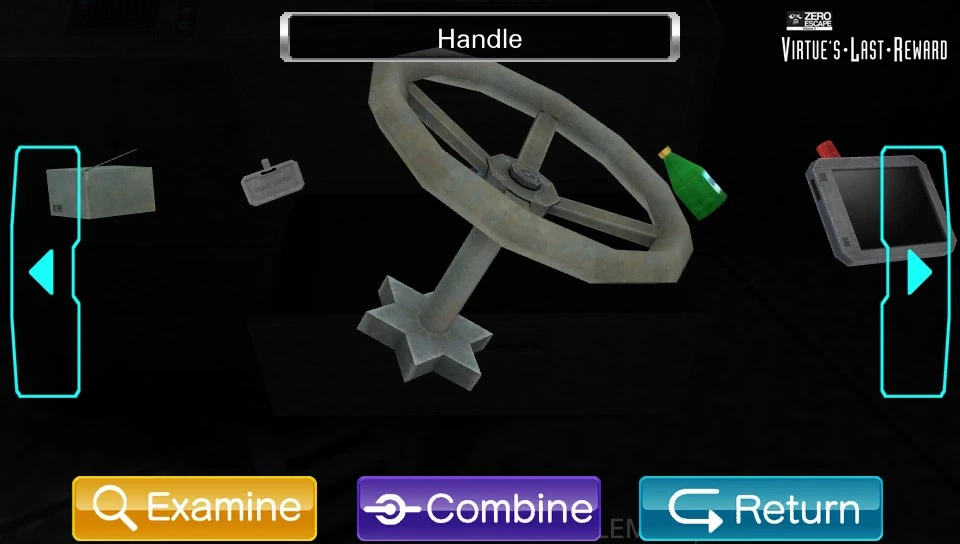

Part of a hand-operated crank.
The Handle is found inside the middle drawer below the computer monitor. It can be placed in the star-shaped hole on the wall near the entrance. Once it is turned, the deactivated GAULEMs will lower from the ceiling. The GAULEMs appear on the two raised platforms on the left and right sides of the room (from where the puzzle starts).
Combined Items[]
Combined Blocks[]


The Combined blocks are found after two of the Chevron blocks are combined.
Combines with Chevron block to form Combined blocks (star).
Combined Blocks (Star)[]


The Combined blocks (star) is found after the combined blocks are combined with the third Chevron block. It can be placed into the indentation inside the top drawer below the computer monitor in order to unlock the middle drawer.
Oil-Covered Key[]
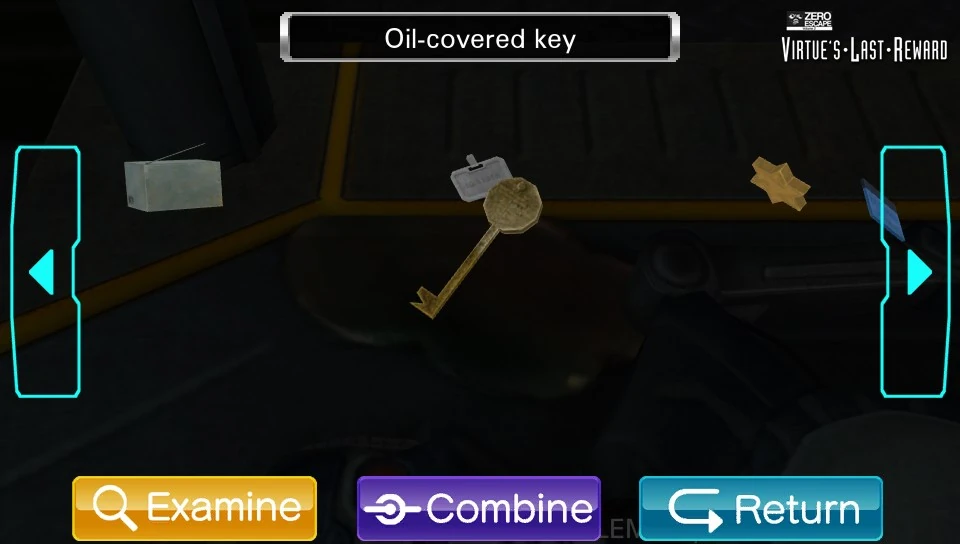
The rusty key, now with a little lube on it.
The Oil-covered key is found after the Rusty key is put into the oil puddle on the operating table. It can be used to unlock the toolbox on the workbench, where the Rusty key was originally found.
Tablet[]


The Tablet is found inside the bottom drawer below the computer monitor.
Combines with Screwdriver to form Tablet.
The screwdriver can be used to remove the screws from the back of the tablet.
Combines with Blue battery to form Tablet.
Combines with Red battery to form Tablet.
Once the red and blue batteries are placed into the tablet, the tablet will turn on and Sigma can input a password.
Boxers Soaked In Detergent[]


The boxers soaked in detergent are found after the Boxers and Bottle of detergent are combined. They can be used to wipe away the oil puddle on the operating table to provide the voltage to be used in the Voltage puzzle.
Minigames[]
Frequency Tuning[]

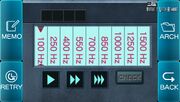
The various radio frequencies.
This minigame requires the player to set the correct frequency to open a desk drawer. The correct frequency is found on the name tag. You have to press the four buttons in the correct order to match the number on the name tag. The correct frequency is 400 Hz, and there are multiple solutions to the puzzle. One solution is to select the middle button all 4 times.
Voltage Maze[]


The Voltage Maze.
This minigame is accessed after the GAULEMs are lowered from the ceiling. Touching the computer near the exit door activates this minigame. Using the hint from G-OLM's table, the player must add the Voltage numbers, connect them to equal the number found on the table. The key to this minigame is to not use the large numbers.
Hint: start at the top left. 35, 10, 30, 40, 5.
Tablet Password[]


After finishing the voltage puzzle, the GAULEM's eyes will turn red. Each of the GAULEM's eyes represent a letter on the poster of an eye. The player must use the poster to convert the GAULEM's red eyes to a letter and then type the letters that correspond to the eyes to get the escape password. Typing in the letters from the GAULEMs who don't have red eyes will give you the file password. The safe password is "BEACON OF HOPE" and the file password is "REMINISCENCE".
.jpg "Zero Escape Vol. 2 Virtue's Last Reward 1 (21).jpg (148 KB)")
Trivia[]
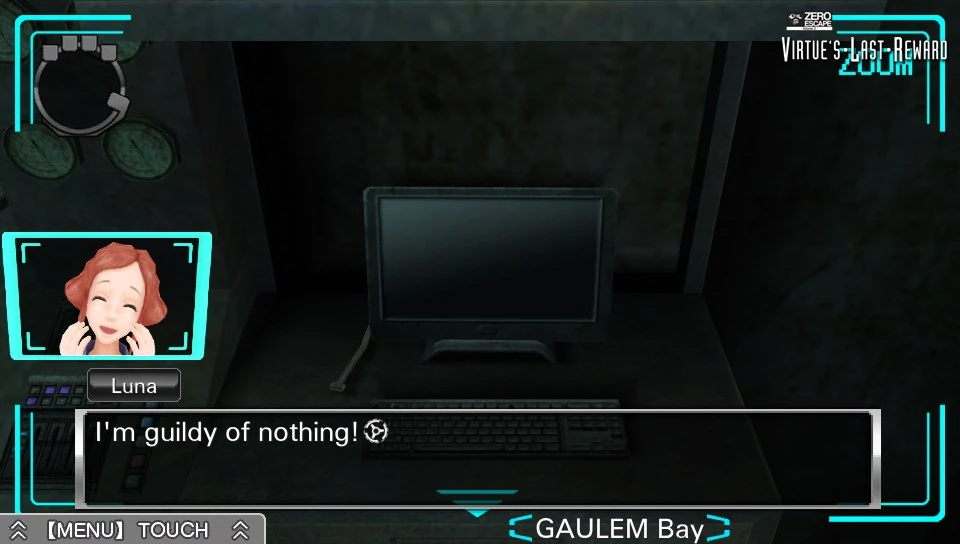
Luna is "guildy" of typos!
- In the 3DS version, saving right after completing this escape room and quitting may lead to the game file being loaded, but the game does not resume, forcing the player to restart the game.[1]
- There is a spelling mistake in this room. When Sigma examines the computer monitor on Easy mode, Luna will say, "I'm guildy of nothing". It should say "guilty".
- This room is visited only when Sigma goes through the Magenta door.
- When Sigma and K investigate this room on K's route, G-OLM is nowhere to be seen. According to the VLR Q&A, G-OLM was stored in the table on this route.
Humorous Quotes[]
- Examine the doctor's coat in the rightmost locker.
 Alice: A doctor's coat, huh... Would you like me to put it on? Sigma: Huh? Why? Alice: I just thought you might be...into that kind of thing. Sigma: Wh-What? I-I don't know what you're talking about! Alice: See? Bullseye. Alice: Look at you, all bashful. You can be cute when you're embarrassed. Sigma: ...
- Examine the GAULEM wearing the boxers.
- Sigma: ... Alice: ... Luna: ... Sigma: This one's wearing boxers... Alice: Y-Yeah, looks like it... Luna: Why would a robot be wearing underwear? Sigma: Maybe he's, uh, hiding something. Luna: Hiding what, though? Luna: Like a diary or something? Sigma: Why the hell would you hide a diary in your crotch? Luna: Okay, well, maybe he's got a hose or something. Sigma: Whoa, damn, way to cut to the chase there... Alice: Whatever. We'll know as soon as we get them off. Alice: Remove these shorts of obfuscation and let us gaze upon it-this so-called "hose"! Sigma: Aren't you getting a little too excited about this?
- Reexamine the GAULEM wearing the boxers.
- Sigma: All right, here goes... Luna: Aaaah! Sigma: Luna, I haven't done anything yet. He's still decent. Luna: ... Sigma: Besides, when you covered your face you opened your fingers so you could see out. Sigma: How old are you? Luna: He he he... Alice: Argh! You two are driving me nuts! Alice: I'll just take them off Sigma: ...Huh? Alice: Hi-ya!
- Examine the workbench.
- Sigma: Wow, there's a lot of stuff here. Whoa...Anybody else feel dizzy all of a sudden? Alice: No, that was just your imagination. Sigma: Yeah...Right, whatever. So what the heck is this? Alice: I have no idea, which makes it pretty useless to us. Sigma: Hm... Maybe I could... Luna: What are you going to do with that? Sigma: How about this!? Alice: Nope. Are you serious? Sigma: Maybe I could try hitting something with it... Luna: What would you hit? Sigma: Maybe there's something in here... Alice: I don't think so. Sigma: Maybe if we roll it around a little bit... Luna: I don't think that's going to do anything... Sigma: Let's climb up on top of it! Alice: What is that going to accomplish? Sigma: Yah! Yah! Luna: Pushing down on it didn't seem to do anything. Sigma: Maybe we're just using it wrong... Alice: And what should we be doing? Sigma: *Pet* *Pet* *Pet* Luna: Petting it isn't having any effect. Sigma: Of course! I just need to throw it! Alice: All you're going to do is break it. Sigma: Mmmmm... Mmmmm... Luna: Praying isn't going to help. Sigma: Wow, this looks delicious. Alice: How the hell is any of this delicious? Sigma: Snack time! *Munch* *Munch* *Munch* Luna: O-Oh no...! What's wrong with him?! Sigma: This is good! Oh man, it's soooo good... Alice: Snap out of it!
- Examine the computer monitor on "EASY" mode.
- Luna: Sigma, look out! They're here! Sigma: Who's here...? Luna: Um, a couple of angry thirty-year-old corpses? Sigma: Ew... Luna: Well, actually they're not thirty years old... Sigma: So maybe somebody's gilding the lily a bit? Luna: I'm guilty of nothing! Sigma: Stop it!
A computer monitor. Nobody's here.
- Examine the puddle of oil on the operating table.
- Luna: Someone spilled oil here. It's all slippery... Sigma: Huh? What's that? Luna: I said it's all slippery. Sigma: Slippery, huh? Luna: Yes. Very slippery. Like some kind of lubricant. Why, is that important? Sigma: N-no... Never mind... Luna: ...? Well, if we ever need to lubricate something, we can dip it in here. That should lube it up real good.
- Examine the rusty key after examining oil puddle.
- Luna: What if you lubricate it? Sigma: ...Huh? Luna: I said lube it up! I'm just saying it might be worth a shot...
- Examine the oil-covered key.
- Luna: Okay, it's nice and lubricated now. All slick and slippery. Just slide it right in there, okay? Maybe now it'll open... Luna: Okay, now that you've got it all lubed up, you should stick it in! Sigma: S-stick it...in...? Lubed up...? Luna: Yes! Why do you think we put all that lubrication on it? It wouldn't go in otherwise! Sigma: Uh, well... Luna: Stop teasing me! Hurry up! Put it in! Sigma: Argh! Okay, fine! I'm doing it just... stop talking...okay? Luna: ...?