SPOILER WARNING
Every escape room article is spoiler-free to assist first-time players, but do not click any links on the article if you wish to avoid spoilers. Spoilers are also hidden in optional toggles.
- "Currently, no power runs through the transporter nucleus. It is completely stopped. If you are able to restart it, you may obtain that which you desire."
- — Zero, to Sigma and Diana
The Transporter Room is an escape room that is found within the Transporter fragment for D-Team. Its most notable feature is the transporter machine in the back of the room. It is searched by Diana and Sigma Klim. Phi is missing.
Layout[]
The transporter room contains a large device with many components, which Zero claims is a transporter. In addition to a large tank, there are four pods, two of which look like eggs, with a bed inside, and two of which look like pupa. In the back of the device, there's a structure that resembles a tree root.
There are cards scattered around the room, something which appears to be a 3D printer - although it doesn't have power - and an odd item with a rotating arm.
Story[]
Sigma and Diana awaken in the Lounge to realize that Phi is missing. They enter the Transporter Room while searching for her.
Zero speaks to Sigma and Diana and tells them that the room contains a device called the "transporter", which was discovered in 1888. Sometime during that year, a German expedition became lost while exploring an area at the South Pole. They stumbled upon a weird device which resembled a tree root with two pods. The device was carefully transported to their homeland and researched in secret. They uncovered that it was capable of transporting things through spacetime and was subsequently called "transporter". Zero claims the device was not made by man, but it came from a distant planet or some alternate world.
Items[]
Cards (x13)[]
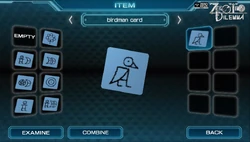
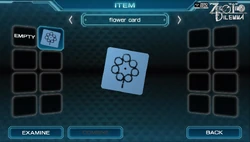
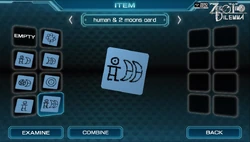
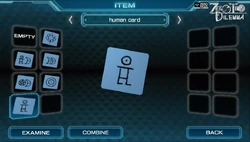
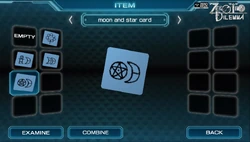
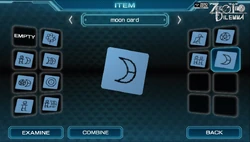
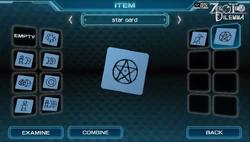

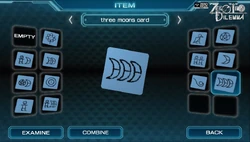
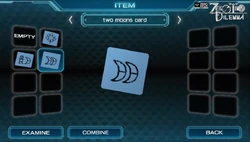
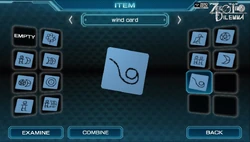
These cards are scattered around the room.
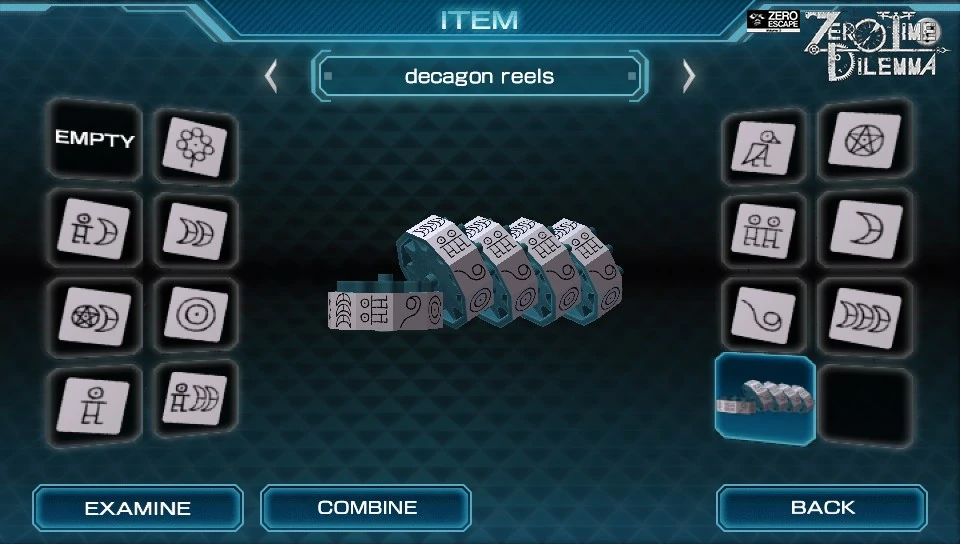
Decagon reels[]
Received from the 3D printer machine after solving the book question. Needs to be put on the reels.
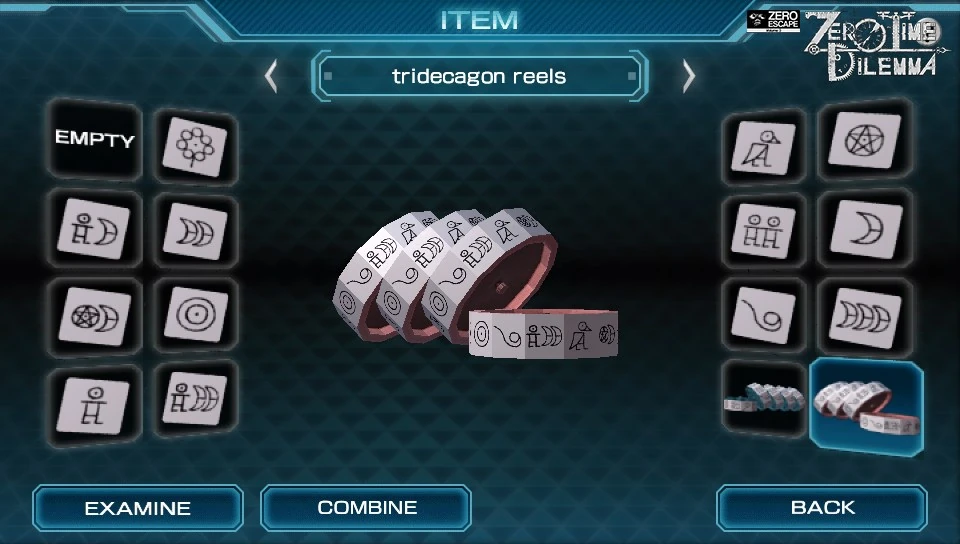
Tridecagon reels[]
Also received from the 3D printer machine after obtaining the decagon reels. Needs to be put on the reels.
Minigames[]
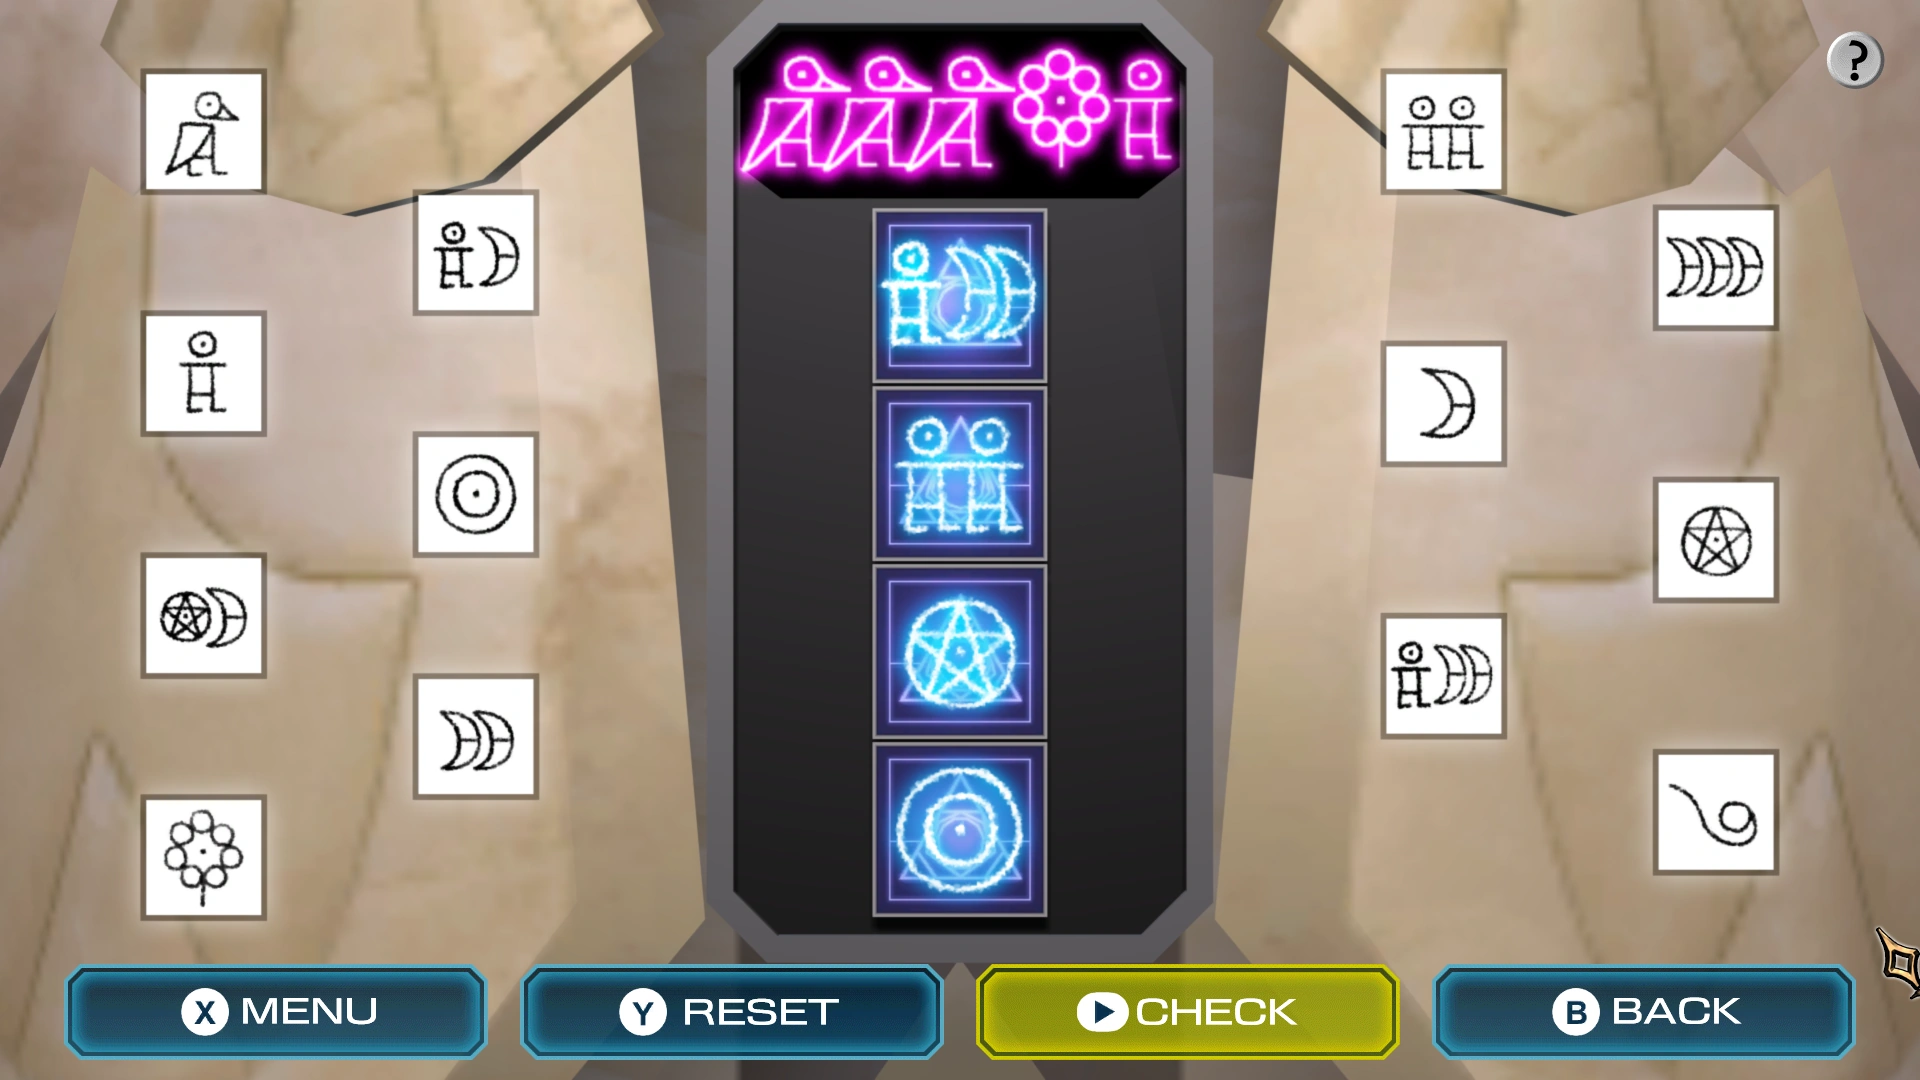
Card symbols[]
Accessed after scanning the 13 cards at the terminal, looking at the hologram and exiting out. This isn't really a completable puzzle - it is used to determine the values of the cards.
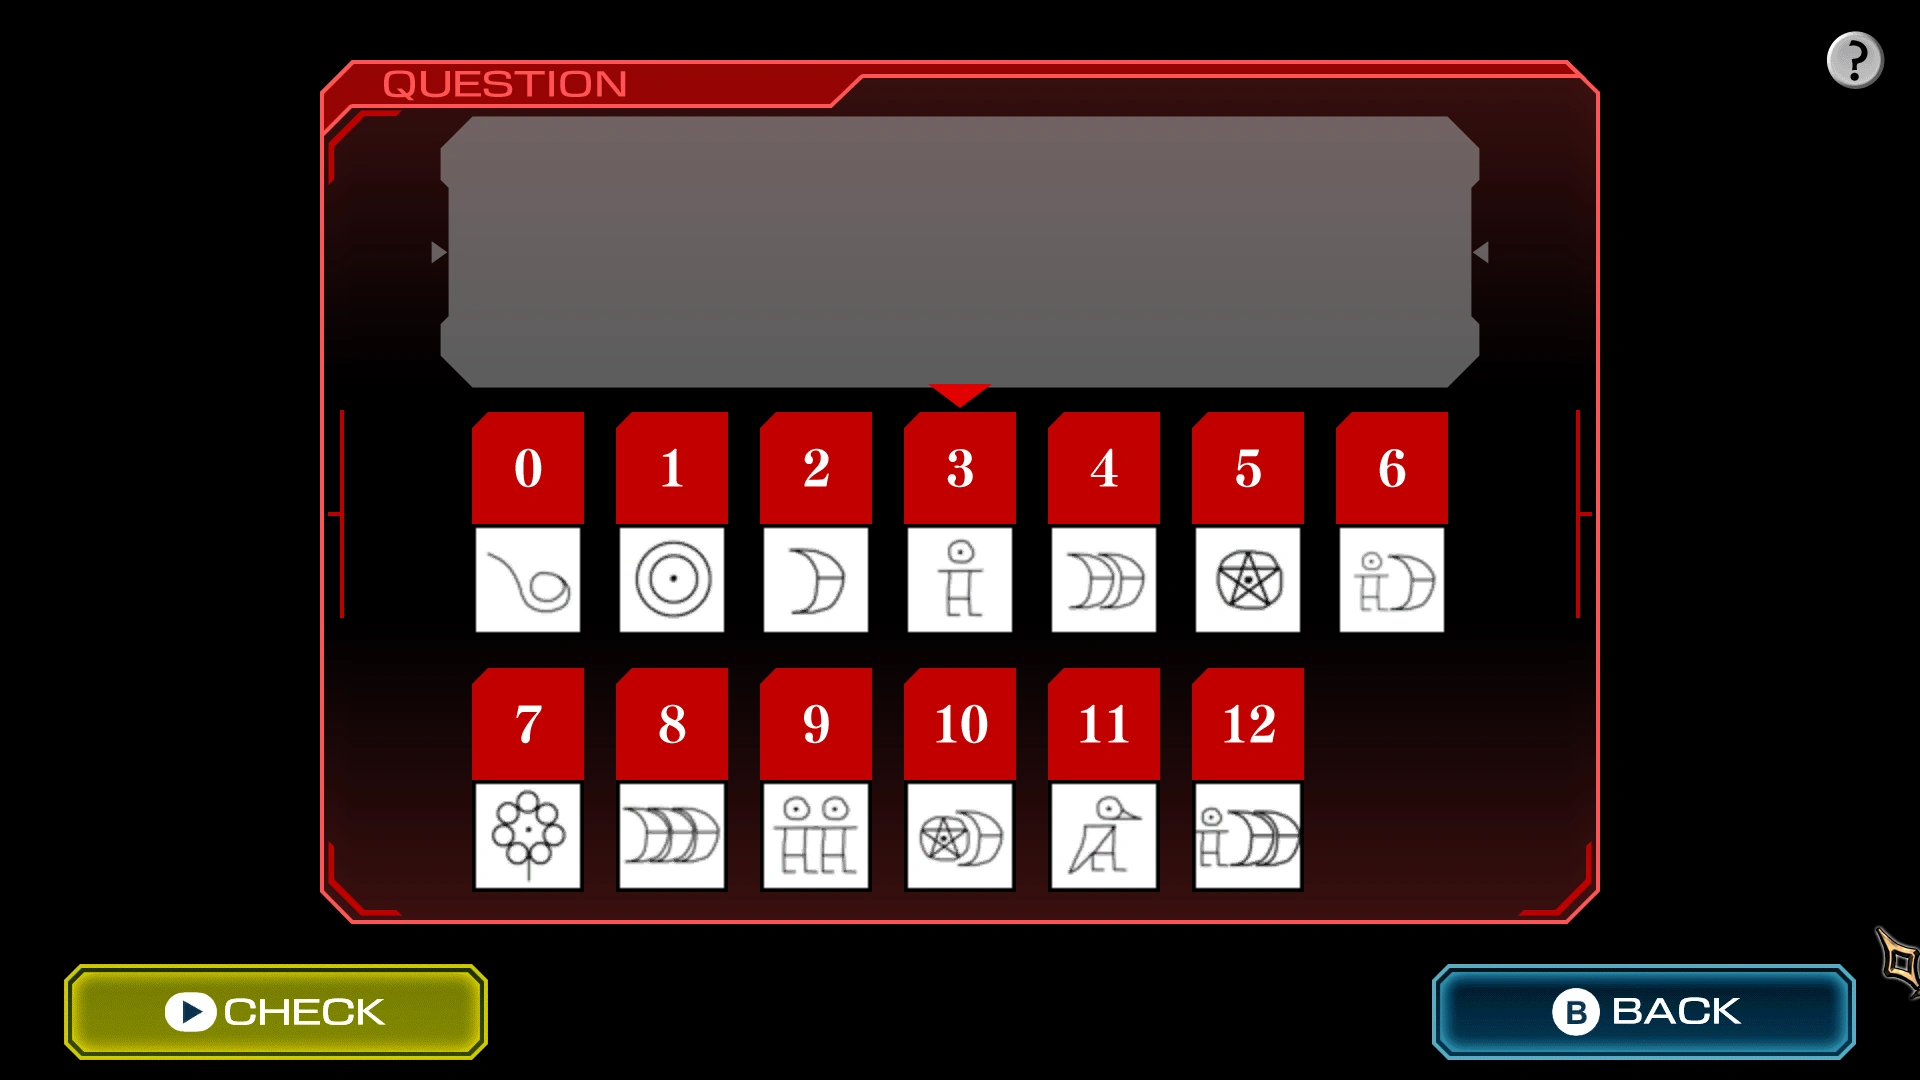
Extraterrestrial Numerals[]
The correct numbers.
Accessed after playing with the card symbols. Look at the hologram, view chapter 2, and a red "question" will appear.
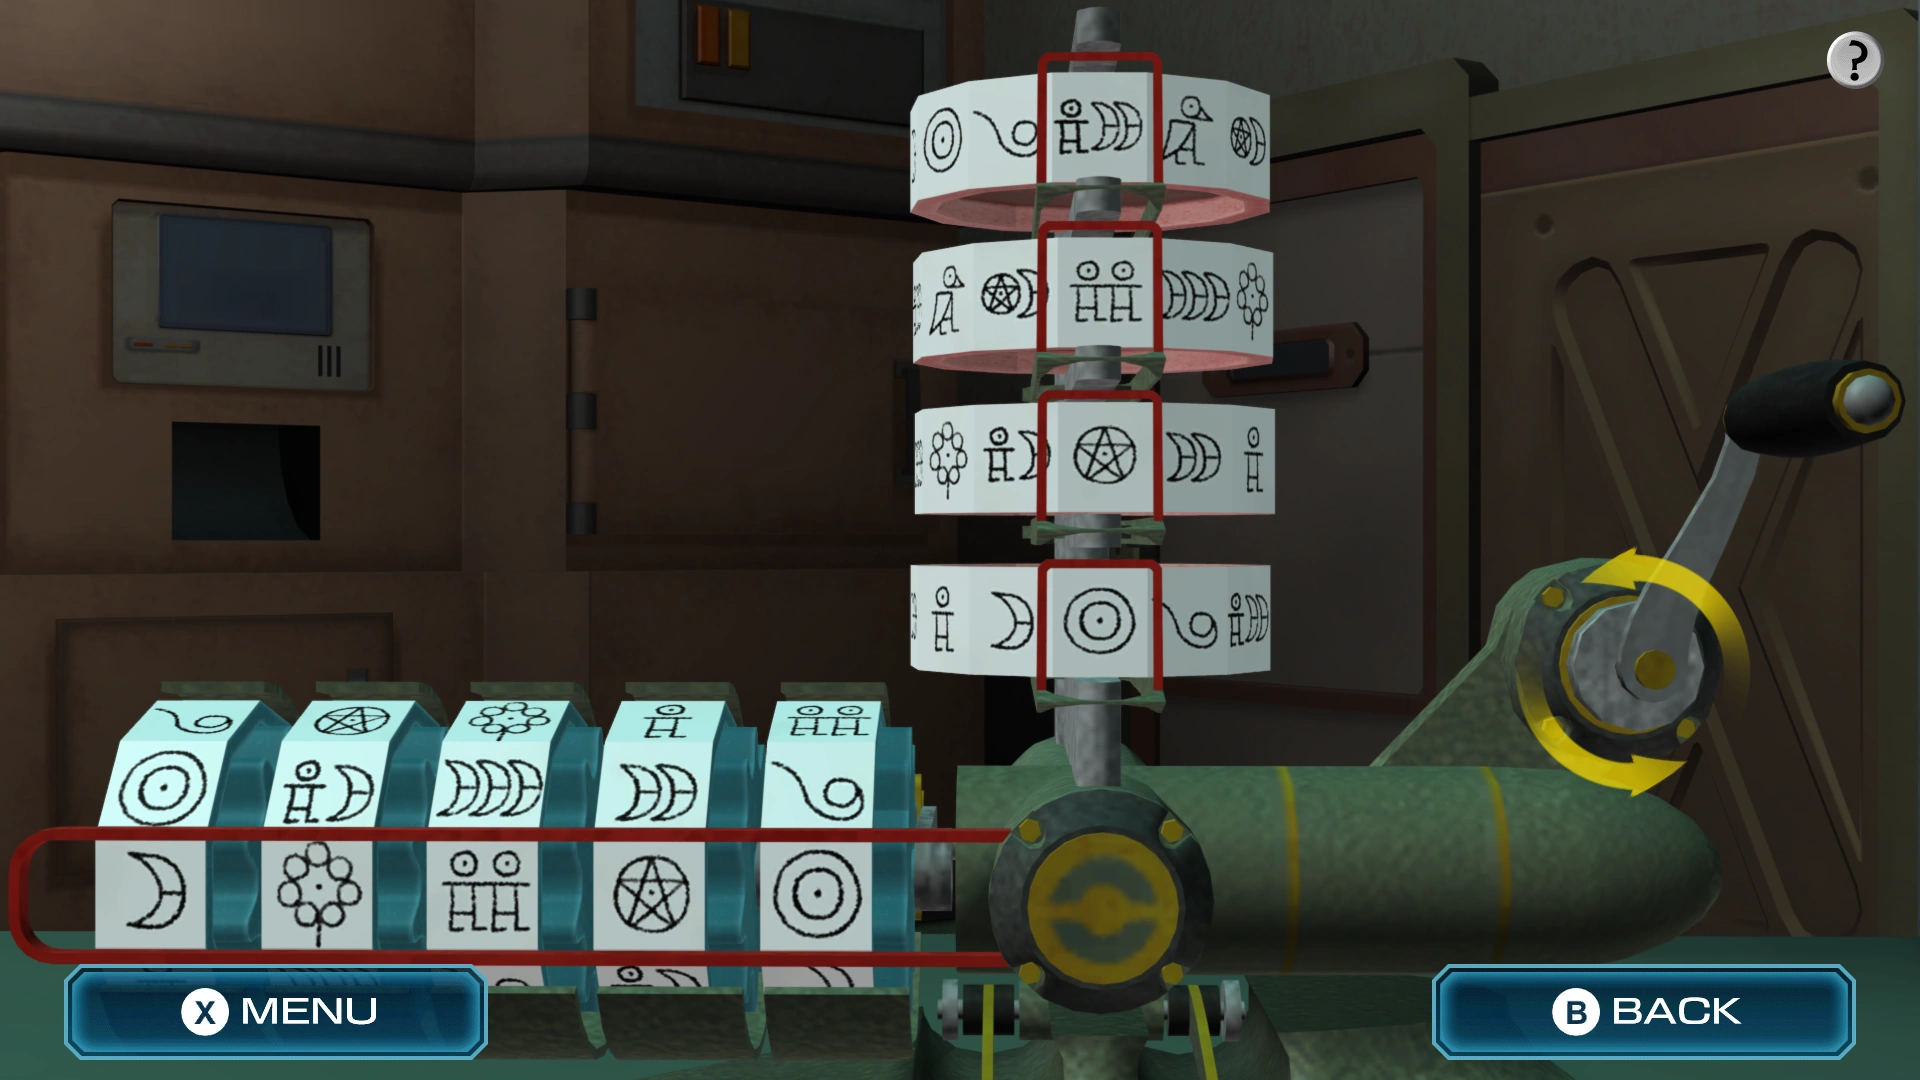
Rotating Numbers[]

The correct solution.
Accessible once both reels are put on the device.
The horizontal axis represents a base-10 number system, while the vertical axis represents the alien base-13 number system.
The horizontal axis is 27951.
Transporter Activation[]

The correct solution.
This minigame is accessed after collecting all of the cards in the room and scanning them, all the player must do is place the cards with the symbols they found on the reel minigame.
Helmet Code[]
At some point in the game (not during the escape session), you will return to this room and be asked to input the code on a helmet. It is 61404091.
Trivia[]
- Other than based 13 number system, the alien number also uses prime factoring to construct their numbers. At least up to 11, each prime number uses a new symbol and each composite number is constructed of its prime factors.
Humorous Quotes[]
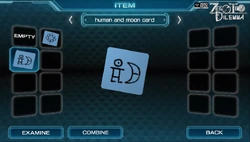
- Examine the human and moon card:
 Diana: This is a human mark together with a moon mark. Sigma: This kind of looks like a powered up martial artist firing off a shockwave. Diana: Uh, well, that's... a thought, sure. I wonder what it really represents.
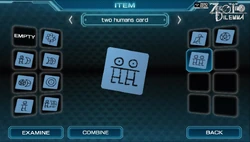
- Examine the two humans card:
- Diana: This looks like two people next to each other. Just like the two of us are now. Sigma: ...I wish one more was here. Diana: Ah... I'm sorry. I didn't mean to imply...
- After scanning the 12th card:
- Sigma: Augh, just how many are there?! How many times must we do this! Damn you, Zero! Diana: C-calm down. Sigma! I think there's only one more left!
- Click on the holographic book:
- Sigma: This... is a hologram stereoscopy. Diana: Wow! Incredible! There's a picture in the air... Is it okay to touch? Sigma: It should be fine, but why? It is only a picture, after all. You can't feel it. Diana: Isn't poking your hand through the hologram fun? He he! Come on, try it!
- Click on the output pod:
- Sigma: This is an output pod. It looks like an insect pupa, or chrysalis. Diana: Oh... Then when you use the transporter, you are reborn from it as well. Sigma: Ah, that's an interesting point of view. Maybe that was the idea behind its design. That also brings the idea that organisms that form pupa exist in foreign civilizations...
- Click on the material tank:
- Sigma: This is the material tank. Zero told us it stores various elements found on Earth... Diana: Can you really make a real human being with those materials? I mean TRULY real. Sigma: Oxygen, carbon, hydrogen, nitrogen, etc... Current technology can tell us human makeup. It's impossible to make a human exactly, so I suppose it depends on your definition of real. Diana: What makes us real... I don't think that question can be answered.
- Click on the input pod:
- Diana: This was an... input pod, right? I think a person could lie down in there. Sigma: It looks like a lidded bed, just like Zero said. Diana: It sounds a lot like a coffin. Sigma: I'm used to getting into a pod, but now I just feel terrible...
- Click on the nucleus:
- Diana: Is this the nucleus Zero described? It looks creepy... Sigma: He said the nucleus of the transporter controls its function. Diana: According to him, we need to restart it. How are we going to do that?
- Click on the nucleus again:
- Sigma: Zero claims it was made in an alternate world, but I don't believe that's true... Diana: So Zero was lying about everything? Sigma: I don't know... We've checked all the other rooms. This is the only one left. Let's see what we can find.
- Click on the overhead cabinets:
- Sigma: These cabinets won't open. Diana: And here I was thinking we could take a break if there was some canned soup in there. Sigma: And how exactly are we supposed to heat that up...