SPOILER WARNING
Every escape room article is spoiler-free to assist first-time players, but do not click any links on the article if you wish to avoid spoilers. Spoilers are also hidden in optional toggles.
- "Well, it said 'Laboratory' on the door, didn't it? I figure that means they're dissecting frogs or building mind rays or something."
- — Dio, discussing the Laboratory
The Laboratory is an escape room behind the red Chromatic Door on Floor B. Sigma, Dio, and Clover investigate this room on Quark's route.
Layout[]
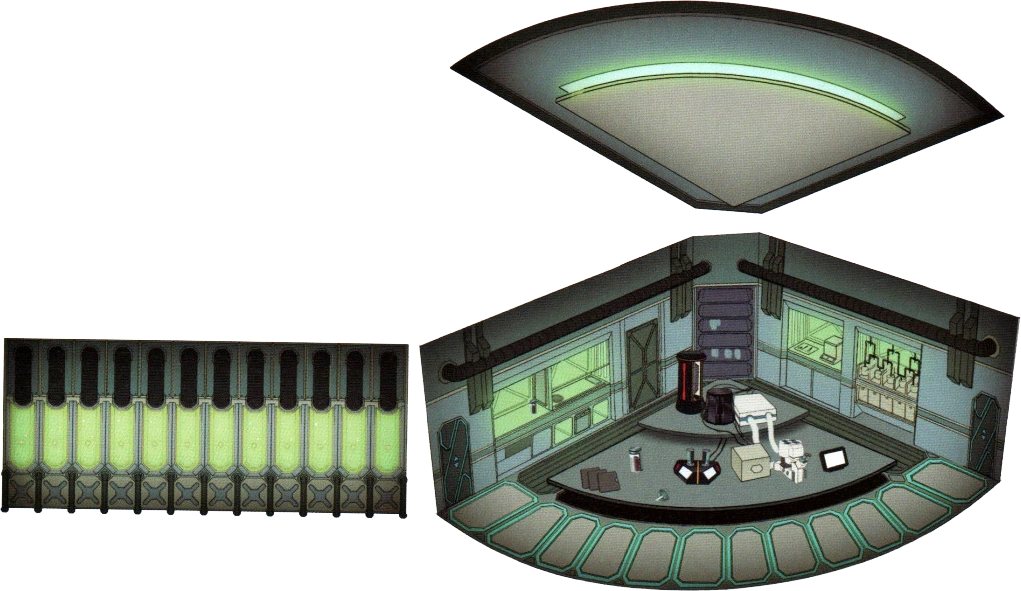
Concept art.
The laboratory is a big room shaped like a quarter-circle: two flat walls and one curved wall. The curved wall is lined with twelve tanks which seem to be filled with green liquid. It's also possible that the liquid isn't actually green and instead, the glass is merely green-tinted.
IG replicator.
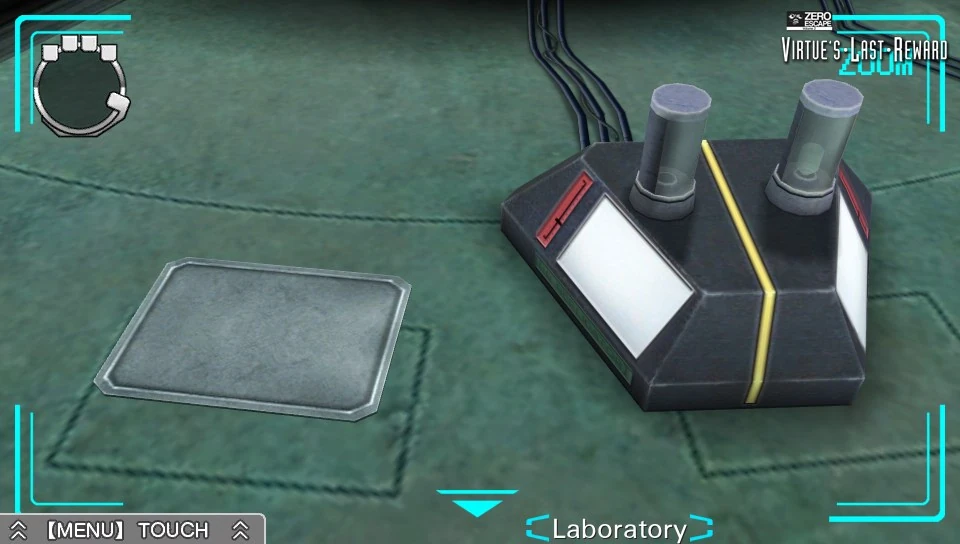
In the middle of the room is a huge table shaped like the room. The devices which sit on top of it include an IG Replicator (immunoglobulin replicator), a microscope, and the safe. The IG Replicator is not used during the puzzle, but instead is used another time.
In the corner opposite the curved wall sits a shelving unit. On it sits several cylindrical jars containing various types of plant matter including a root in ethanol, a frog preserved in ethanol, and various miscellaneous chemicals and solutions.
When facing the entrance door, there are a bunch of pipes on the left side. To the left of that is a blender for DNA extraction.
Facing the exit door, to the right, is a tray with an engraving of a lion eating a sun with a scalpel on top of it. To the right of that is a fume hood.
Story[]

Dio with Clover before entering the Laboratory.
Sigma accesses the laboratory by going through the yellow door with Tenmyouji, then choosing ally in the AB Game against him. At this point, Sigma has a choice to go with Tenmyouji through the blue door or with Dio through the red door. Sigma chooses the red door and ends up going through with Clover and Dio. While walking down the hallway, Clover makes a joke about a nearby lever. Dio asks if he can hit her, but Sigma jokes that if Dio does so, it might make her worse. After Clover insists they keep moving, they end up in a laboratory. Clover states that if the laboratory is researching diseases, they might find something to cure Quark's Radical-6. Dio suggests that Zero would not make it that easy to cure Quark. They then begin searching the room.
Upon opening the safe, Sigma finds a map of Floor B, the moon cards, the Latin Journal, a bottle of Axelavir, and the exit key. Sigma and Clover take one moon card while Dio takes the other. Upon opening the exit door, Dio is curious about the IG machine in the room, stating that they never used it to solve the puzzle. Clover states the machine might be for making Ice cream by the Gallon, which annoys Sigma. He then proceeds to call her an Idiot Girl.
In the room, the group meets a variety of dead and artificial animals. Clover names the dead frog Dio dissects "Lord Hoppington", and an artificial jellyfish "Ellen".
Situation[]
| SPOILER WARNING | |
|
After making fun of each other, Dio interrupts them and asks Sigma about the Diary and states it could be important. However, he asks Sigma if he could see the bottle of Axelavir. Dio swipes it from Sigma and blackmails him, saying that he must vote ally in the AB Game or he will destroy the bottle. Clover calls him cruel for using Quark as a weapon against Sigma. Dio shrugs and leaves, saying that he looks forward to the next round and that the only way to win the Nonary Game is to use others to your advantage. Clover then tells Sigma the reality of the situation: If he chooses ally, there is a high chance Dio will kill him with betray. Sigma states that he has to choose ally to save Quark. Clover is shocked that Sigma would put his life on the line to save a kid he just met. After they talk, Sigma and Clover head back to Warehouse A. | |
Alice END[]

Tenmyouji END[]
| SPOILER WARNING | |
|
In Tenmyouji END, the room is searched by K, Alice, and Quark and the Axelavir is used to cure Quark. However, Alice later kills herself in this ending because of Radical-6. | |
Items[]
Empty Capsule (x2)[]
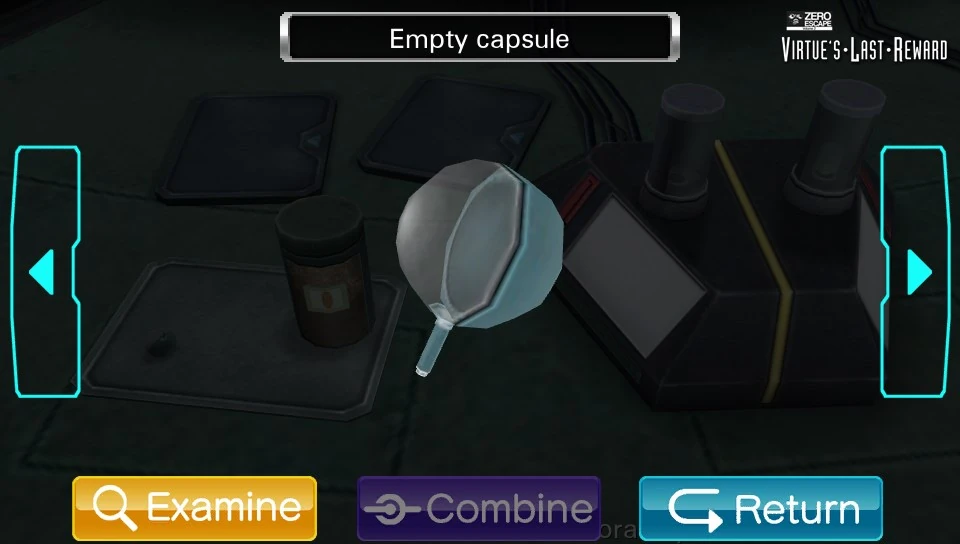

An empty capsule.
The empty capsules are found on a tray on the center table. Used to extract root and seed DNA from the blender to create the green and yellow capsules.
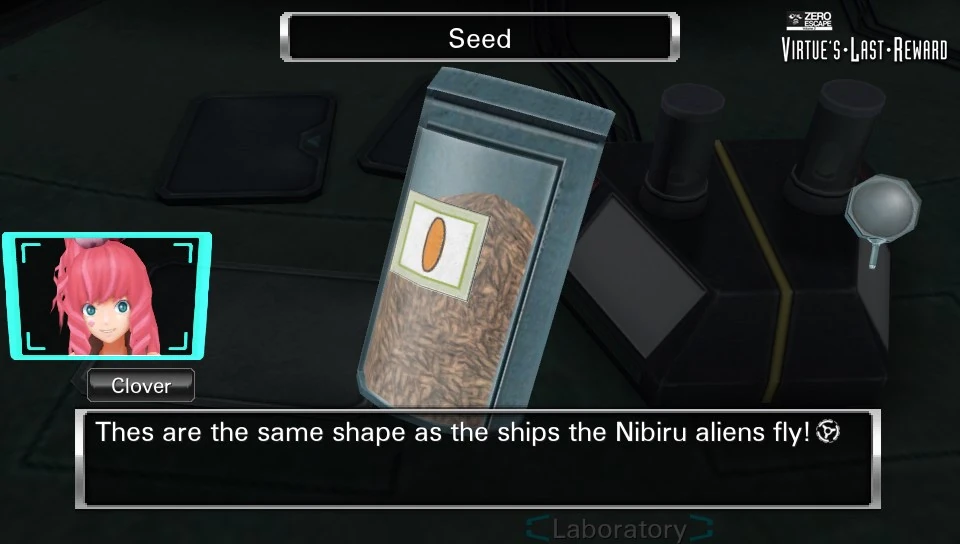
Seed (x5)[]


One of the seed canisters is found on a tray on the center table. Another is found next to the microscope, behind the screen. Another is found by the dissecting area, in a lower shelf. Another is found on the lower shelf in the rear of the room. The final one is found next to the blender. They are used in the Hydroponics minigame to retrieve the red capsule. Also placed into the blender during the first step of seed DNA extraction.
Scalpel[]
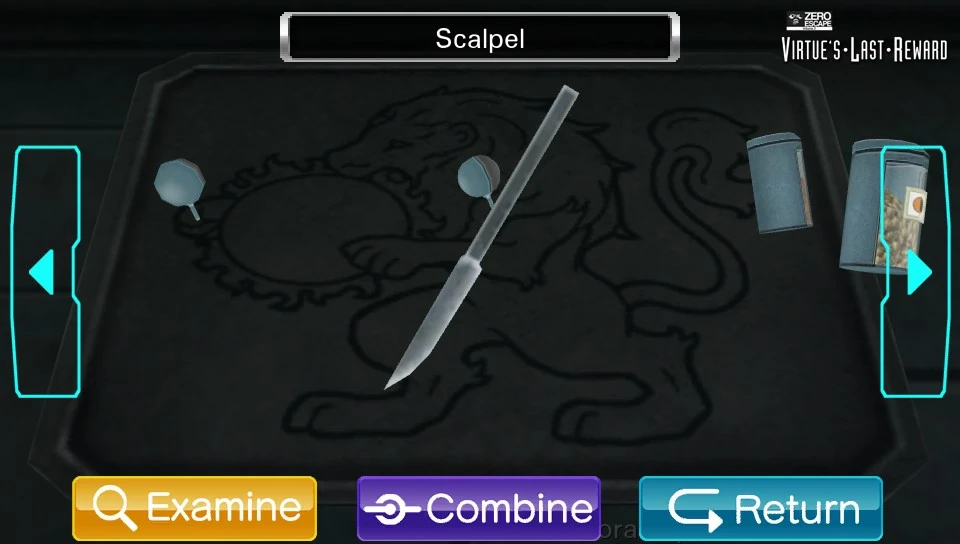

The instrument of death.
The scalpel is found on the lion tray next to the exit. Used to dissect the frog and extract the blue capsule.
Roots[]
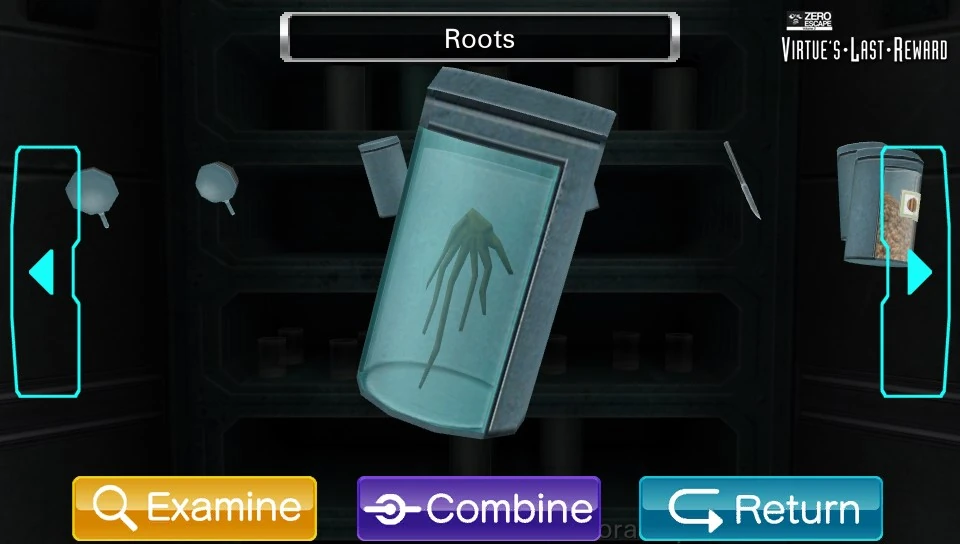

A simple root.
The roots are found on the lower shelf in the rear of the room. Placed into the blender in the first step of root DNA extraction.
Saline Solution[]

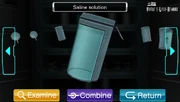
A container full of saline solution.
The saline solution is found on the upper shelf in the rear of the room. Poured into the blender during the second step of both root and seed DNA extraction.
Frog[]
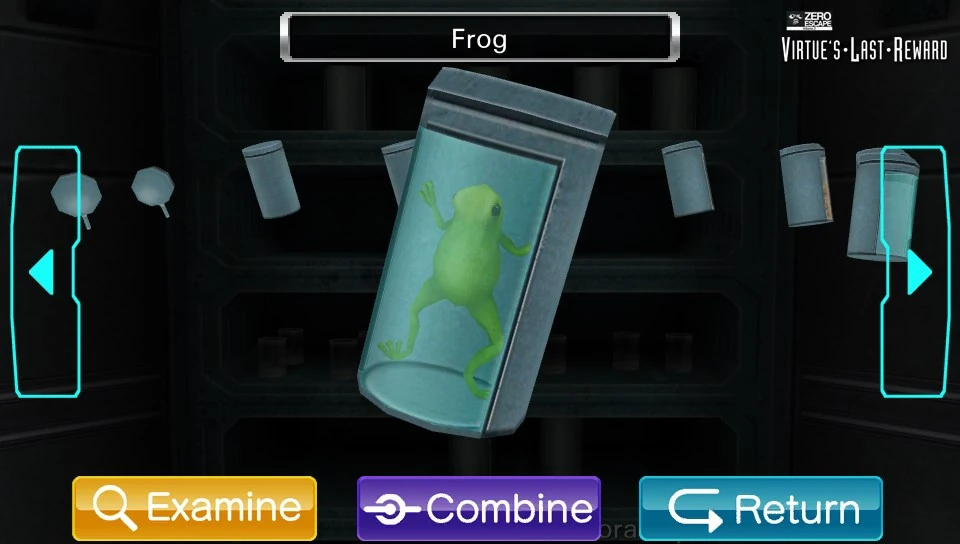

Poor Lord Hoppington...
The frog is found on the upper shelf in the rear of the room, behind the saline solution. Placed on the dissecting table after the ethanol has been poured and dissected with the scalpel.
Liquid Waste Tank[]

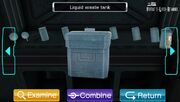
A container of peculiar liquid waste...
The waste tank is found in the dissecting area below the drain. It can be removed after the ethanol from the frog container is poured down the drain. Poured into the blender in the third step of both root and seed DNA extraction.
Blue Capsule[]
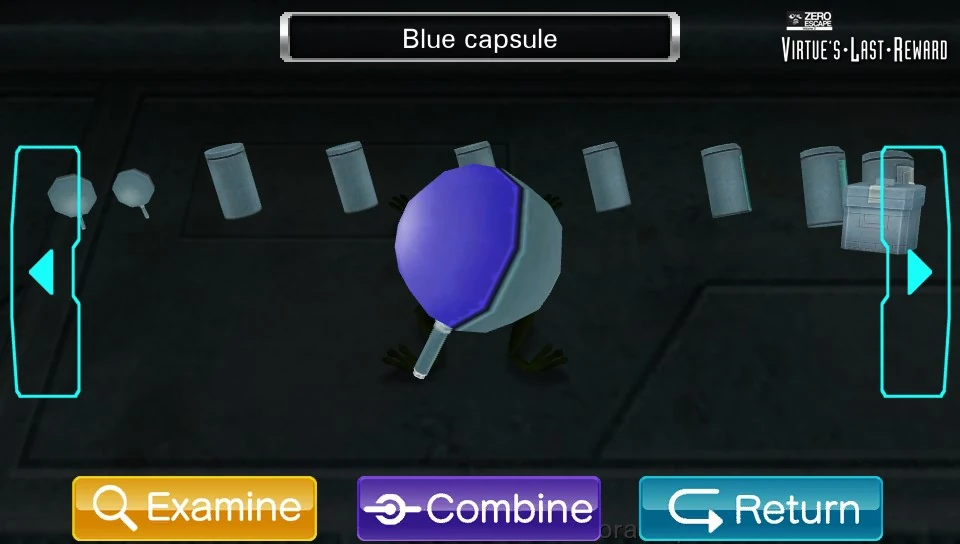

A blue capsule.
The blue capsule is found inside of the frog after it has been dissected. Placed into one of the four slots on top of the microscope.
Red Capsule[]
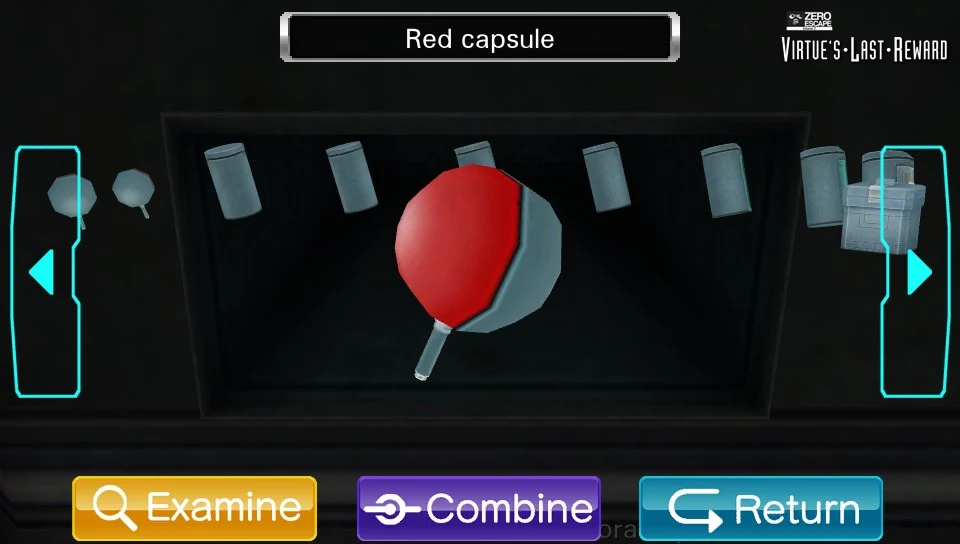
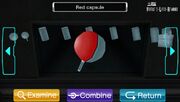
A red capsule.
The red capsule is found after the Hydroponics minigame is completed. Placed into one of the four slots on top of the microscope.
Green Capsule[]
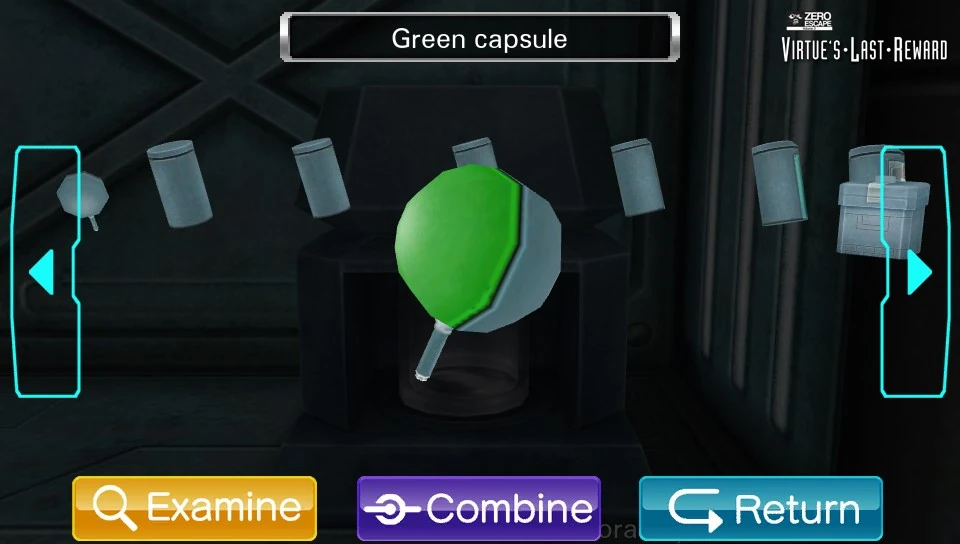

A green capsule.
The green capsule is found after the root DNA is extracted from the blender. Placed into one of the four slots on top of the microscope.
Yellow Capsule[]
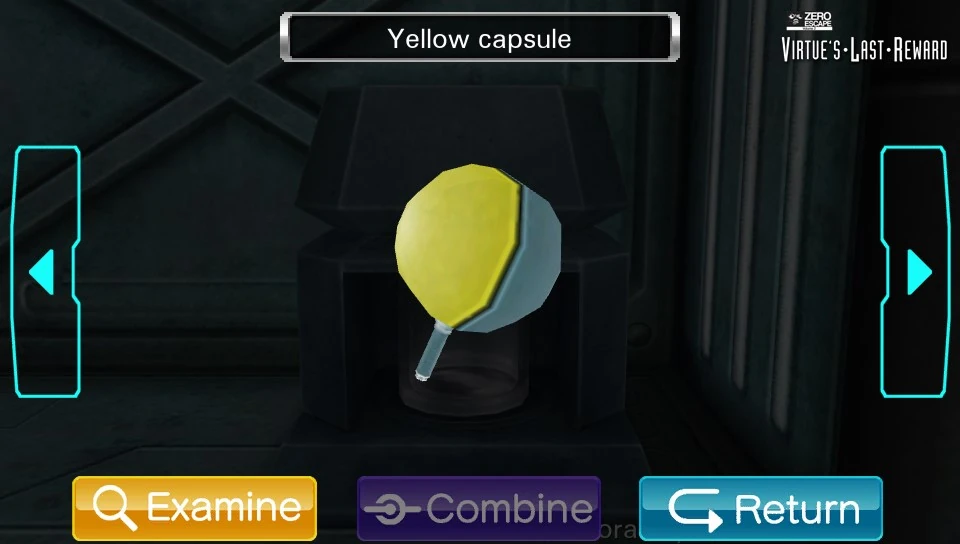

A yellow capsule.
The yellow capsule is found after the seed DNA is extracted from the blender. Placed into one of the four slots on the top of the microscope to reveal the secret password.
Minigames[]
Water Direction[]
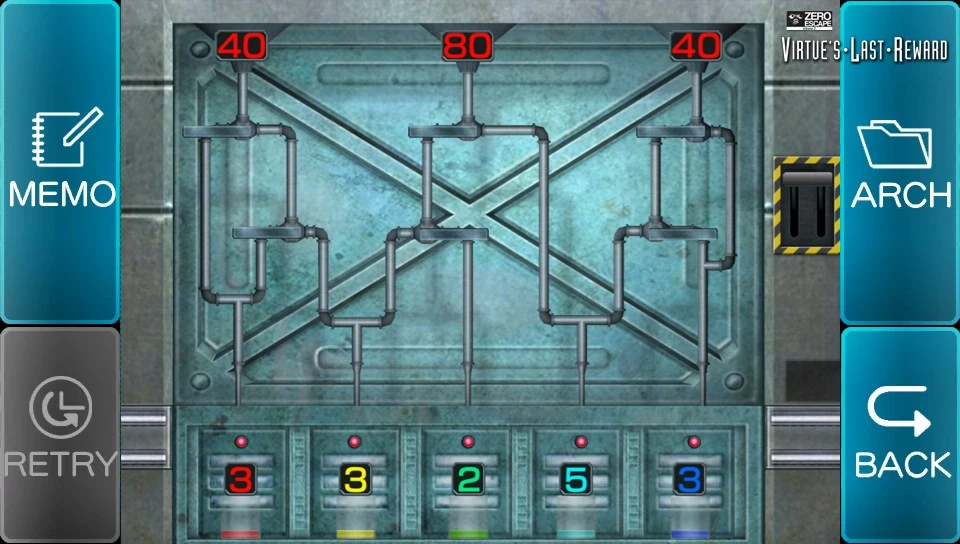

Similar to a minigame in the shower room...
In this minigame, the player must move the faucets on the pipes to fulfill the conditions of how much water is needed to go in each beaker. You can move the faucets to the left, right, or center. However, this puzzle can be completed using trial and error because the pipes display if the right amount of water went through them, with a green arrow. The solution to the puzzle is to move every faucet in the center.
Hydroponics[]
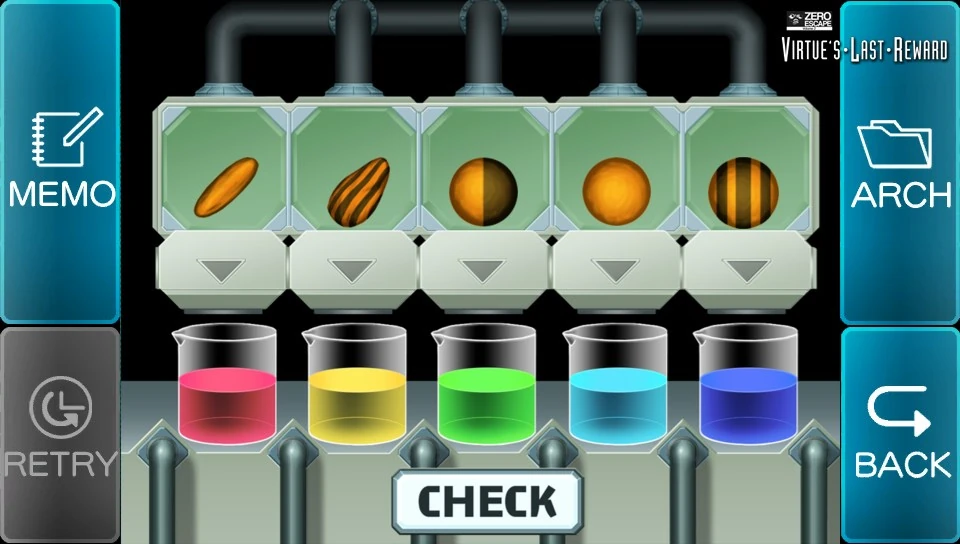

Trial and error will get you through this one.
This minigame requires the player to place the seeds into the correct beaker using the Hydroponics Research file. This minigame can also can be solved using trial and error because after placing the seeds in the beakers, the game tells you which ones are correct by the green arrows that appear over the correct pairings.
| Circle seed with left side light, right side dark | Oval seed with stripes | Circle seed fully light | Oval seed fully light | Circle seed with stripes |
|---|
Secret file password[]
For the secret file password, you need the yellow capsule. Get it by using a seed jar on the mixer. Then put the yellow capsule and two other capsules into the microscope. The monitor to the right of the microscope will light up and show you the blue password.
Base Pairing[]
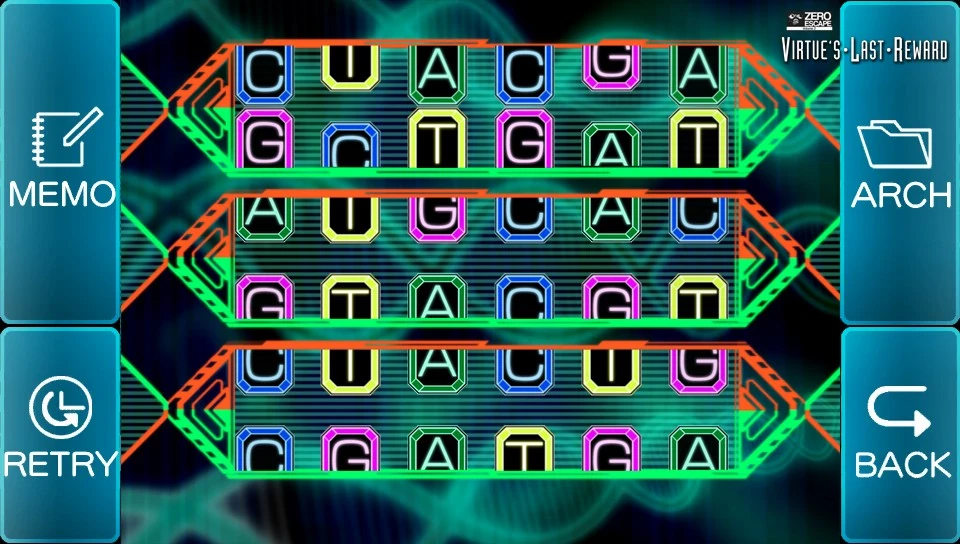

Connecting the bases.
This minigame is accessed after getting the capsules for the microscope. This game requires the player to connect every A to T and G to C. However, when you move one row, another row will move as well. The trick is to know which rows move when you move a certain row.
Note that the first row is the top row and the sixth row is the bottom row:
- Moving the first row moves the fourth row
- The second and third rows move together
- The fourth and sixth rows move together
- The fifth row does not affect any other rows
The solution:
- Make the second row say GATGCT
- Make the fourth row say GTGTAC
- Move the fifth row to match the sixth row
Trivia[]

The typo.
- There are typos in this room. When first examining the binder on dissecting frogs, Dio says "Let's me see that." When Sigma examines the long and non-marked seeds on Easy Mode, Clover will say: "Thes are the same shape as the ships the Nibiru aliens fly!". An "e" is missing from "these". There is also a second error said by Clover when examining the shelf next to the water pressure minigame. Clover will say "fig" instead of fit.
- Sigma and Clover mention Setsubun if Sigma examines the round and unmarked seeds on Easy Mode.
- Dio makes a Monty Python reference by calling Lord Hoppington an "ex-frog". In one of his shows, a dead parrot is called a "ex-parrot".
- This is the only room where Sigma and Dio are paired up.
- This escape room contains one of the "lion eating a red sun" motifs, in the form of an imprint on a tray.
| SPOILER WARNING - DON'T READ UNTIL YOU COMPLETE ENTIRE GAME | |
Humorous Quotes[]
- Examine the drain.
 Clover: Huh? Why'd they put a speaker here? Sigma: That's a drain! What is wrong with you!?
- Examine the roots.
- Sigma: What the hell is this? A dead spider? Clover: Maybe it's a fake beard. Sigma: Have you ever seen a person with a beard like this? Clover: Yeah, my grandpa had one. Sigma: ... Dio: It looks like a root. It's probably some kind of preserved specimen.
- Examine the lion tray.
- Sigma: Pretty fancy tray. Clover: Is that a cat playing with a ball of yarn? Sigma: Are you even looking cat it? It's a lion! How are you not kitten that? Clover: Uh...what? Sigma: Sorry. It's a sort of tic I picked up when I was a kid. Sigma: Whenever I talk about cats, I kind of...Well, you heard. Clover: Th-That's pretty weird...
- Examine the scalpel.
- Clover: It's a scalper. Sigma: ...What? Clover: Sorry. It's a scalpel. Sigma: ...
- Examine the frog in the corner without the binder "Steps For Dissecting a Frog".
- Sigma: So what are we gonna do with this frog? Dio: You wanna eat it? Clover: No! That's horrible! Dio: Well, what's your suggestion then? Clover: How about we try reviving him? Sigma: ...What? Clover: Like with CPR. Dio: Are...are you serious?
- Reexamine the frog on "EASY" mode without the binder "Steps For Dissecting a Frog".
- Dio: Maybe we shouldn't write off artificial respiration so quickly... This frog could actually be a prince of some remote European country. Clover: ...Huh? Dio: He probably pissed a witch off, and she cursed him to be a frog. The only thing that can change him back is the kiss of a woman... Clover: Oh oh oh! I'll do it! I'll kiss him! Sigma: Did you get dropped as a kid...?
- Use the scalpel on the frog lying on the counter.
- Clover: Um...Sigma...what are you gonna do with the scalpel? Clover: Are you gonna cut Lord Hoppington open? Sigma: Well, I don't really have a choice, do I? Clover: But...Poor Lord Hoppington... Dio: What are you freaking out about? It's dead. Clover: That's not the point! It's still sad! Sigma: Yeah...It is kinda sad... Dio: Oh for the love of...This frog is dead! It is an ex-frog! Clover: ... Sigma: ... Dio: Ugh. Fine. I'll do it.
Hey-Well, I guess that saves me the trouble.
- Examine the frog after dissection.
- Clover: *Sniff* Lord Hoppington... Clover: Why... Clover: You left us too sooooooooon! Dio: Shut up!
- A frog. It's been cut open. I feel kind of bad for it...
- Examine the blue capsule on "EASY" mode.
- Clover: This is what came out of Duke Hoppington's tummy...? Sigma: Y-Yeah... Clover: Then... could his soul be in here...? Sigma: O-Oh jeez... I didn't think of that... Clover: Uwaaa... Duke Hoppington... You were taken too soon... Baron Hoppingtoooooon! Sigma: Oh, was there a regime change?
- Complete the Hydroponics minigame.
- Clover: You did it, Sigma! You've sown your seeds! Sigma: Don't...say that. Clover: Huh? Why not? Sigma: Just...don't.
- Complete the Base Pairing minigame.
- Sigma: Ha! Did it! Clover: Good job, Sigma! That was awesome! You want a treat? Sigma: I'm not hungry. Clover: You're Turkey! Sigma: What in the hell...?