SPOILER WARNING
Every escape room article is spoiler-free to assist first-time players, but do not click any links on the article if you wish to avoid spoilers. Spoilers are also hidden in optional toggles.
- "So I guess it... treats people? Maybe it can help Quark!"
- — Sigma, upon seeing a treatment pod
The Treatment Center is an escape room behind the green Chromatic Door on Floor B. Sigma, Clover, and unconscious Quark go through this door on Clover's route.
Layout[]

Concept art.
The Treatment Center has a large lion picture to the left of the entrance of the room, a large monitor to the left, and a fish tank with jellyfish within to the right. The room has a gray sofa and a clock to the north of the fish tank. Beyond the locked green door are three treatment pods in a white room. Each pod has a control panel next to it. Next to the exit door is a wilted green plant. Next to the large computer monitor is a healthy green plant.
Story[]
Sigma accesses the Treatment Center with Clover on her route by choosing betray against Tenmyouji in the first round of the AB game. Tenmyouji entrusts Quark to Sigma and Clover, saying that he knows that Clover will keep him safe. Once pulling a lever behind the green door, they end up in the Treatment Center, and point out the treatment pods in the locked room. Sigma suggests that they might find something to cure Quark of his Radical-6.
While searching the room, they place Quark in one of the treatment pods, since it could alleviate the symptoms of the virus, but cannot cure the virus. The pod also asks them if they should put Quark into cold sleep, which they decide against because of a frozen plant that Clover accidentally distroyed. Inside the safe, they find the Moon cards, supplementary AB game rules card, an injection gun with neostigmine which Clover keeps since the gun's name seems familiar to her, and the exit key.
Just as they are about to leave, an announcement rings out, saying that an Ambidex Gate has been opened. Before they can head back to Floor A, Clover notices records on the three treatment pods once the exit door opens. The pods read that three people have woken up from cold sleep a few hours earlier. They deduce that at least three people were put in cold sleep, but cannot determine when they were frozen and who they were. Clover says the other records were deleted by an administrator (Zero). Seeing Quark is safe in the Treatment Pod, Sigma and Clover head back to Floor A to tell the others about Quark and the erased records.
Items[]
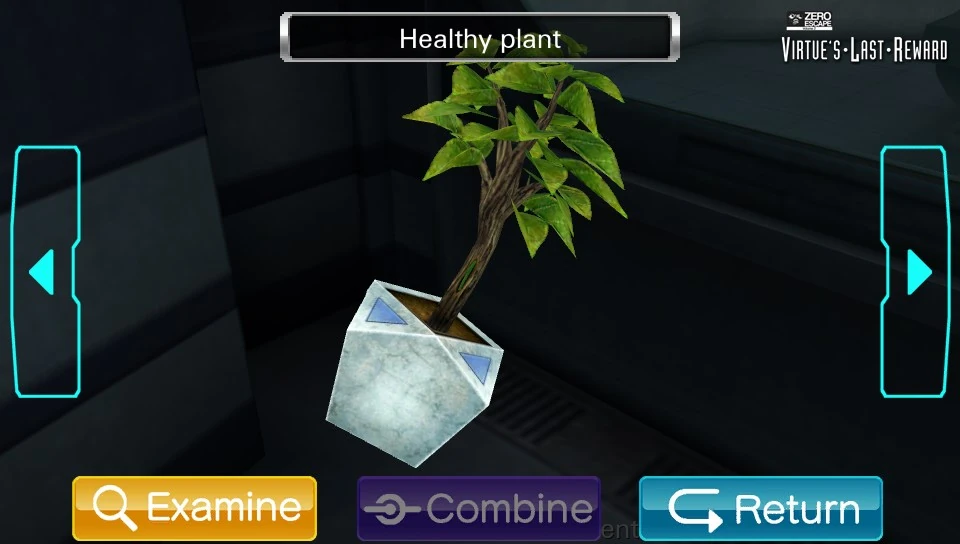
Healthy Plant[]
A plant with a high amount of stamina.
The healthy plant is found sitting in the corner next to the window and the monitor. After it has been placed in Treatment Pod #1, it will be frozen and the green memory card can be removed.
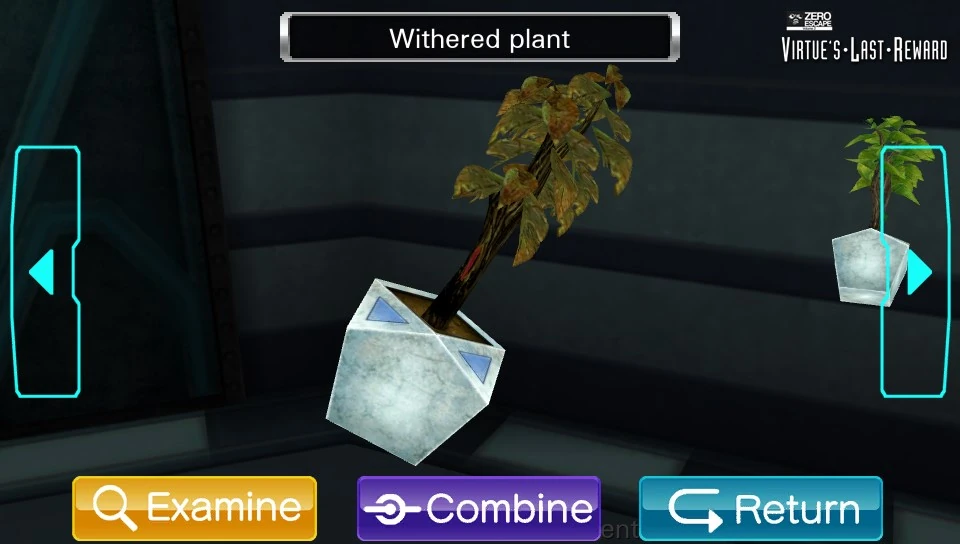
Withered Plant[]
A plant with a low amount of stamina.
The withered plant is found sitting on the ground next to the exit. After it has been placed in Treatment Pod #1, it will be treated and the red memory card will be revealed.
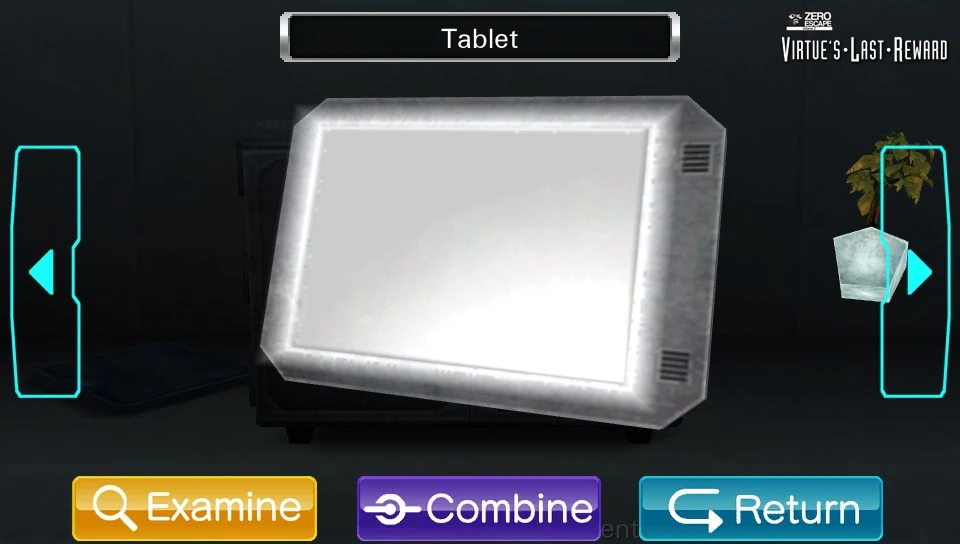
Tablet[]
A plain, gray tablet.
The tablet is found on the couch next to the safe. It reveals the escape and file passwords if the correct passwords (PAST/POUR) are entered.
Silver Key[]

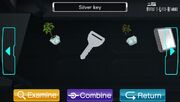
Key to opening the tank.
The silver key is found inside of Treatment Pod #2. It is used to unlock the lid of the jellyfish tank to access the "Jellyfish Currents" minigame.
White Key[]
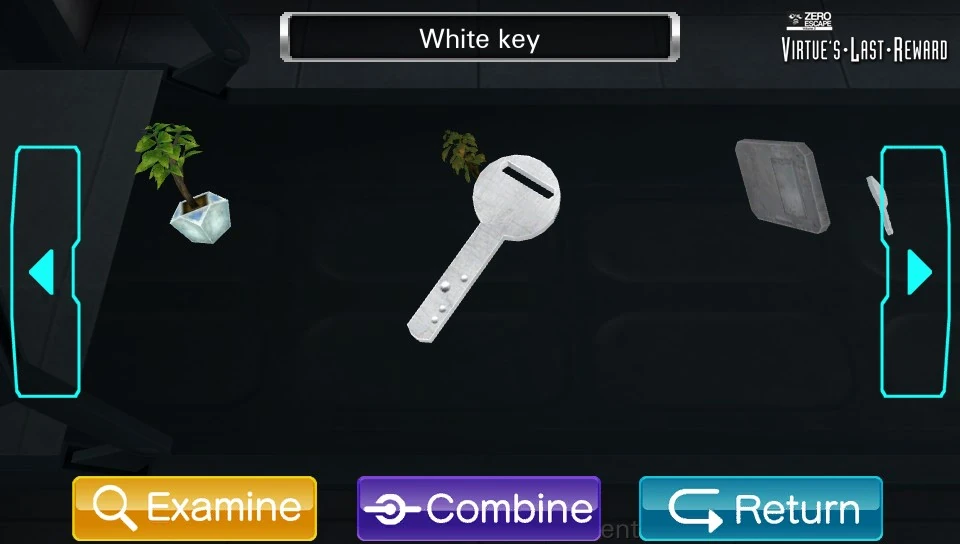
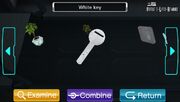
Key to opening the clock.
The white key is found inside of Treatment Pod #1. It is used to unlock the wall clock above the couch.
Chip With "NO1" Written On It[]
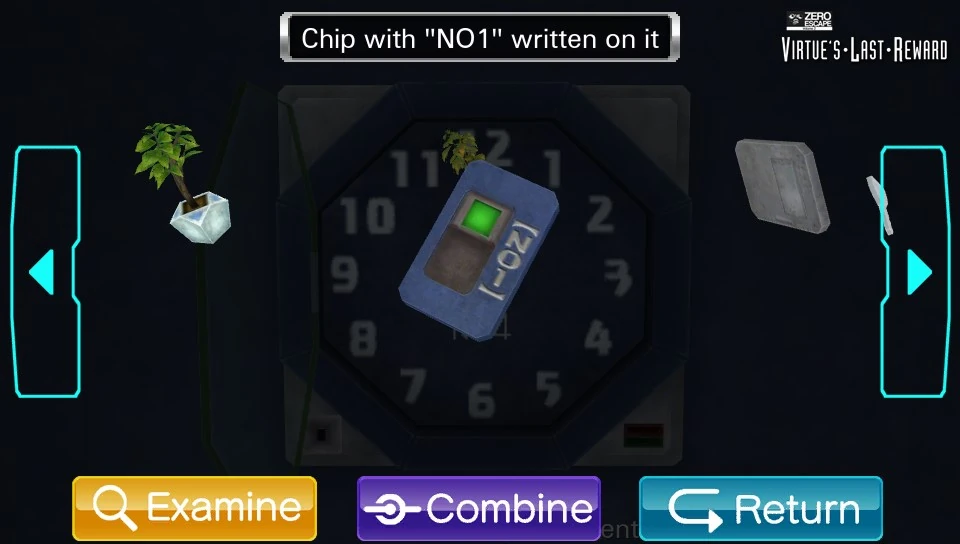
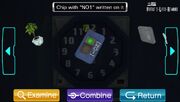
The top chip.
The chip is found inside of the wall clock after the casing has been unlocked. It is placed inside the slot on the panel next to Treatment Pod #1 to allow for testing to commence.
Artificial Jellyfish[]
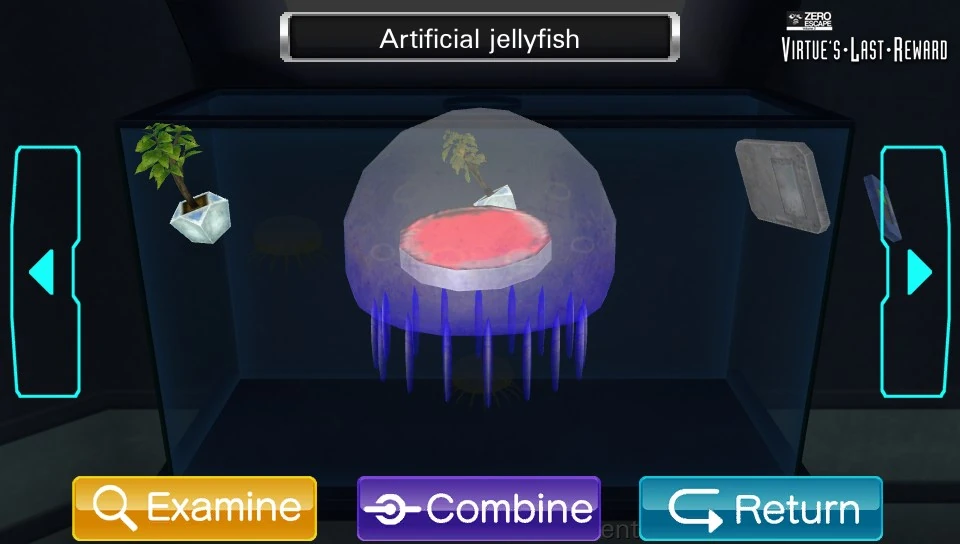
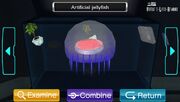
Dangerous, egg-laying alien.
The jellyfish is found after it is removed from the tank. If it is examined further, the tile inside of it will be removed.
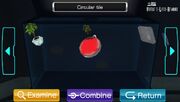
Circular Tile[]
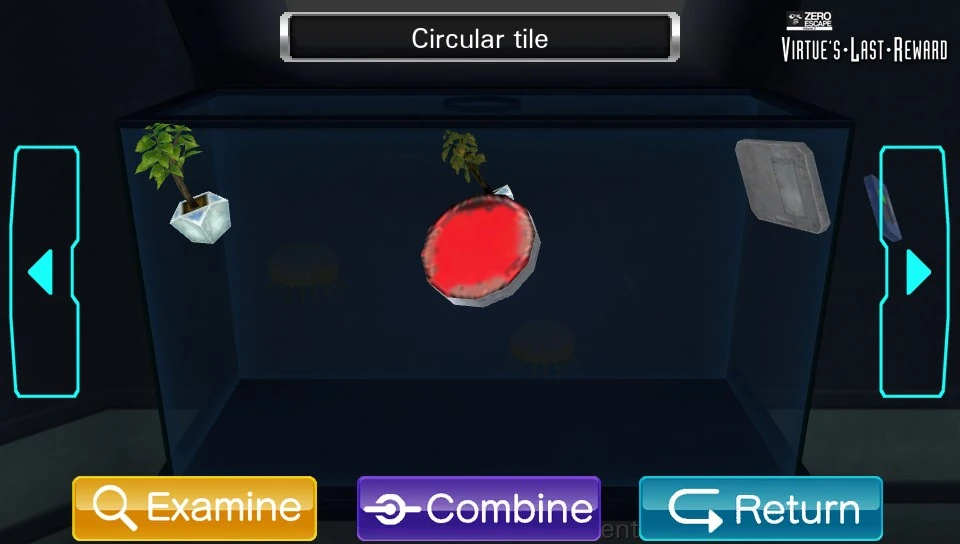
An odd piece of "meat".
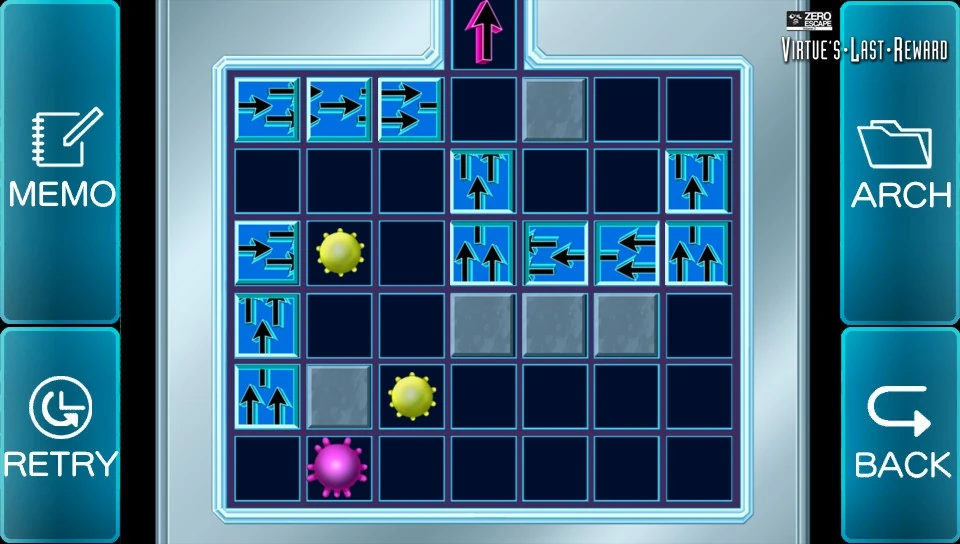
The circular tile is found after the Artificial jellyfish is examined. It can be placed into the hole in the lion painting to reveal a hidden cavity in the wall. The cavity causes a laser to appear, pointing towards the center treatment pod, revealing the numbers on the pod when its cover is open. The numbers serve as hints for the board game minigame.
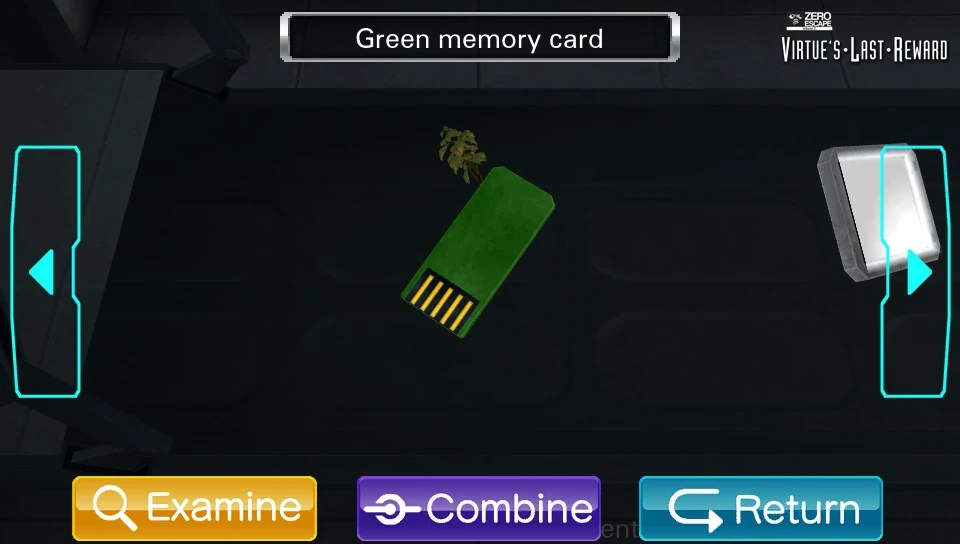
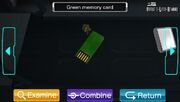
Green Memory Card[]
A green memory card.
The green card is found after the healthy plant is frozen in Treatment Pod #1. It is placed in the green slot on the wall clock to reveal the minute hand.
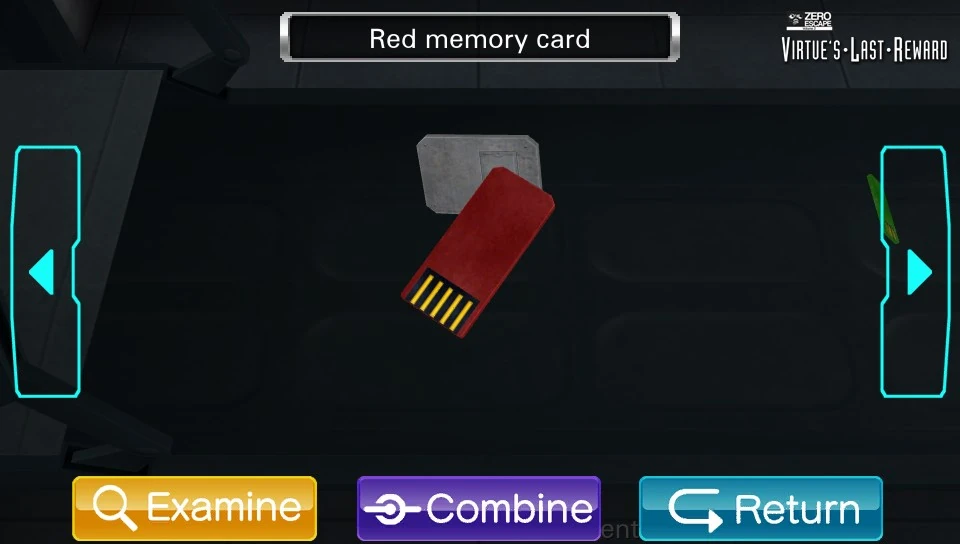
Red Memory Card[]

A red memory card.
The red card is found after the withered plant has been treated in Treatment Pod #1. It is placed in the red slot on the wall clock to reveal the hour hand.
Minigames[]
Hit/Blow Password[]

A luck based game.
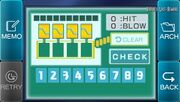
This puzzle requires the player to guess four random numbers with only ten tries. After typing the numbers in, numbers from one to four appear next to Hit and Blow. Hit means the number is correct and in the right place. Blow means the number is correct but in the wrong place. This puzzle doesn't have a concrete solution, so it is somewhat based on luck. An easier way to do this puzzle is to write the numbers 1 to 9 and eliminate the ones that are not part of the answer.
This is a solver for the puzzle.
Jellyfish Currents[]
Jellyfish!
This puzzle is accessed after finding a key in one of the Treatment Pods. In this minigame, the player must guide the red jellyfish to the top of the tank, but you have to restart if any of the yellow jellyfish reach the top. However, the currents in the tank determine which way you have to go when the jellyfish enters it. This puzzle can be difficult on the 3DS because of the gyro controls incorporated into the system. It is easier to use the D-pad on the system.
The solution is left, up, left, right, right, up.
Board Game Password[]
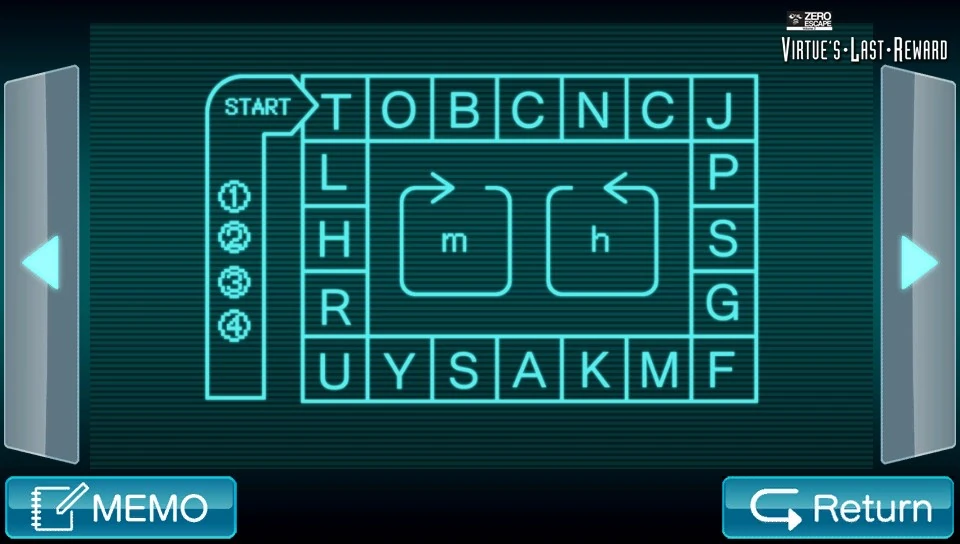
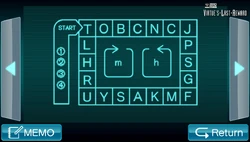
Dice game map.
In this minigame, the player must input a password into the tablet using the picture of a board game. The hints to which direction you need to travel is on the clocks on the treatment pods and the wall clock. After moving the spaces according to the clock, input the letters into the tablet. This puzzle gives you the escape password or file password. Note that the space you are already on counts.
Secret file password[]

Password for the file code.
To get the secret file password, examine your tablet. It says Four pieces for the first password. One piece for the second password.
The secret file password is the second password. This puzzle uses the board game image that you found on the monitor on the wall. The clock times that you found tell you how far to move your piece:
- 1 = 7:15 (7 squares counterclockwise, 15 squares clockwise, or just 15-7 = 8 clockwise)
- 2 = 6:20 (6 squares counterclockwise, 20 squares clockwise, or just 20-6 = 14 clockwise)
- 3 = 0:15 (15 squares clockwise)
- 4 = 4:05 (4 squares counterclockwise, 5 squares clockwise, or just 5-4 = 1 clockwise)
Start counting with the T. In other words, T is 1. Since the clue said "One piece for the second password", after you move to the next square, continue from that square.
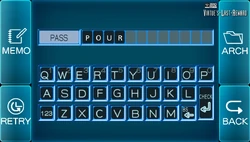
Start at T, and count 8 squares clockwise. This puts you on P. From the P, count 14 squares clockwise. This puts you on O. From the O, count 15 squares clockwise. This puts you on the U. From the U, count 1 square clockwise. This puts you on the R. Enter POUR as the password. This gives you the blue password.
Escape password[]

Password for the escape code.
To get the escape password, examine your tablet. It says Four pieces for the first password. One piece for the second password.
The escape password is the first password. This puzzle uses the board game image that you found on the monitor on the wall. The clock times that you found tell you how far to move your pieces:
- 1 = 7:15 (7 squares counterclockwise, 15 squares clockwise, or just 15-7 = 8 clockwise)
- 2 = 6:20 (6 squares counterclockwise, 20 squares clockwise, or just 20-6 = 14 clockwise)
- 3 = 0:15 (15 squares clockwise)
- 4 = 4:05 (4 squares counterclockwise, 5 squares clockwise, or just 5-4 = 1 clockwise)
Start counting with the T. In other words, T is 1. Since the clue said "Four pieces for the first password", start counting at T to find all four letters.
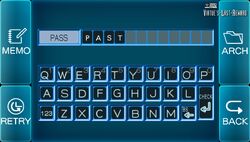
Start at T, and count 8 squares clockwise. This puts you on P. Start at T again, and count 14 squares clockwise. This puts you on A. Start at T again, and count 15 squares clockwise. This puts you on the S. Start at T again, and count 1 square clockwise. This puts you on the T. Enter PAST as the password. This gives you the green password.
Trivia[]
- Although Quark accompanies Sigma and Clover to this room, he doesn't play any role in the puzzle solving with them because he is unconscious.
- This is one of three escape rooms (the other two are the Elevator and Security) to only have two people participate in a puzzle.
- The "Hit/Blow Password" minigame is the only puzzle that has a solution that changes every time and changes constantly every time you try it.
- On Alice's route, Dio entered this room with Phi and Tenmyouji. Since Phi and Tenmyouji got to the safe first, Dio was unable to get the neostigmine gun. The gun is also not mentioned in this ending and Dio's ending.
- Even if you haven't obtained any memory cards, examining the wall clock after opening the lid causes Clover to tell you that you have a memory card.

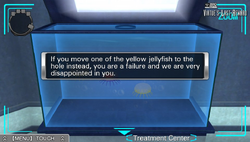
"You are a failure and we are very disappointed in you."
- The last part of the instructions for the Jellyfish Currents minigame breaks the fourth wall by saying "If you move one of the yellow jellyfish to the hole instead, you are a failure and we are very disappointed in you."
- This escape room contains one of the "lion eating a red sun" motifs, in the form of a painting.
Humorous Quotes[]
- Examine the jellyfish tank.
 Clover: Oh my gosh! Aliens! Sigma: Pretty sure they're just jellyfish... Clover: Aliens. Sigma: There are three jellyfish. Two yellow ones, and a purple one. Clover: What's inside the purple one? Is it digesting human flesh? Sigma: Wh-Why would you even think something like that? Sigma: I don't think it's meat anyway. Sigma: Look at it...It's too solid. I think it's a tile of some sort... Clover: Hm... Sigma: I wonder if we can get it out...
- Examine the hole in the jellyfish tank.
- Sigma: What the hell...There's a second lid. Clover: Yeah, but it's got a hole in the middle. Clover: If you stick your hand in there, maybe you can grab that one with the meat in it. Sigma: It's not meat! Sigma: ...Whatever. Let's give it a shot.
(SPLASH) Sigma: Ah! Hot! Sigma: Shit, this water's really hot! Clover: Really? Sigma: Really. Clover: Then these bubbles... Sigma: Yeah. It's boiling. Clover: No way...No jellyfish could survive in boiling water! Sigma: ... Clover: They are aliens! Sigma: Yeah... We should try and get the purple one to rise up to the top somehow... Sigma: If we can get it right under the hole in the lid, I think I can grab it.
- Complete the Jellyfish minigame.
- Sigma: Gotta grab it jellyfast! Clover: What the heck? Sigma: "Jellyfish" and "fast"...'Cause the water is hot... Clover: ...
- Examine the artificial jellyfish.
- Clover: This is Ellen. She's a mysterious intelligent life form from the outer reaches of space. Sigma: Don't give it a name! Sigma: Here. Here, take it. Clover: H-Hey! Stop it! Clover: What if it grabs onto my face and lay eggs in me or something! Sigma: Ha! Come on, it just wants to give you a hug. Sigma: Besides, it's not even alive. Sigma: It's a thing. Man-made. Like a toy or something. Clover: But it's digesting a chunk of meat! Sigma: That's not meat! Clover: Then what is it? Sigma: Hold on. I'll pull it out now.
- Examine the circular tile.
- Clover: It's human flesh! Sigma: No it's not! It's a ceramic tile! Clover: Oh, well, yeah I guess it is only red on one side.
- Examine the lion picture.
- Sigma: Nice lion. Clover: That's a pretty realistic painting. It's a really, really, really real liiiiion! Sigma: Don't sing in a whisper like that! It's creepy.
- Examine the green plant.
- Sigma: A plant. Clover: Look at these lush green leaves! This sturdy, thick shaft! it looks like its full of energy and stamina! Sigma: How does a plant have stamina?