SPOILER WARNING
Every escape room article is spoiler-free to assist first-time players, but do not click any links on the article if you wish to avoid spoilers. Spoilers are also hidden in optional toggles.
- "We should look around. If this really is Zero Sr.'s room, there might be some clues!"
- — Quark, before searching the Director's Office
The Director's Office is an escape room behind the rightmost white Chromatic Door in Warehouse B. Sigma, Tenmyouji, and Quark search this room on Tenmyouji's route.
Layout[]
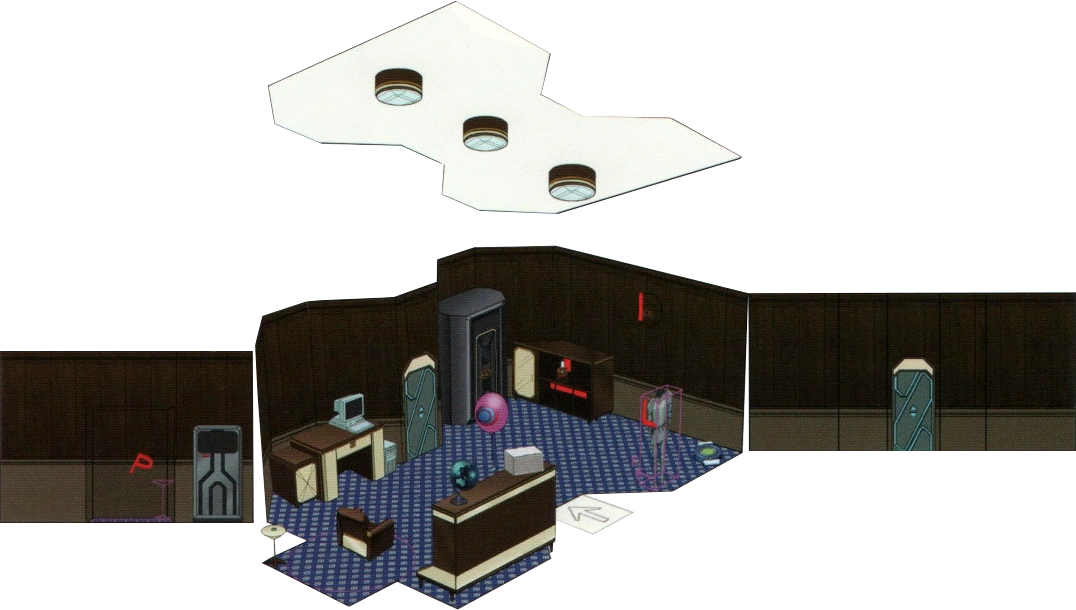

Concept art.
The Director's office is a small, boxy room, presumably used as an office for whoever Zero is during their time in this place. The walls are made of wood, and there are various objects around the room, including a suit of armor and a weird machine on the ground. Some of these objects have letters written in red paint on them. A computer sits on top of a desk to the right, locked with a password. There is a deer head mounted on the wall, and bookshelves holding books and a bottle of alcohol. Propped up against a wall is an electronically locked cabinet and a glass display case with a globe sitting on it nearby. Oddly, there is a balloon floating in the center of the room.
Story[]
Sigma accesses the Director's Office after going through the white Chromatic Door on the right, also going with Tenmyouji and Quark. Once arriving at the office, Quark says that they might find something that has to do with Zero here and the three begin investigating.
Picture[]
| SPOILER WARNING | |
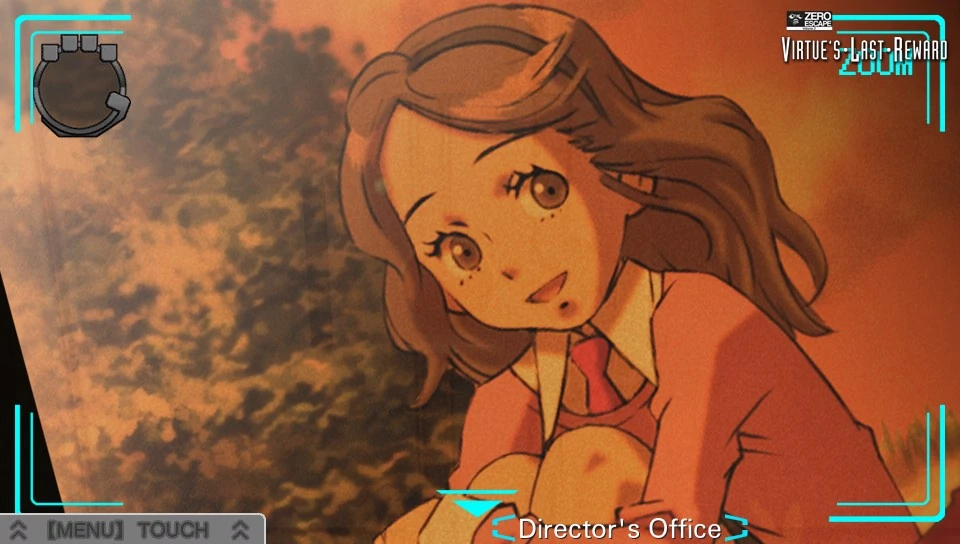  Akane Kurashiki. While investigating the room, Sigma gets a glance of Tenmyouji's photo of a young girl. He says that the girl in the photo is Akane Kurashiki and that he has been searching for her for a long time. Quark tells Sigma that she was Tenmyouji's first love and that he occasionally talks to the photo when no one is watching. Once Sigma opens the safe, he finds two star keys, and the exit key, Sigma takes one card while giving Tenmyouji and Quark the other. After this, they leave the director's office and head back to Warehouse A. On their way back, Tenmyouji discovers that he left his photo of Akane in the office. He and Quark return to the office to pick it up, while Sigma returns to Warehouse A alone. | |
Termites[]
| SPOILER WARNING | |
  Let's chat about termites! Sigma finds a hologram of Zero Sr. in the Director's Office while searching for Tenmyouji and Quark prior to the third round of the AB Game. In his message to Sigma, Zero Sr. mentions termites, how a termite mound is similar to a rhizome, and likens humanity to termites. He says that mankind might be building something in unison they are not aware of and can only be appreciated by the intelligence of a higher order. Every human is an "oblivious cog in a tremendous machine programmed by millions of years of human DNA." He then gives Sigma the password for Bomb 1 (BQZ RGJ DXR). He asks Sigma if he is aware of his time jumping abilities and warns him not to tell anyone about their meeting. Before the message ends, Zero Sr. says that he looks forward to speaking with him in person. It is revealed that Tenmyouji and Quark saw the hologram, which leads them to betray Sigma. | |
Items[]
Found Items[]
Cheap Brandy[]
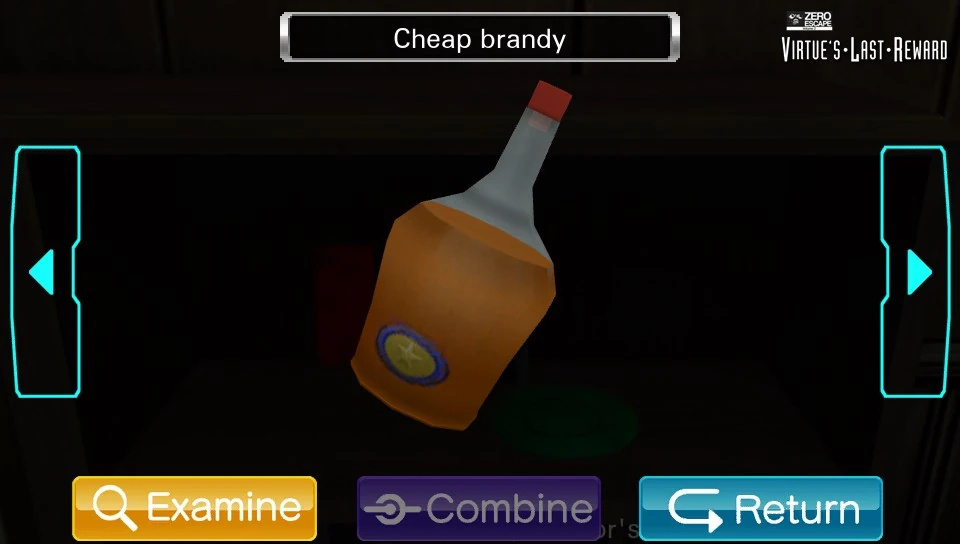

Made in China.
The cheap brandy is found on the top shelf of the bookshelf. It is placed on the green coaster in the credenza to form a parallelogram out of the laser beam. This is a clue for the Tangram Puzzle.
Historical Adventure Saga[]
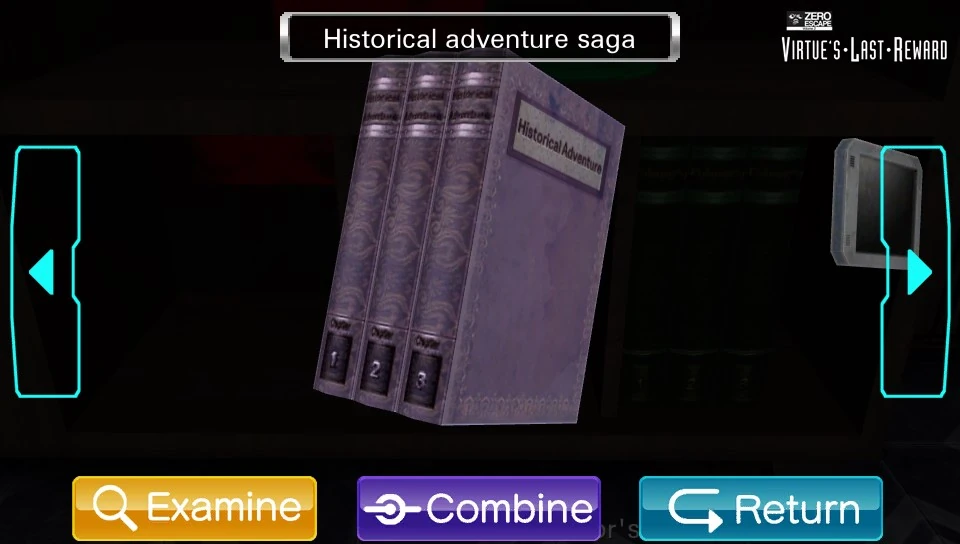

Books about a historical adventure.
The saga is found on the bottom-left section of the bookshelf. Placed in either the left or middle section to help reveal the letter 'H'.
Literary Analyses[]
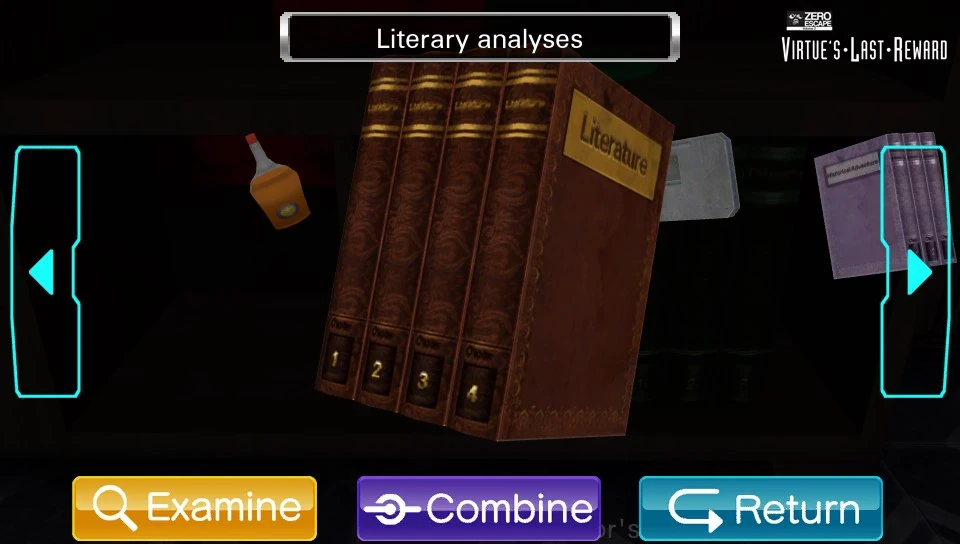

Books about analyzing literature.
The analyses are found on the bottom-middle section of the bookshelf. Placed in the right section to help reveal the letter 'H'.
Philosophy Books[]
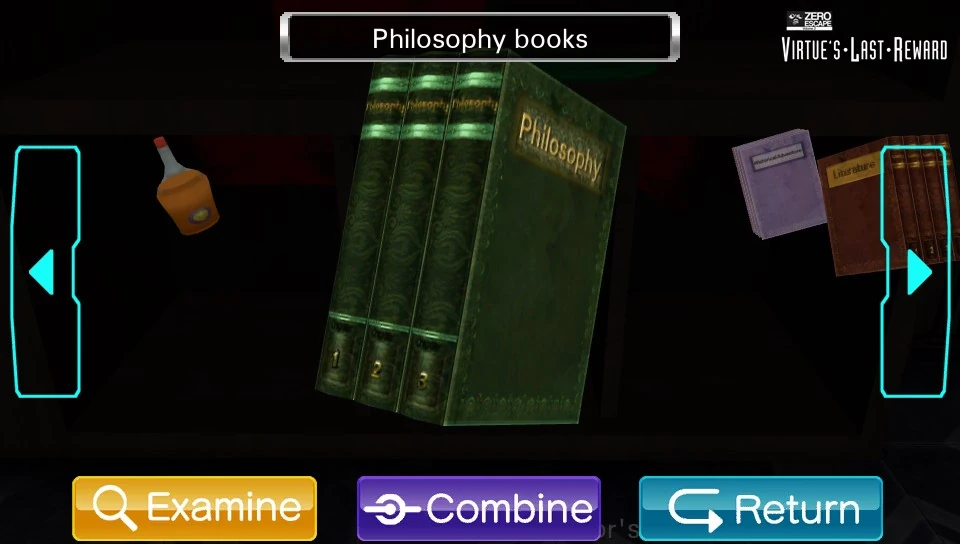

Books about philosophy.
The books are found on the bottom-right section of the bookshelf. Placed in either the left or middle section to help reveal the letter 'H'.
Short Spear[]
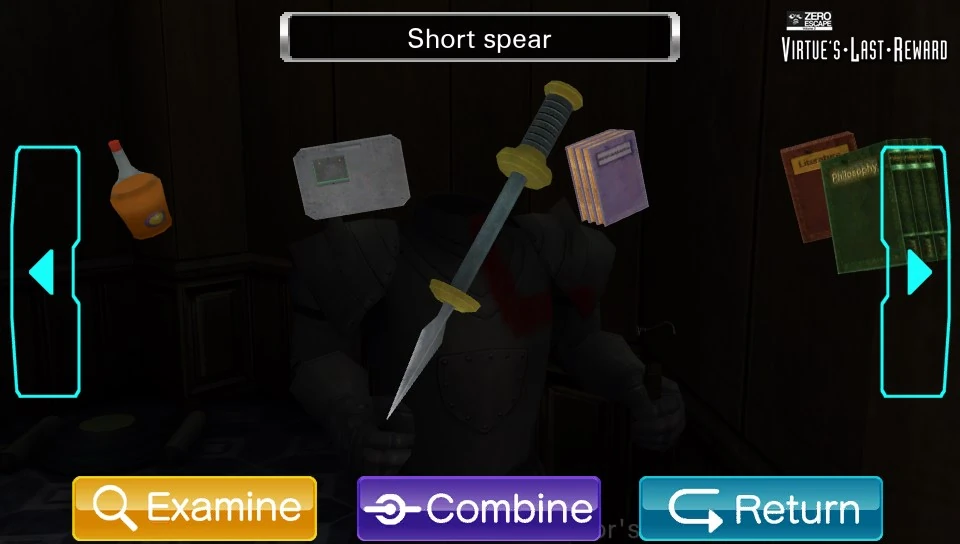

A portable spear.
The spear is found in the suit of armor's right hand. Used to unlock the desk drawer.
Slingshot[]
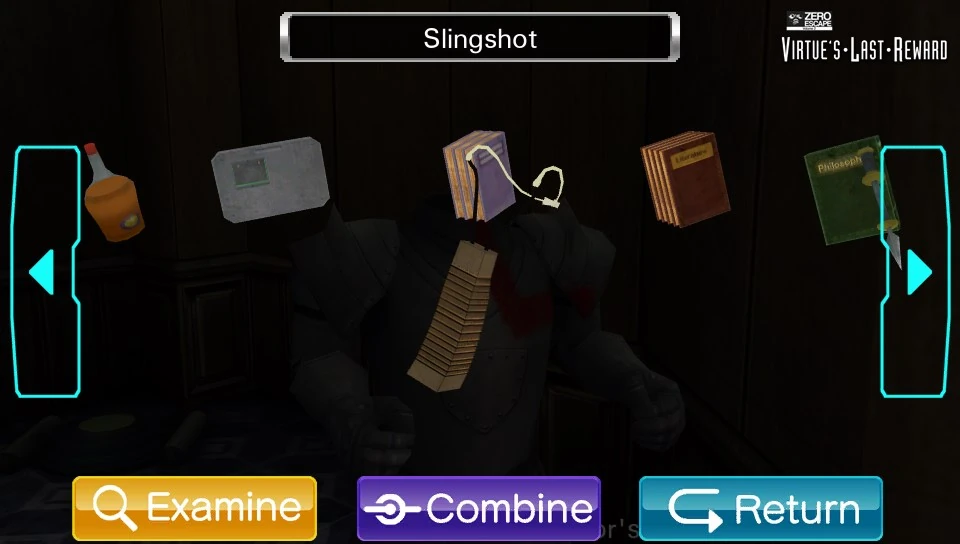

A weapon of mass destruction.
The slingshot is found in the suit of armor's left hand. Used to pop the balloon from a sitting position in the chair and allow view of the 'H', 'E', and 'L' letters.
Globe[]
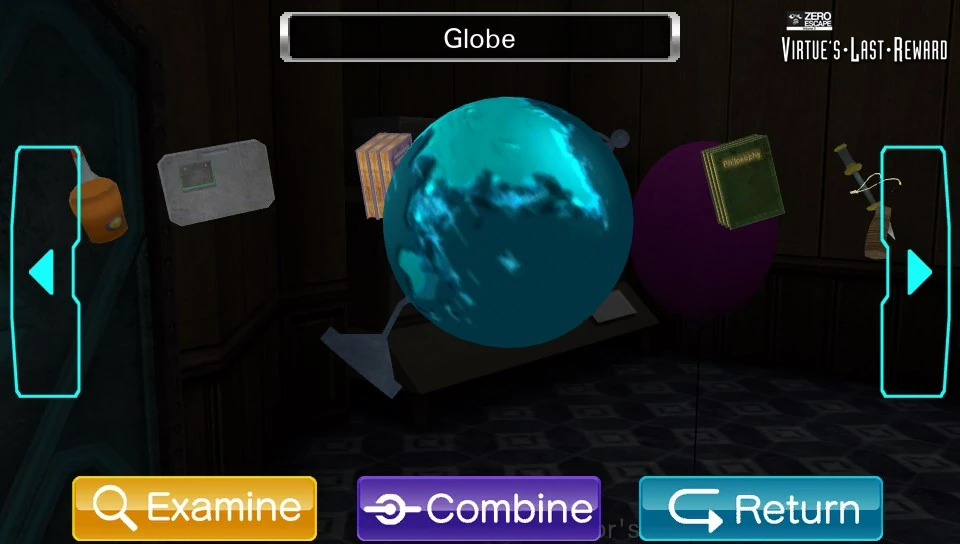

A simple globe of the world.
The globe is found on top of the credenza. If examined further, a piece of paper will be found glued to it.
Expensive Brandy[]
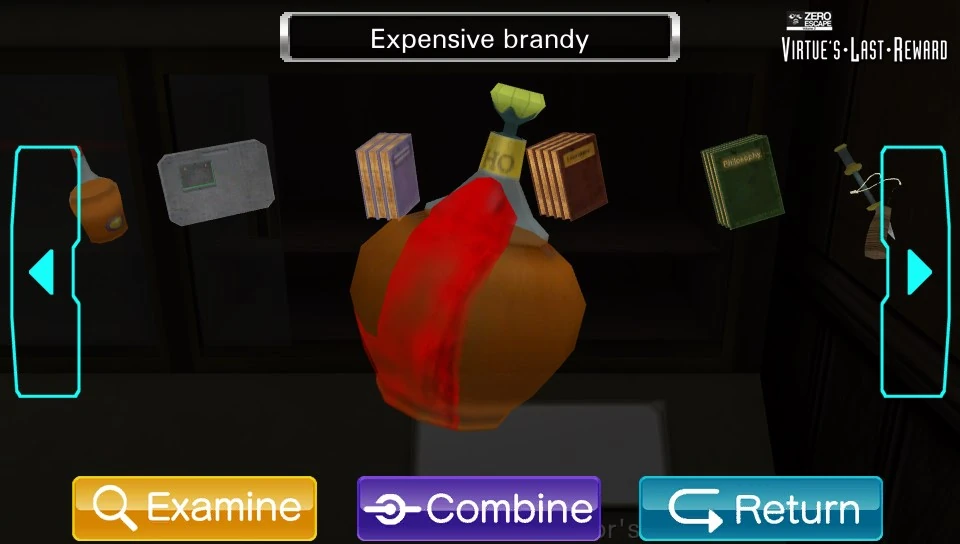

Now we're talking!
The expensive brandy is found in the right-hand side of the credenza case. Placed on the green coaster on the bookshelf, where the cheap brandy originally was, to help reveal the letter 'H'.
Mounted Deer[]
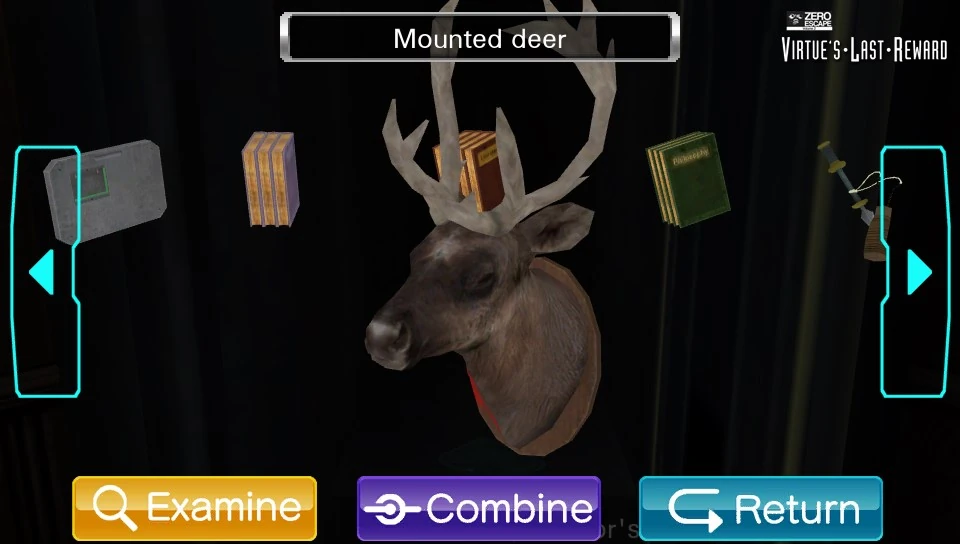

Poor deer, left to hang on the wall...
The deer is found within the large safe. Placed onto the outlet above the bookshelf to reveal the letter 'E'.
Small Key[]
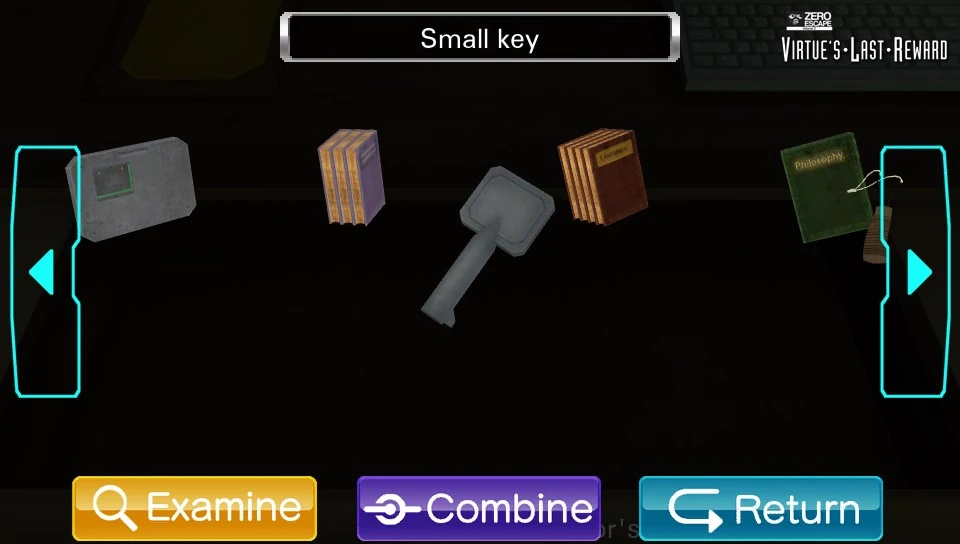

A small key.
The key is found in the desk drawer. Used to activate the facial recognition device. Also used as ammo in the slingshot for the balloon, but the player does not need to retrieve it themselves.
Helmet[]

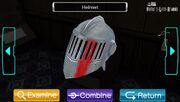
Medieval headgear.
The helmet is found on the chair from the secret room. Placed on the suit of armor to reveal the letter 'L'.
Battery[]
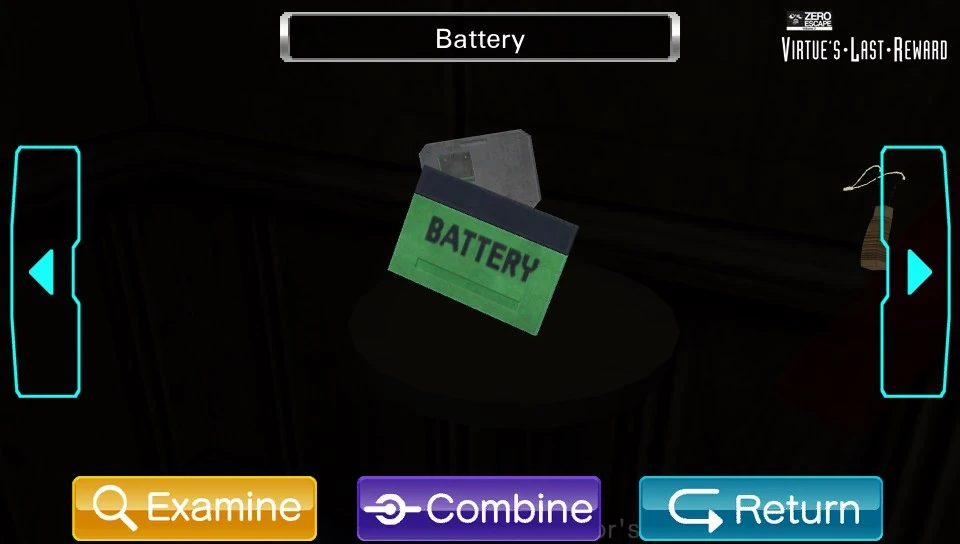

A simple 9-volt battery.
The battery is found on a table behind the wall in the secret room.
Combines with Tablet to form Tablet.
Combined Items[]
Tablet[]


The tablet is found on the top shelf of the bookshelf. The battery must be placed in the tablet for it to turn on. Used to enter a password (HELP) for the escape password.
Combines with Battery to form Tablet.
Minigames[]
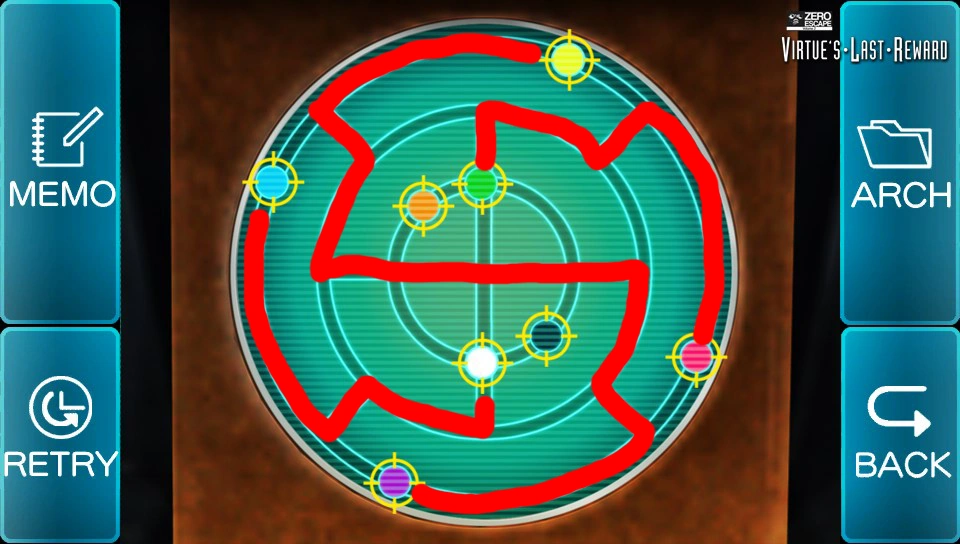
Connect the Dots[]

Solution.
This minigame plays exactly the same as the minigame in the PEC, the player must connect the dots using the map of the world file. This is harder than the PEC version because there is only one solution and the paths to the dots must follow that solution.
.jpg "Zero Escape Vol. 2 Virtue's Last Reward 2 (7).jpg (163 KB)")
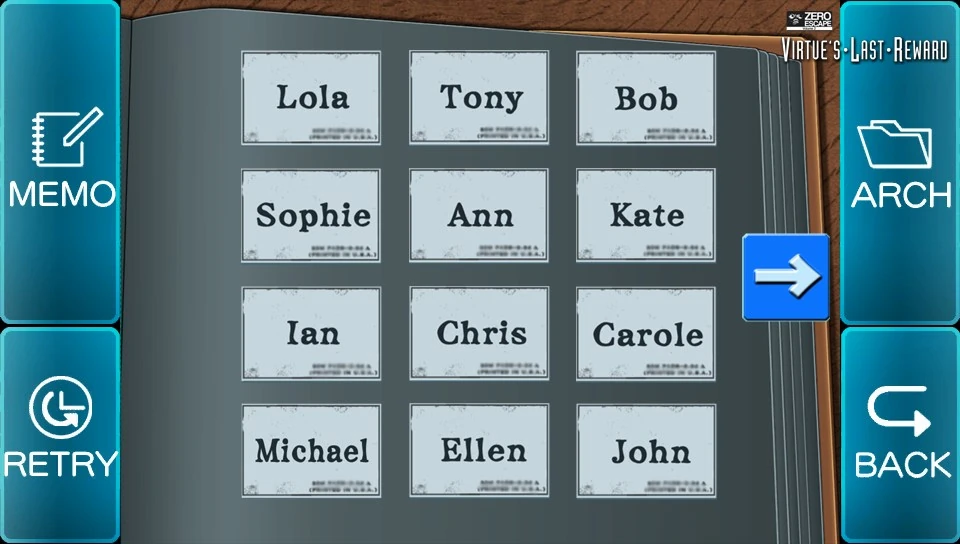
Business Card Holder[]

Business cards have preferences too...
In this minigame, the player must use the hints on the business card report to arrange 12 business cards in the correct order. The correct positions are:
| Bob | Ellen | Sophie |
| Ann | Chris | John |
| Tony | Lola | Ian |
| Carole | Michael | Kate |
.jpg "Zero Escape Vol. 2 Virtue's Last Reward 1 (19).jpg (87 KB)")
.jpg "Zero Escape Vol. 2 Virtue's Last Reward 1 (20).jpg (136 KB)")
Tangram Puzzle[]
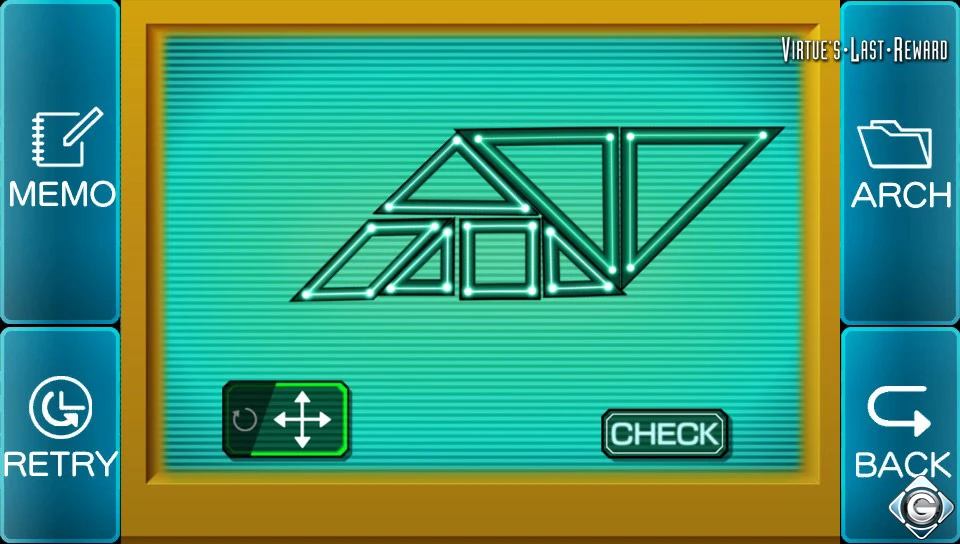

Irritating, as the system doesn't always recognize the shape.
This optional minigame is accessed after receiving the escape password from the tablet. In this minigame, the player must use shape parts to create a parallelogram. After completing this minigame, the player will receive the secret file password to enter into the tablet: IILP.
Computer Password (Luna END)[]
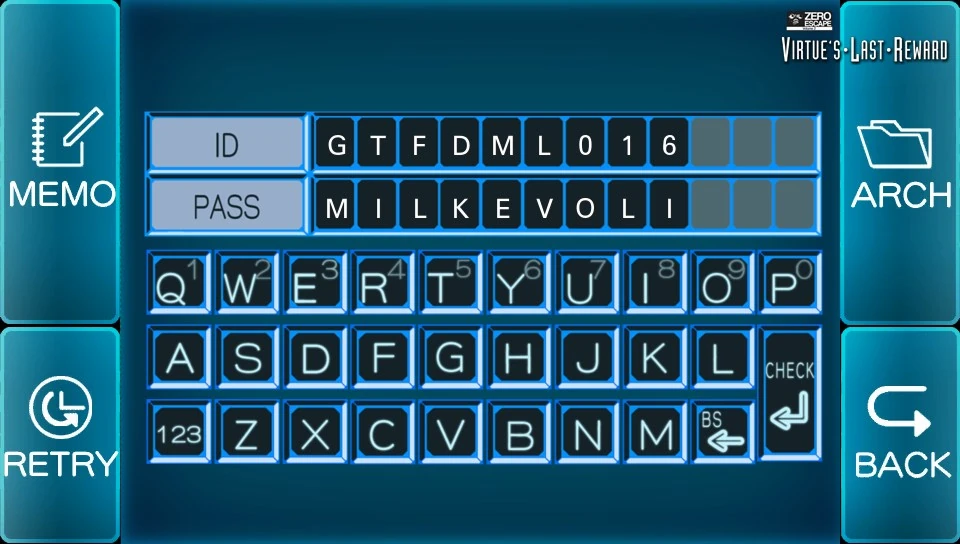

The username and password to the computer
The computer is used on Luna's route, when Sigma and Phi investigate the Director's Office. The username and password are found in both Sigma and K's endings.
Username: GTF-DM-L-016, told by Luna during Sigma END.
Password: MILKEVOLI, told by K in K END.
Trivia[]
- The computer in this room is not used during the escape sequence, as the keyboard is disabled. Instead, it is used on Luna's route.
- Sigma and Tenmyouji sing part of the song "Wonderboy", released in 2002 by Tenacious D.
- This is the only escape room where Quark participates in the escape process with Sigma and one of two where he appears.
- The player can choose to avoid examining the photograph used on the facial-recognition device when given the chance, however Quark will tease Sigma's curiosity when the safe is opened, preventing progress until the player does so.
- This escape room contains one of the "lion eating a red sun" motifs, in the form of a computer monitor background.
- As usual, there is a typo. When the shape is opened with the escape password, Sigma says "It looks kind empty this time." instead of "kinda" or "kind of".
Humorous Quotes[]
- Examine the safe.
 Sigma: Man, this safe is really big. Quark: There's gotta be, like, a hundred billion dollars in there! Sigma: Heh. You're such a kid. Tenmyouji: Maybe they're just hiding something they really don't want people to see. Like some... videos. Sigma: I'm not sure I like the way you said that...
- Open the safe.
- Sigma: Let's have a look inside. Quark: A hundred billion dollars! Tenmyouji: Videos! Sigma: Yeah, yeah... Quark: ... Tenmyouji: ... Sigma: Sorry guys. Looks like all we've got is a binder and... a deer. Quark: So... a bine-deer.
- Take the expensive brandy.
- Tenmyouji: Ha ha! Now this is brandy! Fierre Perrin's 200 year-old reserve! Sigma: You can tell that just by looking at it? Tenmyouji: I can smell it. Sigma: That's some nose you've got there... Tenmyouji: Here, just let me have a taste... Sigma: I don't think so. Tenmyouji: How can you be so cruel?
- Examine the expensive brandy.
- Tenmyouji: Oh ho! This is the good stuff right here! From Fierre Perrin's 200 year old reserve! Sigma: You already told me that... Tenmyouji: Oh...Did I? Sigma: Yeah. Two hundred years is pretty impressive, though. Tenmyouji: Yes, yes it is. Tenmyouji: Then again, it's even older than that by now. Maybe it's gone bad. Tenmyouji: It's probably just like water now. Tenmyouji: I should drink- Quark: No! Tenmyouji: Aw...
- Examine the balloon.
- Sigma: A balloon. Sigma: You want it, Quark? Quark: I don't need a balloon. I'm not a kid. Sigma: Really? How old are you? Quark: I'm...twenty. Sigma: What?! No way! Quark: Gotcha! Ha ha ha ha...
- Examine the back of the business cards after completing the puzzle.
- Quark: It says... "BOOK 334." Sigma: What does it mean? Quark: Well, a "book" is a bunch of pieces of paper that are bound together with-- Sigma: I know what a book is...
- Examine the facial recognition device.
- Sigma: What does it mean by "gender mismatch"? Quark: Maybe it's saying that it needs a girl? Tenmyouji: But there's only three of us, and none of us are women. Sigma: Well... Maybe if we dress Quark up like a girl... Quark: No! No way! Quark: Why don't you dress up then?! Tenmyouji: No. Just thinking about that is making me want to puke. Quark: Besides, do you see a wig or makeup or anything around here? How would any of us dress up like a woman anyway? Sigma: Dude, you totally want to do it. Quark: N-No I don't... Tenmyouji: ... ... Sigma: ... ... Quark: ... ...