SPOILER WARNING
Every escape room article is spoiler-free to assist first-time players, but do not click any links on the article if you wish to avoid spoilers. Spoilers are also hidden in optional toggles.
- Not to be confused with Control from Zero Time Dilemma.
- "I can see a huge machine of some sort on the other side of this window. Maybe a generator...?"
- — Phi, looking through the huge windows in the room
The Control Room is an escape room behind the red Chromatic Door on Floor B. Sigma, Phi, and Luna go through this room on Phi's route.
Layout[]
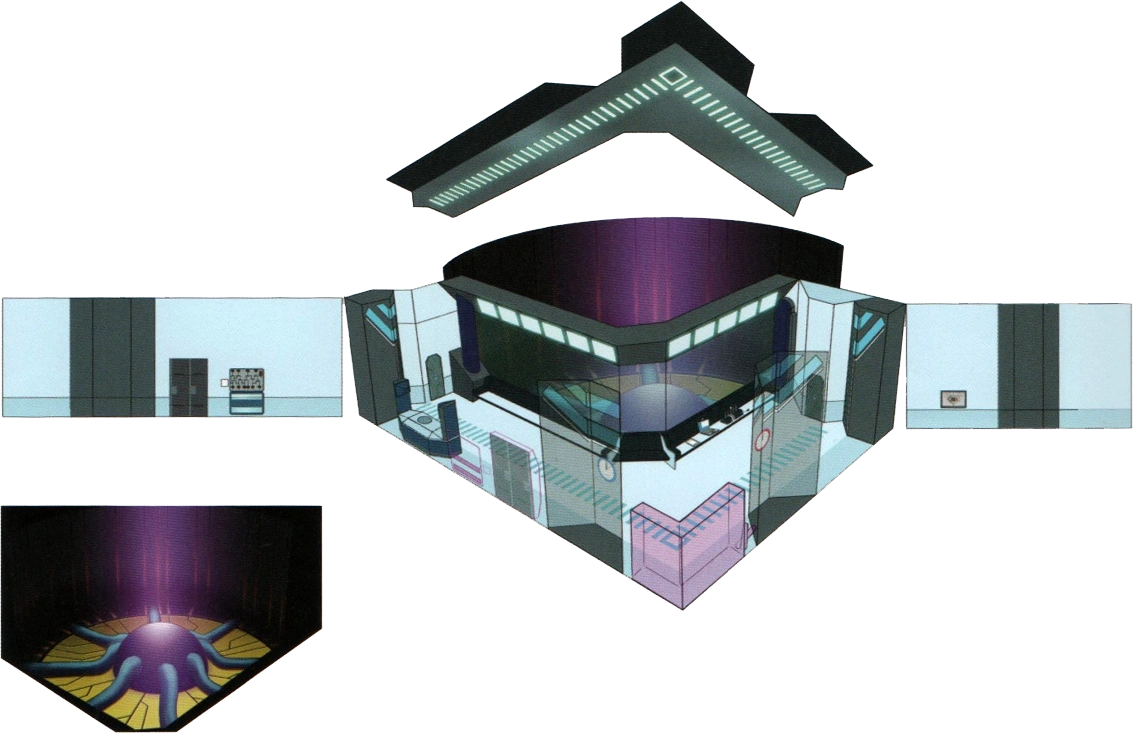
Concept art.
The Control Room is a big room divided in two parts by a huge sheet of glass. On one side is an annihilation reactor, which provides electricity for the entire facility. On the other side are many control panels, some lockers, and some shelves, as well as a large scanning device. To the left of the lockers is a blue clock.
Story[]
Sigma decides to go through the red Chromatic Door with Luna and Phi. After using the lever to open the left door, they find themselves in the Control Room. They find a huge machine and Luna explains that it is an annihilation reactor that works on the same principles as the bomb in the Crew Quarters.
After solving the puzzles, they open the safe and find the key, the moon cards, a map of floor B, and a machine similar to a calculator (the password input device). Sigma and Luna take one moon card, while Phi takes the other. After opening the exit, they hear an announcement stating that someone opened one of the Ambidex Gates. Sigma, Luna, and Phi leave the Control Room and return to Warehouse A.
Situation[]
| SPOILER WARNING - DON'T READ UNTIL YOU COMPLETE ENTIRE GAME | |
 Bomb #2 in the Control Room. After the second round of the AB Game, Dio plants Bomb #2 in this room. It is also possible that he planted it while looking for Alice. The bomb is later found by K and Luna after the second round of the Ambidex game, and Sigma and Phi manage to deactivate it using the password input device that they had found earlier in the room. It is the second bomb to be deactivated. | |
Items[]
Found Items[]
Compass[]
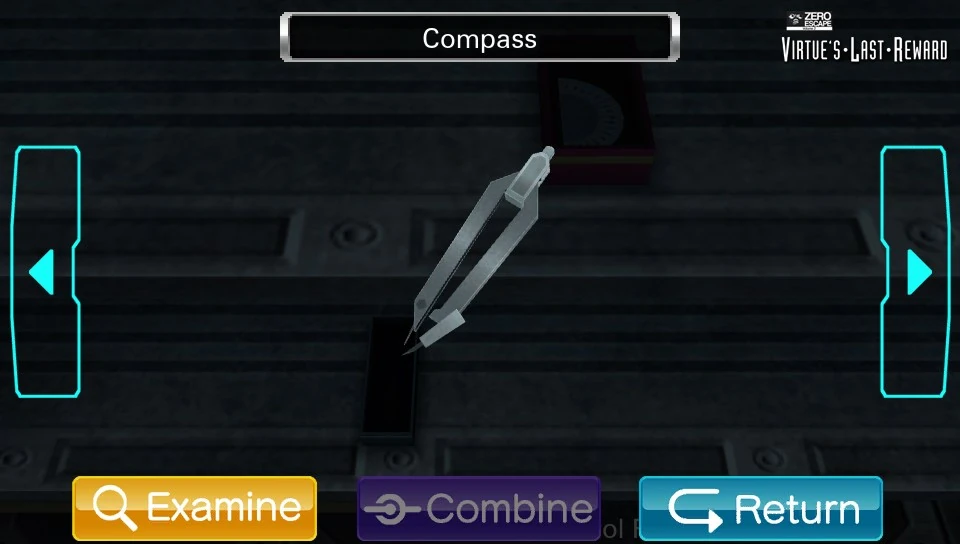
Actually, a compass needle.
The compass is found on the lower shelf of the bookshelf in the back corner of the room.
Combines with Protractor to form Expanded compass.
Protractor[]
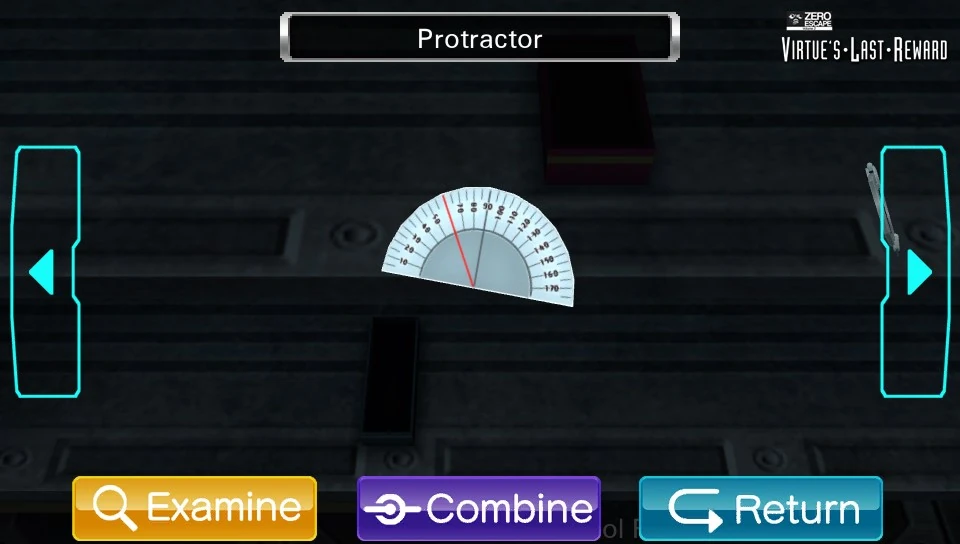
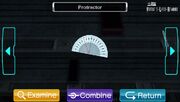
Now we can find angles...
The protractor is found on the upper shelf of the bookshelf in the back corner of the room.
Combines with Compass to form Expanded Compass.
"Test" Clipboard[]
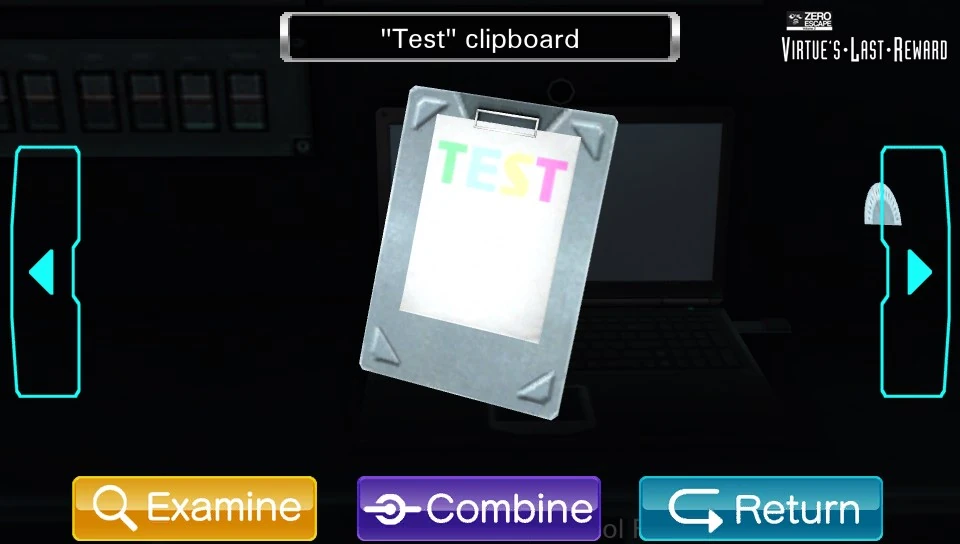

A clipboard with scanable bar codes.
The clipboard is found next to the laptop on the control panel.
Combines with USB scanner to form USB scanner: Yellow.
USB Scanner[]
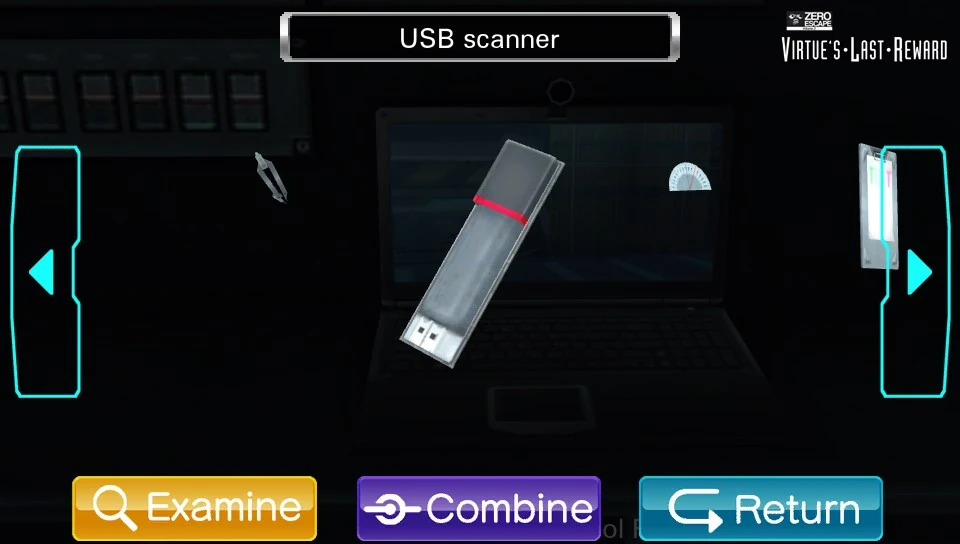

A USB scanner.
The scanner is found plugged into the side of the laptop on the control panel.
Combines with "Test" clipboard to form USB scanner: Yellow.
Combines with "Numbers" clipboard to form USB scanner: Green.
"Numbers" Clipboard[]
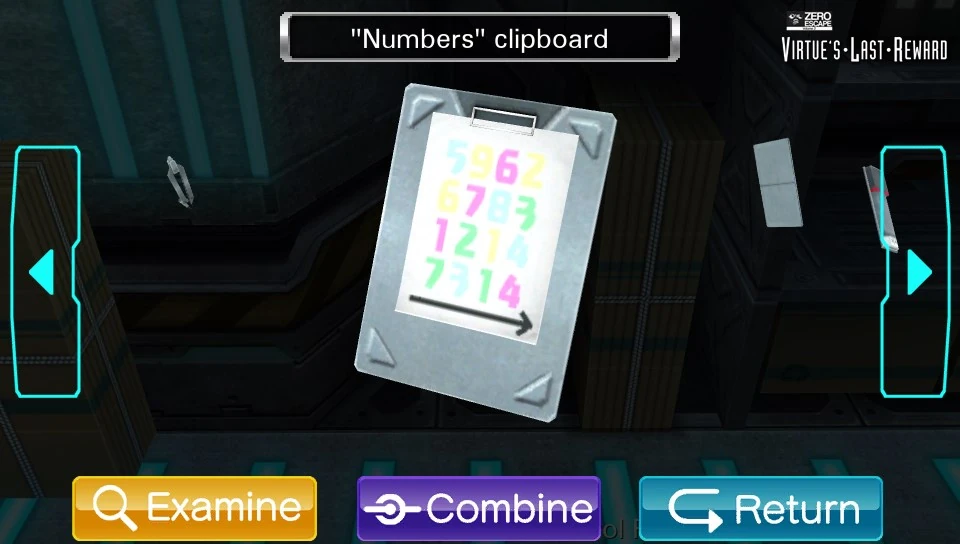

Yet another clipboard.
The clipboard is found behind the two cardboard boxes to the left of the bookshelf. The image on the laptop shows this location.
Combines with USB scanner to form USB scanner: Green.
Disc-Shaped Part[]
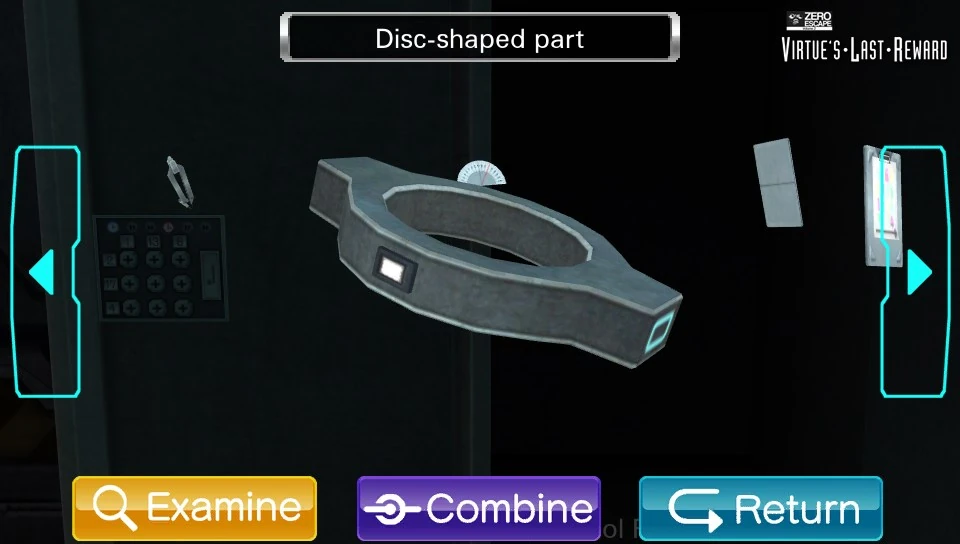

A disk thingy.
The part is found inside the right locker after the correct combination is entered.
It is placed on the top section of the CT scanner.
Lever Handle[]
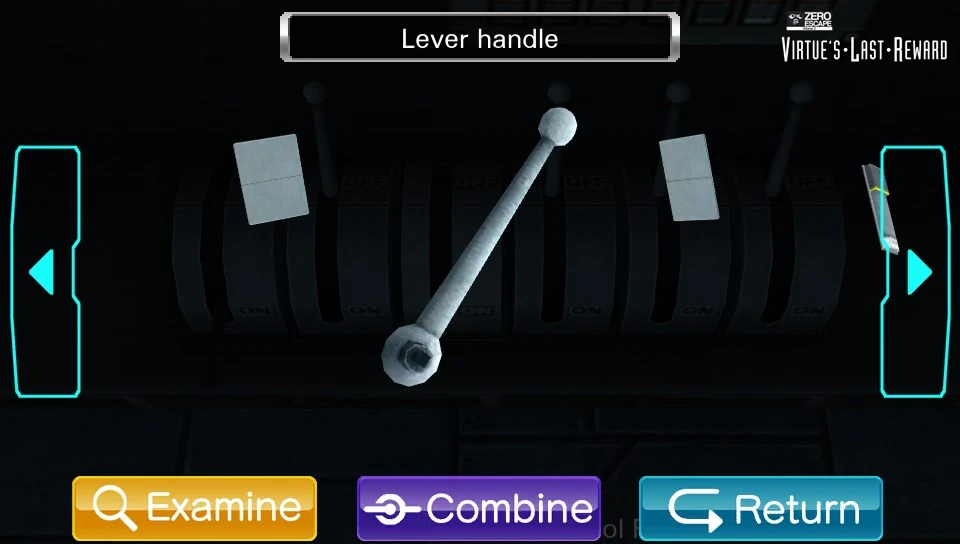

A lever handle.
The handle is found after the levers are moved to their specific positions, causing one of the handles to fall off. It is screwed onto the power tubing connected to the CT scanner in order to play the Power Direction minigame.
Rainbow Tree Root[]
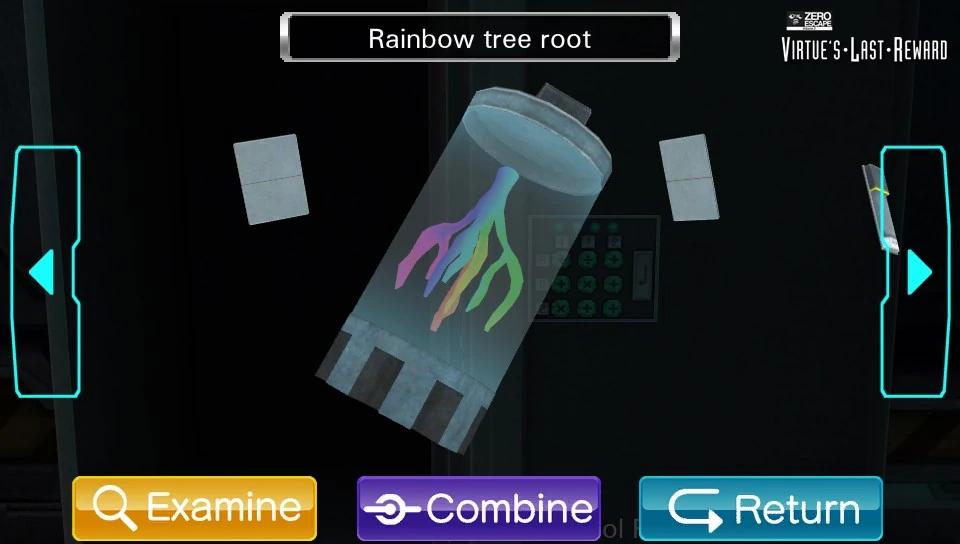

Rainbow? Now this is unusual...
The root is found inside the left locker after the correct combination is entered.
It is placed into the center slot of the CT scanner.
Combined Items[]
Expanded Compass[]


The expanded compass is found after the compass and protractor are combined. It is used to draw a circle on the ON/OFF paper on the wall. The circle provides a clue regarding the lever positions.
USB Scanner (Green)[]


The USB scanner will turn green when the "Numbers" clipboard is scanned. It is plugged back into the laptop to reveal the numbers "7213", a clue to the green keypad lock.
USB Scanner (Yellow)[]


The USB scanner will turn yellow when the "Test" clipboard is scanned. It is plugged into the laptop to reveal the file password.
Minigames[]
Keypad Lock (x2)[]

This minigame requires the player to enter the correct codes in two separate lockers.
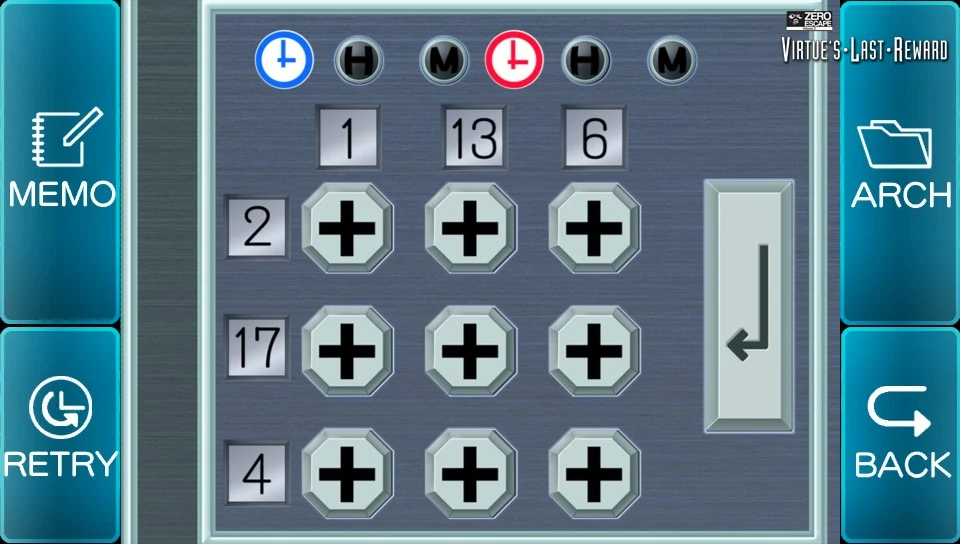
The left locker's combination corresponds to the time on the blue & red clocks. The code is the hours and minutes of the blue clock, followed by the hours and minutes of the red clock. The blue clock reads 510 minutes, which equals 8 hours and 30 minutes. The red clock reads 11400 seconds, which equals 3 hours and 10 minutes. Therefore, the code is 8-30-3-10. So the order is:
- Top-right (2 + 6)
- Middle (17 + 13)
- Top-left (2 + 1)
- Bottom-right (4 + 6)


The right locker's combination corresponds to the the green numbers on the "Numbers" Clipboard. From left to right, the numbers are 7213. So the order is:
- Top-right (5 + 2)
- Right (0 + 2)
- Bottom-right (2 / 2)
- Bottom (2 + 1)
Power Direction[]


The correct placement of the levers.
This minigame is accessed after obtaining the lever from the group of levers. This minigame requires the player to move the levers in the correct position according to the numbers. This minigame can also be completed using trial and error because the game will tell you which levers are in the correct positions, by labeling them with a green light.
The solution to this puzzle is to turn the lever below the 240, the lever above the 3??, the lever above the ??5, and the lever above the ??0 and ? all to the left. The lever below the 210, the lever below the 320, the lever below the 240, and the lever above the ?? should all remain in their original positions in the middle.
Root Cross Sections[]


The root puzzle.
This minigame is accessed after completing both the "Key Pad Lock" and "Power Direction" minigames. This minigame requires the player to place the correct numbers from 1-10 in the correct spots. This can be tricky because you need to slide the scanner in order to see hints on where to place each number.
The solution is as follows:
- 6 goes in the empty yellow circle. (4/16 of 100 is 25; 6 + 19 = 25)
- 8 goes in the empty red circle. (3/15 of 100 is 20; 8 + 12 = 20)
- 9 goes in the empty green circle. (6/20 of 100 is 30; 9 + 21 = 30)
- 10 goes in the empty blue circle. (25 is left over; 10 + 15 = 25)
Secret file password[]
The blue password is fairly easy to get. Simply combine the USB scanner with the TEST clipboard, then put the scanner back into the laptop. The screen will display the blue password.
Trivia[]
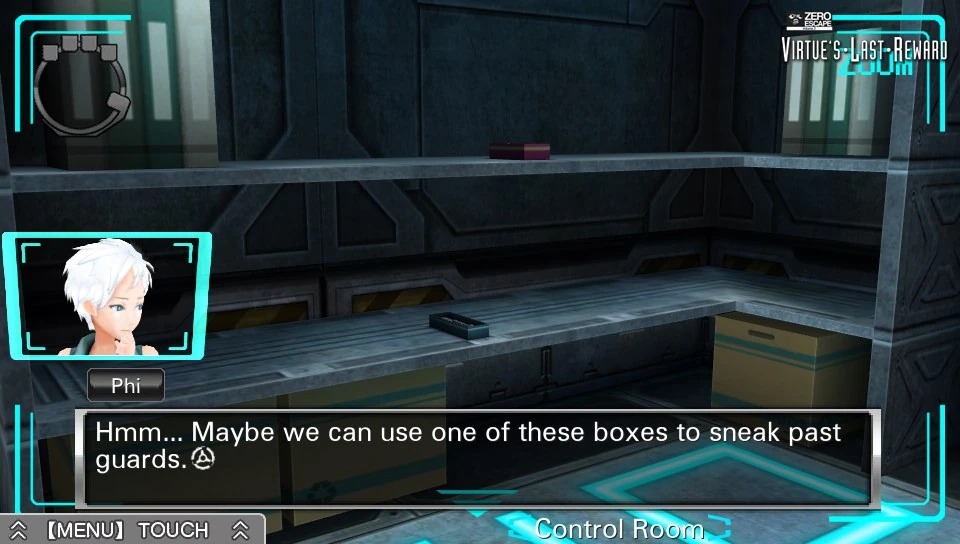

Phi's Metal Gear Solid reference.
- It is known as "Annihilation Control Room" in the Japanese version.
- The "large octopus thing" behind the glass is an antimatter reactor according to Clover and Luna.
- This room is only visited on Phi's route.
- A set of boxes can examined, and Luna will tell the player that they contain machinery. Examining them several times will cause Phi to wonder if they could "use one of those boxes to sneak past guards". This is a reference to the famous cardboard box item in the Metal Gear Solid games that Solid Snake hides in when he is sneaking around.
| SPOILER WARNING - DON'T READ UNTIL YOU COMPLETE ENTIRE GAME | |
| |
Humorous Quotes[]
- Examine the ON/OFF paper.
 Sigma: ON, OFF, ON, ON, ON, OFF, OFF, OFF, OFF, OFF, ON, ON, OFF, OFF, OFF, ON, OFF, OFF, ON, OFF, huh... Luna: Y-You didn't have to read the whole thing out loud...
- Examine the laptop screen after unplugging the scanner and retrieving the clipboard.
- Luna: Huh? That's strange... Sigma: What is it? Luna: Look at this screen. The clipboard is still there. Sigma: Yeah, I can see that. Sigma: I guess this isn't a real-time image, then. Sigma: I thought maybe it was showing pictures from that camera on top of the screen. Phi: Are you kidding me? Phi: We're not on the screen. Of course it's not a feed from that camera. Sigma: Oh... Luna: You...have a point... Phi: You two are hopeless.