SPOILER WARNING
Every escape room article is spoiler-free to assist first-time players, but do not click any links on the article if you wish to avoid spoilers. Spoilers are also hidden in optional toggles.
- "It seems it's used for rest and healing... Not healing physical injuries per se, but to recover from mental fatigue."
- — Sigma, on the Healing Room's purpose
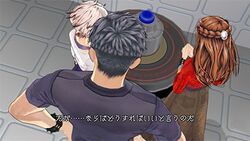
The Healing Room is an escape room that is found within the Suppression fragment for D-Team. The design of the room can be changed by turning a knob located on the wall. It is searched by Diana, Phi, and Sigma Klim.
Layout[]
The room utilizes aromatherapy candles, musical instruments, and other items optimal for healing the mind. It is a room for meditation and relaxation.
The room also has a technology which enables it to change the wallpaper and floor of the room, even using holographic technology.
Story[]
Diana, Sigma and Phi awaken in the Healing Room and discover it is locked.
Items[]
Bottle of water[]
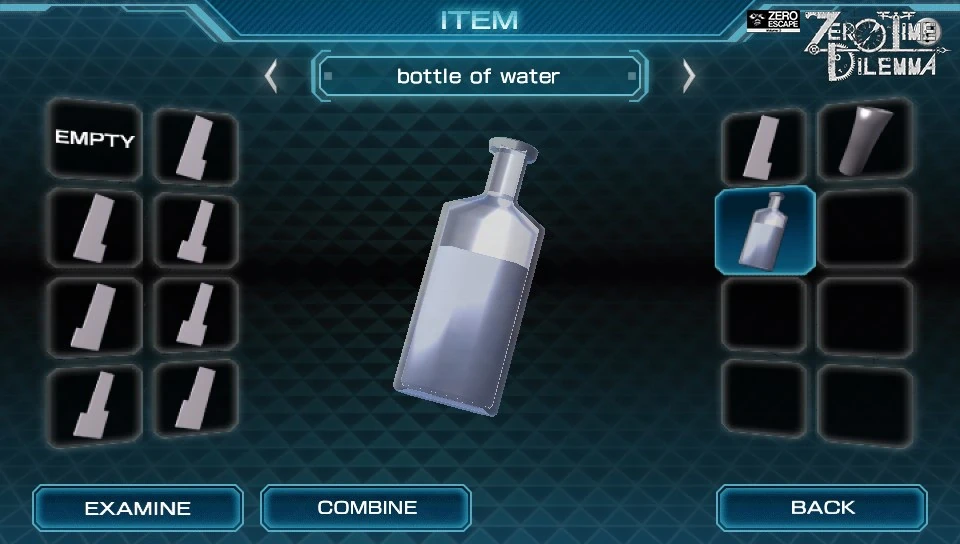
Found on cabinet. Used to fill the drinks and pitcher.
Tumbler[]
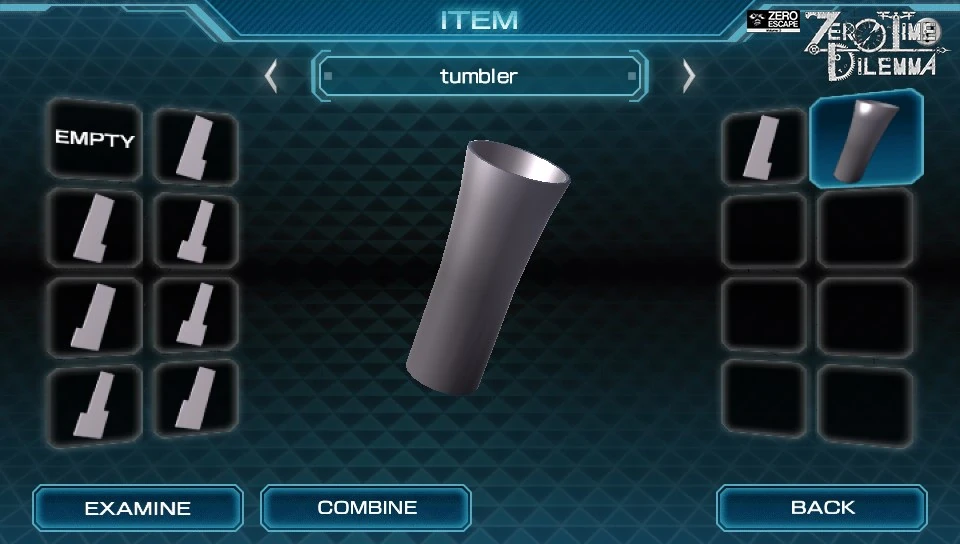
Found on cabinet. Place on the floor in the Flower Petal Room.
Matches[]
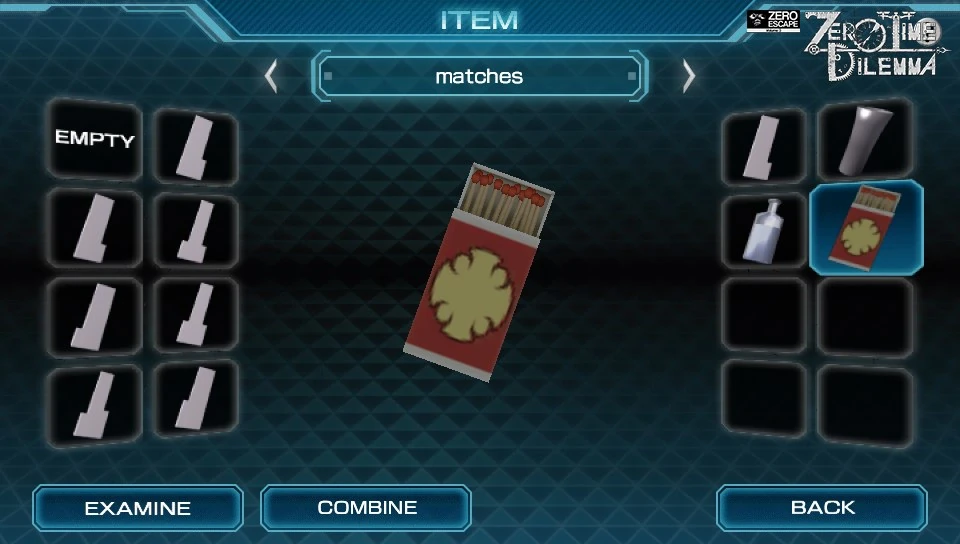
Found in cabinet drawer. Used to light a candle.
Black knife[]
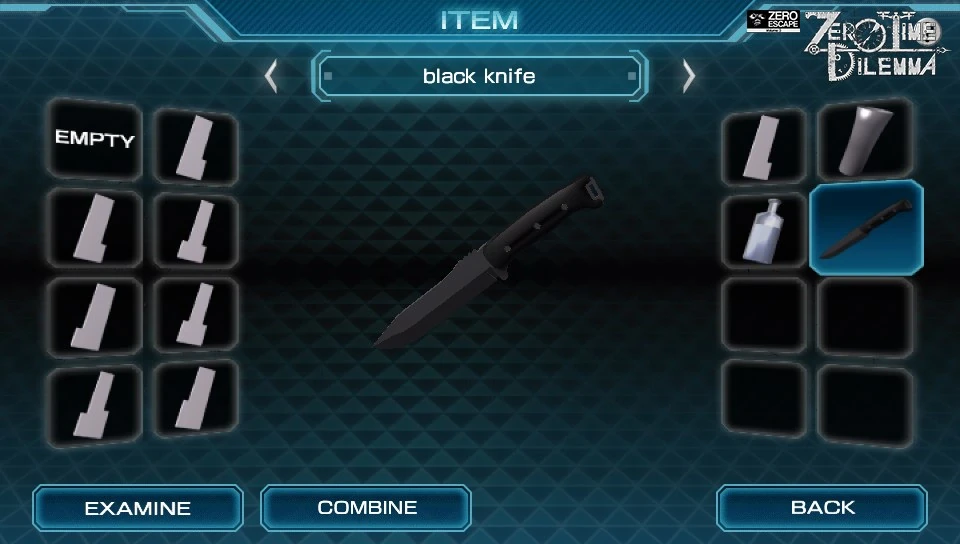
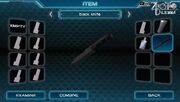
Found on wall in petal flower room next to the cylinder pod. Used to Stab a poster.
Digital camera[]
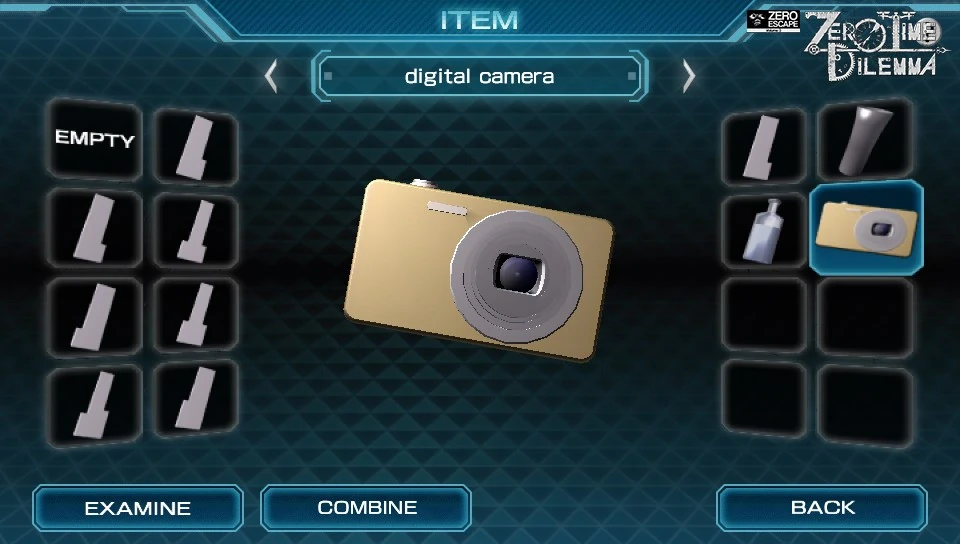
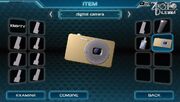
After knifing the poster, the computer turns on. Examine the lever in the lower right. Used to take various photos to unlock key slots. It should be noted you will need to be zoomed in for some. Example: Click the Wine glass after filling it and being in the Sky Room when the Star appears. Then align and Click the photo button.
Piano keys (x8)[]
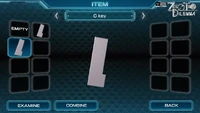

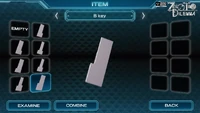
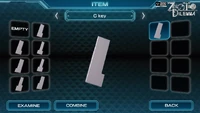
These 8 piano keys are obtained by examining the piano 8 individual times for each key. Used for Computer and Piano.
Minigames[]
Blossoms[]
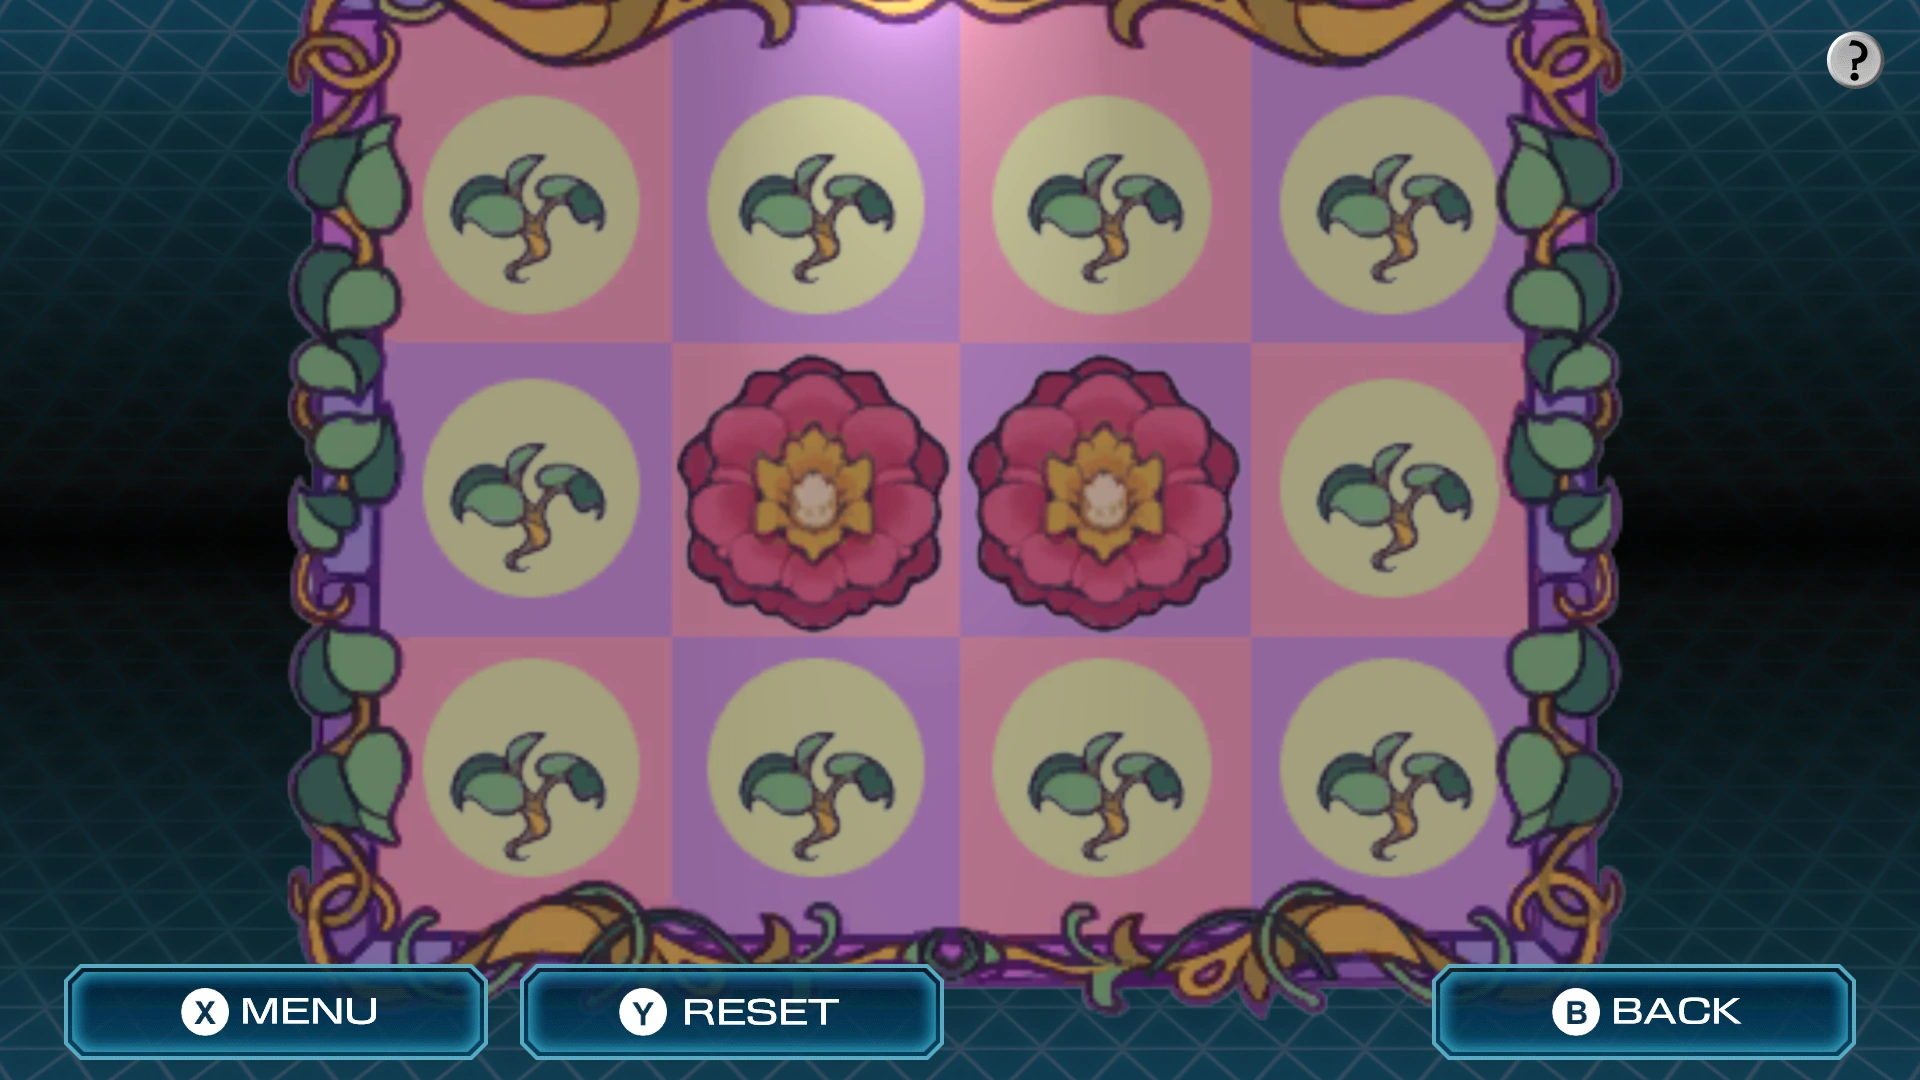

The initial position.
There are multiple ways to solve this puzzle. Here's an easy solution in only five steps:
- Touch the bottom left corner
- Touch the top left corner
- On the bottom row, touch the sapling (green) with the pink background
- On the top row, touch the sapling (green) with the pink background
- Touch the final sapling
Photographing the keys[]
From left to right on the keyboard (note there are two C keys):
- C: In the checkerboard room, take a photo of an odd shape near the left of the white chair.
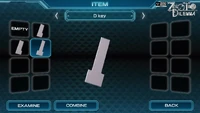
- D: In the flower petal room, take a photo of the blossom puzzle you did earlier. You must touch the blossom at the top of the puzzle.
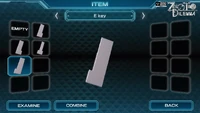
- E: In the forest room, use the tumbler on the floor and take a picture.
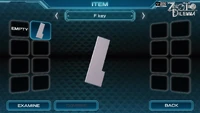
- F: In the forest room, take a photo of the red object in the cylinder.
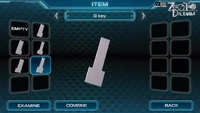
- G: In the forest room, take a photo of the candle. Light it using the matches.
- A: In the sky room, take a photo of the wine glass on the piano.
- B: In the sky room, take a photo of the floating shapes near the chairs. You may need to wait a few seconds for the shapes to align.
- C: In the forest room, take a photo of the chair and align it.
Also note that in order to unlock the sky room, ensure all the keys you currently have are inserted.
Piano[]
Click them in this order:
| 5 | 6 | 2 | 3 | 1 | 7 | 8 | 4 |
|---|
If, for some reason, the above solution doesn't work, then you are reading the directions in an alternate way. In this case, it's:
53481267
Decision Game[]

Trivia[]
- The music is a remix of Treatment which plays in the Treatment Center in Virtue's Last Reward.
Humorous Quotes[]
Examine the cabinet by clicking on an area other than the drawers:
 Phi: It's an old fashioned cabinet. It's a simple design, but it looks nice. Diana: I've always liked this kind of furniture. I want things like this in my home after I marry, hehe. Sigma: ...That so. I can see that.
Examine the tumbler in your inventory:
- Phi: It's a tumbler for drinks. But it's oddly shiny... Sigma: It's polished so much that you can see your reflection, if a bit distorted. Diana: Wh-Why did you two suddenly get so close? Your faces are crushing me!
Click on the DEFEAT ME poster while holding the matches:
- Diana: It says "Defeat me!" so that would mean... Phi: It IS a picture... We could just burn it up into ash. Sigma: You want to light the whole room on fire?! Leave it to me, I'll figure out the riddle...
Click on the chair on the right:
- Sigma: This chair looks incredibly comfortable. I bet I could fall asleep on it... Phi: Falling asleep in a recliner... Reverting to your old man tendencies, are you? Sigma: No, I'm not!
Click on the harpsichord, somewhere not on the keys:
- Phi: An instrument... Can you play any, Diana? Diana: The tambourine! Oh, and also the castanets and the triangle...! Phi: Heh. I'm surprised. I'm expecting a great performance from you when we escape here. Diana: ...Are you doubting me, Phi? My percussion skills are so good that I made five of my friends cry playing the tambourine. Phi: There might be two reason (sic) for that... It's hard to imagine, regardless.
Click on the harpsichord again:
- Diana: A keyboard instrument. I don't know how to play this since I'm a percussionist.
Click on the first key of the harpsichord:
- Diana: Is this a small piano? Phi: It only has one octave. You can't play very much music on this. Diana: Then maybe it isn't here to play music. Does it even work? Oh! The key fell out! What should I do?! Phi: I don't think you'll get in trouble for breaking it. It's not like Zero will send you a bill.
Click on the second key:
- Diana: There aren't many keys on this instrument, but it does still play. Phi: Maybe that was the only key that works... How about this one? ...Another key fell out. Sigma: If you beat on it like you did, of course it'll do that. It's all right, we don't have to worry.
Click on the third key:
- Sigma: This is quite the antique. Let me demonstrate how it should be played. Gently. Phi: ...Well, that one fell out too. What a fantastic example, old man. Sigma: Dammit, Zero... Making me look like an idiot.
Click on the DEFEAT ME poster while holding the knife:
- Phi: All right, let's stab this knife into him. Sigma: I still think it's some super involved riddle. No way it'd be this simple... Diana: The picture disappeared! We defeated him! Sigma: I can't believe it... It wasn't a riddle... Diana: Oh, look over there! Another light turned on the dial! Phi: Maybe we can change the room to another pattern. Let's leave the old fogey to himself.
Take a picture of anything other than the key shapes:
- Diana: Okay, I think I took a picture. Phi: Diana, do you know what you're supposed to shoot? Diana: Uh, oh. Um... what was it again? Sigma: ...The monitor on the console has some hints.
Activate the sky pattern:
- Sigma: WHOOAAA?! Wh-What?! We're in the sky?! My heart can't take this! Diana: A-Amazing! Whoa, even the ceiling is gone...! Phi: It's just like floating in the clouds...
Examine the water tank in the sky pattern room:
- Diana: The water in the tank is black now. Sigma: Reminds me of squid ink. Phi: I'd love to have some good spaghetti with squid ink right now...
Once the moving blocks appear in the sky pattern room:
- Sigma: Oh God! What the hell is that?! It's headed straight for us! Brace yourselves! Phi: Relax. It's just a projection on the wall. It looks real, but it's not going to come out. Diana: It frightened me... Oh, the cover for the A key is open. Let's put it in.